
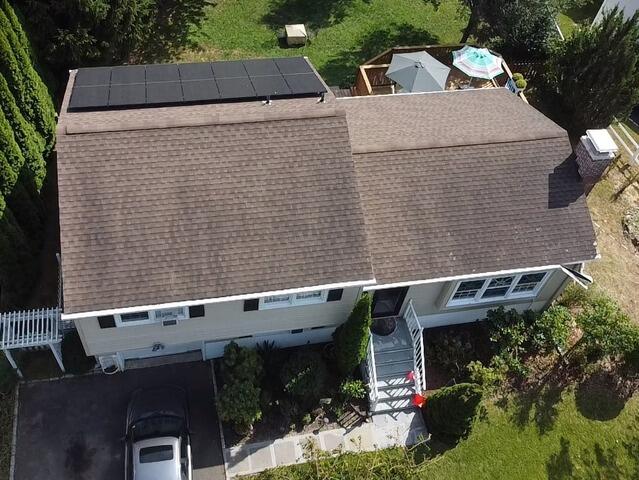
The Old Roof
This is what John's roof looked like before the upgrade. Click through to see the stunning change!
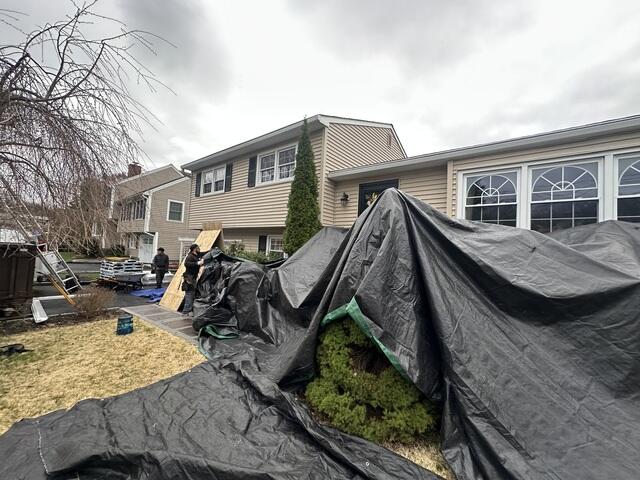
Prepping the Property
Before the teardown begins, the crew lays out large tarps to protect the property from falling debris. In addition, this helps make the cleanup process far more efficient.
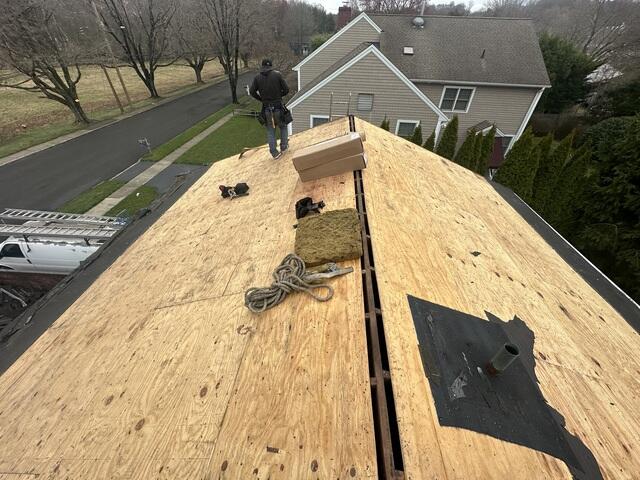
The Sheathing Is Exposed
Once all of the old shingles have been removed, what's left is a layer of plywood. This is called the sheathing, and it is the structural foundation of the roof.
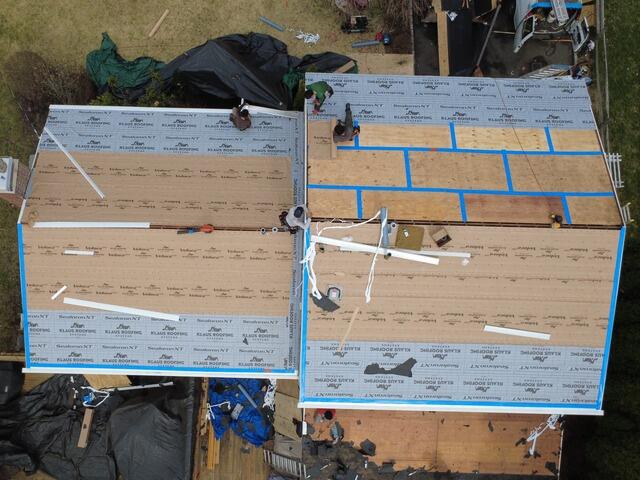
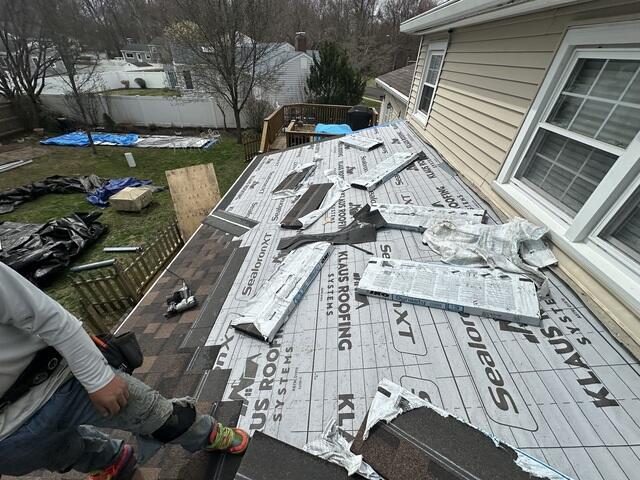
Seams Are Taped & Underlayment Is Installed
The crew found that John's sheathing was in excellent shape and none of it needed to be replaced. So they proceeded with the next step: taping up the seams of each plywood sheet with all-weather deck tape to further reinforce them. After that, underlayment is installed to the entire surface. This thin, waterproof membrane protects the sheathing from harsh elements like rain, wind, snow, and ice.
New Shingles Are Installed
We're installing the new shingles now! John selected the stunning Shadow Brown from the IKO Dynasty collection to give his roof a sleek, modern touch.
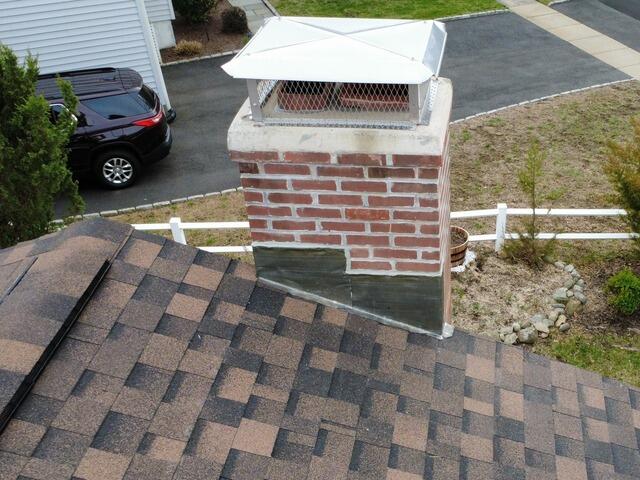
New Flashing on the Chimney
Thin metal flashing is carefully installed at the base of the chimney where it connects to the roof. This creates a watertight seal, preventing moisture from seeping into the vulnerable joint and causing potential damage.
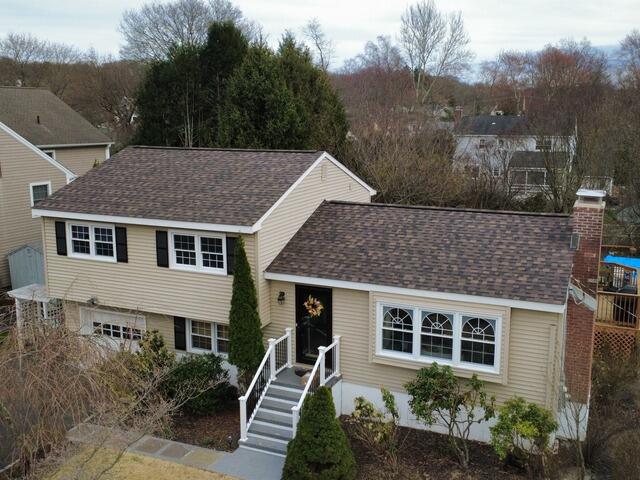
The Roof After
After a few finishing touches, such as installing a ridge vent to ensure proper airflow, John's beautiful new roof is complete!