
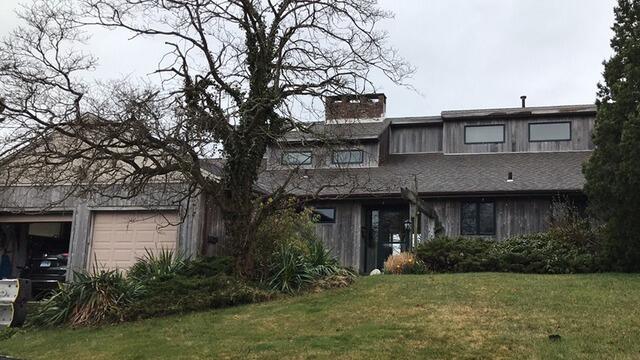
The Roof Before
Here's the 'before' of Dorothia's roof-click through to witness the incredible transformation!
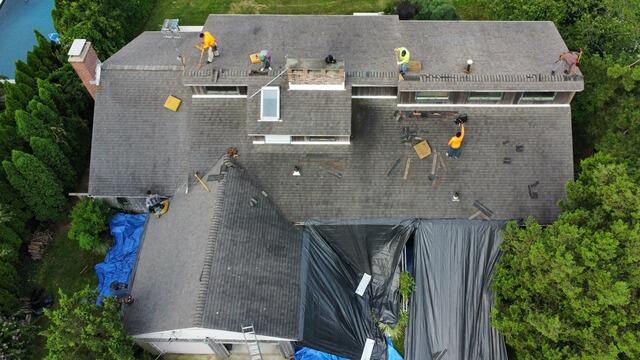
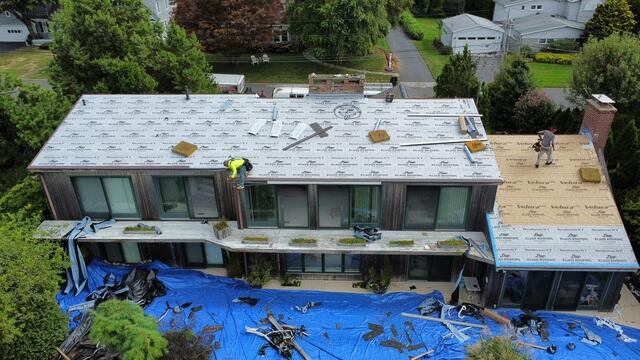
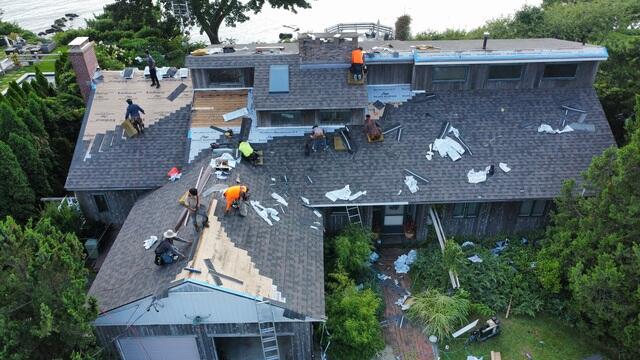
The Teardown Begins
The crew kicks things off by carefully stripping the old shingles off of the roof. Before the teardown begins, large tarps are hung up around the edges of the roof and also laid across the yard to ensure that the property is fully protected from falling debris. In addition, this makes the cleanup process more efficient.
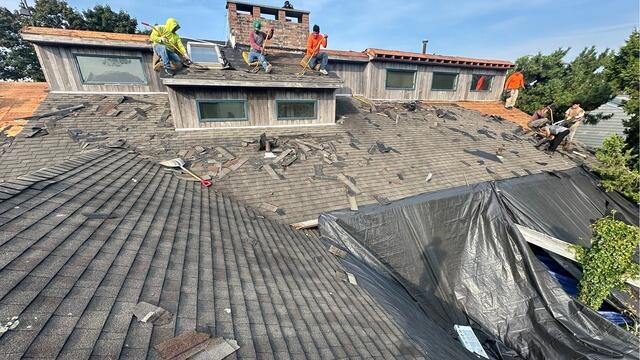
Stripping Off the Old Shingles
Removing the old shingles leaves behind the layer of plywood underneath, which is called the sheathing. This is the structural foundation of the roof.
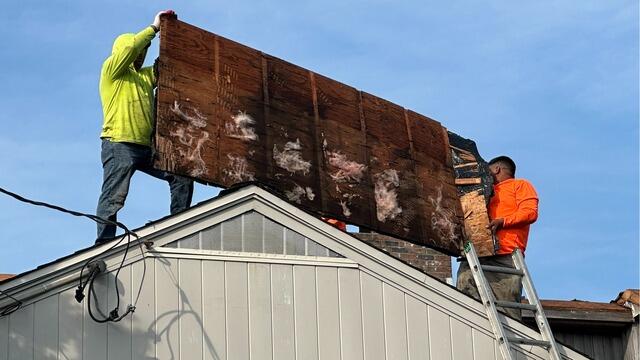
Bad Plywood Is Removed
As the structural foundation, the sheathing must be in tip-top condition. Any parts found with damage such as rot or mold-like this section here-are promptly removed and replaced.

New Plywood Is Installed
Sturdy new 1/2" CDX plywood is precisely cut and nailed into place to perfectly fit where the damaged sections were removed.
Underlayment Is Installed
With the sheathing set, it's time to install the underlayment. This is a thin, water-resistant membrane that is secured over the entire surface. This barrier protects the sheathing from harmful elements like rain, wind, snow, and ice.
New Shingles Are Installed
Time for the new shingles! Dorothia opted for the refined shade of Driftshake from our IKO Dynasty collection, perfectly complementing her home's exterior.

Ridge Vent Is Installed
A shingle vent is placed along the roof's ridges to promote proper airflow, giving hot, humid air a way to escape and preventing harmful condensation buildup inside the attic.
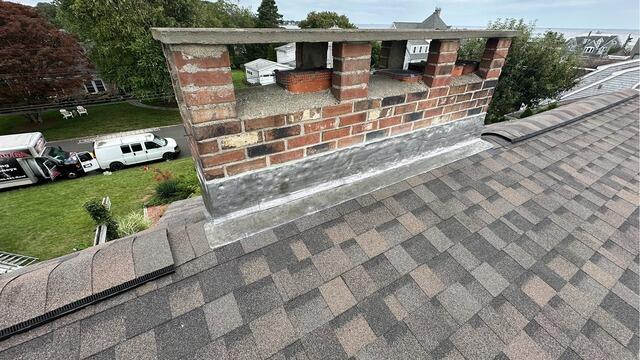
New Flashing on the Chimney
Thin metal flashing is installed around the chimney where it meets the roof. This acts as a protective barrier preventing water from seeping into the junction and causing damage.
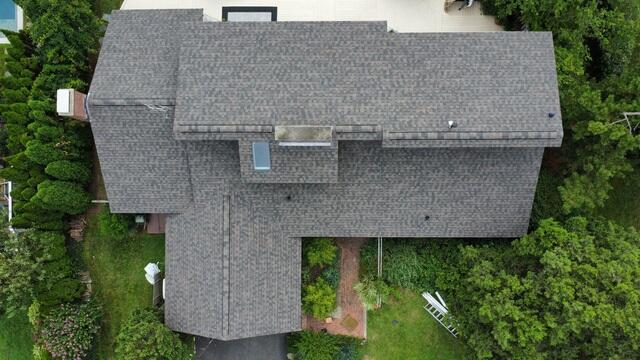
The Roof After
With the crew's final touches and one last check, Dorothia's roof is officially complete and looking fantastic!