
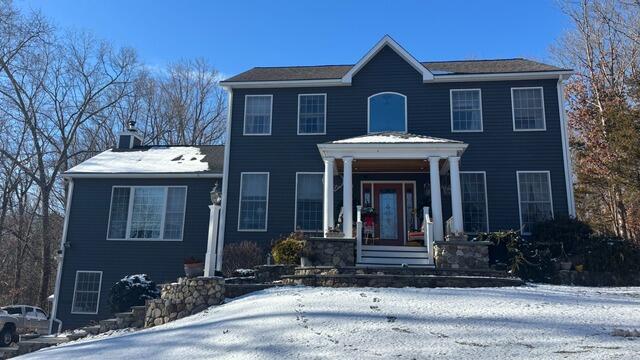
The Roof Before
Check out John's roof before the transformation! Swipe to see the amazing results!

The Teardown Begins
The crew starts off by carefully stripping the old shingles off of the roof, starting at the very top. Before they do that, they hang up large tarps around the edges of the roof and also drape tarps over the yard to ensure the property is fully protected from falling debris and to ensure a quicker cleanup process.
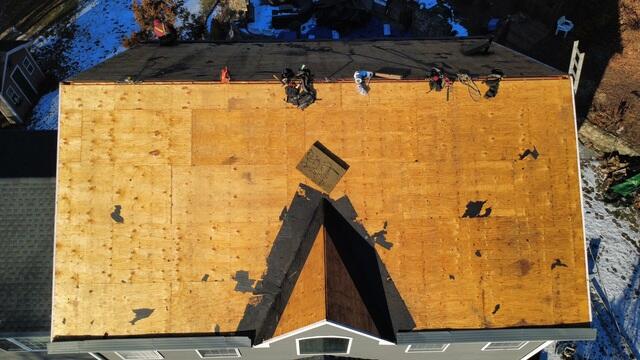
The Sheathing Is Exposed
Underneath the old shingles is a layer of plywood. This is called the sheathing, and it is the structural foundation of the roof. As such, it's important that the sheathing is in tip-top shape. Any sections found with damage, like rot or mold, must be removed and replaced.
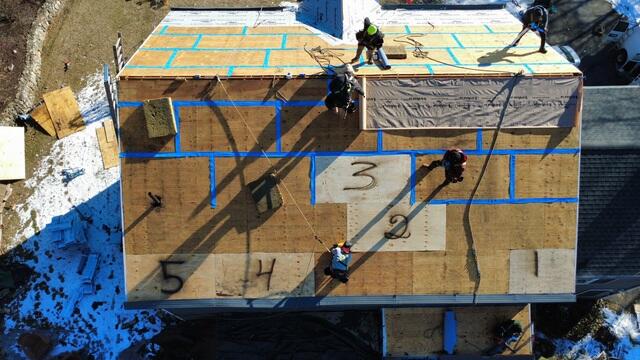
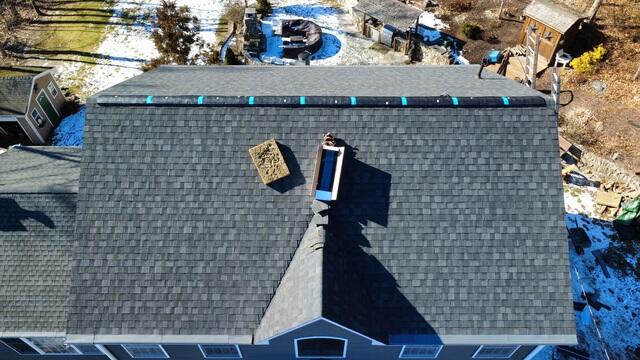
Seams Are Taped & Underlayment Is Installed
New 1/2" CDX plywood sheets are securely nailed in where the damaged sheets were removed to ensure a solid base for the roof. Then, all seams are carefully covered with strong, weatherproof deck tape. The crew then installs a full layer of underlayment: a crucial barrier that keeps moisture and extreme weather off the sheathing.
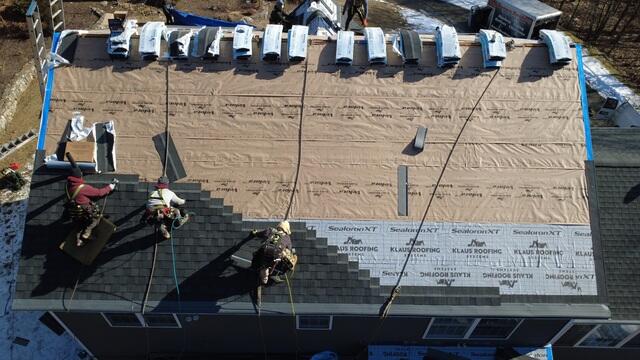
New Shingles Are Installed
We're installing the new shingles now! John selected the popular Granite Black shade from the IKO Dynasty collection to give his roof a sleek, modern touch.
Ridge Vent Is Installed
A shingle vent is installed along the ridge of the roof to ensure proper airflow in the attic, allowing hot, moist air to escape and preventing damaging condensation buildup.
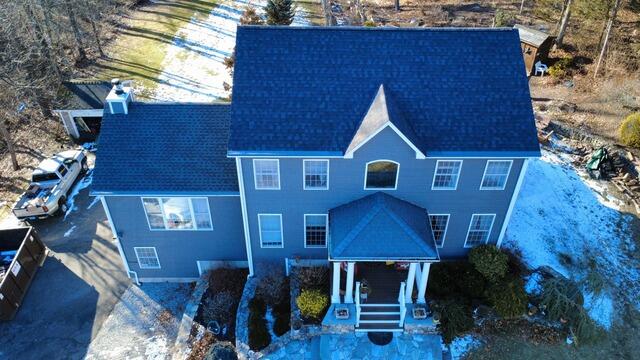
The Roof After
The crew wrapped things up with a few last steps and a full cleanup-John's new roof is officially complete!