
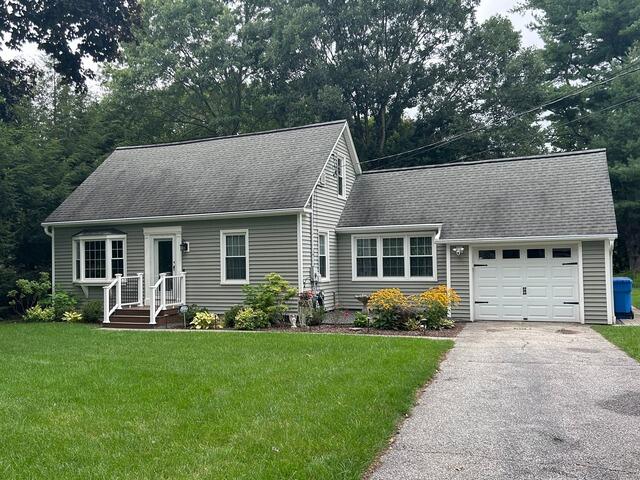
The Roof Before
Here is what John and Pam's roof looked like before the renovation. Those algae-ridden shingles have got to go! Click through to see the transformation.
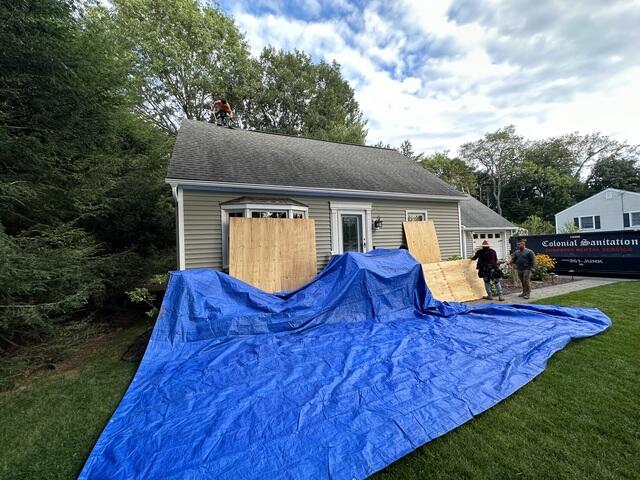
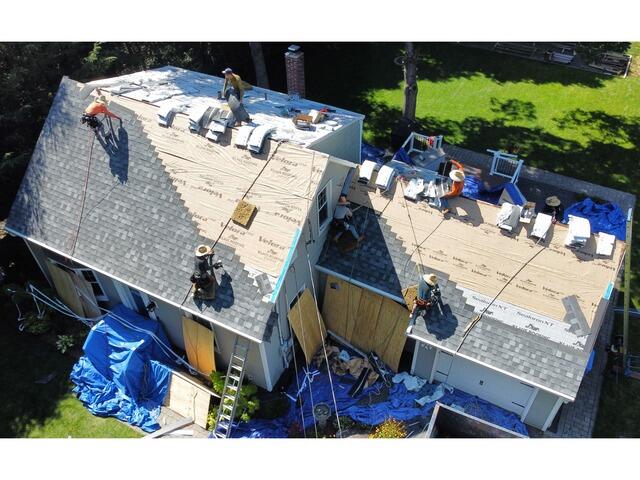
Preparing for the Teardown
To kick things off, protecting the property is the top priority. Large tarps are spread across the yard and hung along the roof edges to catch any falling debris, ensuring an easy cleanup. Plywood boards are also used to shield windows from any potential damage during the process.
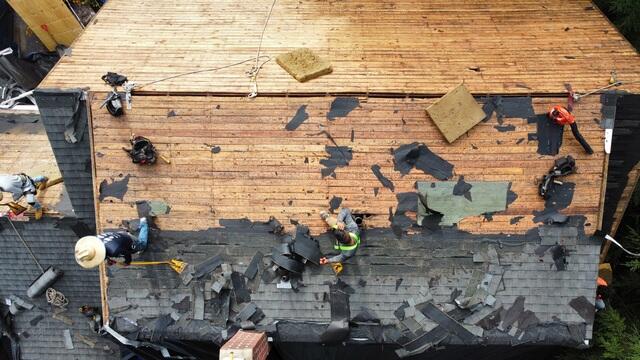
Old Shingles Are Removed
As the old shingles are carefully stripped off, the layer of plywood underneath is exposed. This is called the sheathing, and it is the structural foundation of the roof. It must be in tip-top shape before the new shingles go on, so the crew will closely examine all areas for any evidence of damage.
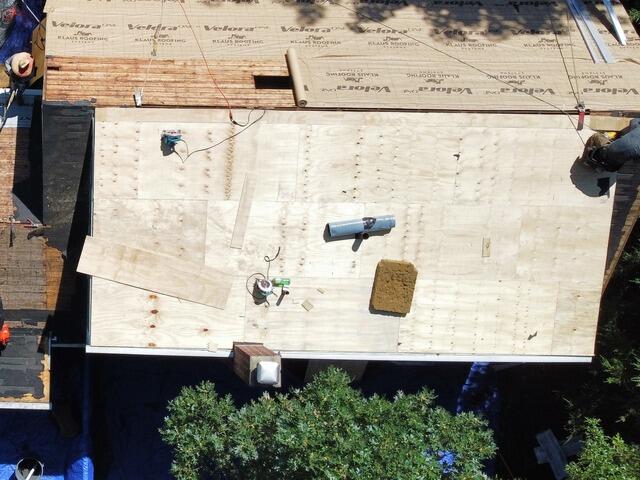
New Plywood Is Installed
Any areas found with damage are promptly removed and replaced with brand-new sturdy 1/2" CDX plywood, securely nailed into place to ensure a solid base for the new roof.

Underlayment Is Installed
Next, the crew installs a full layer of underlayment. This is a crucial barrier that keeps moisture and extreme weather off the sheathing.
New Shingles Are Installed
Next, it's time to install the new shingles! To perfectly complement their home, John and Pam have selected the calming shade of Summit Gray from our premium-laminated IKO Dynasty collection.
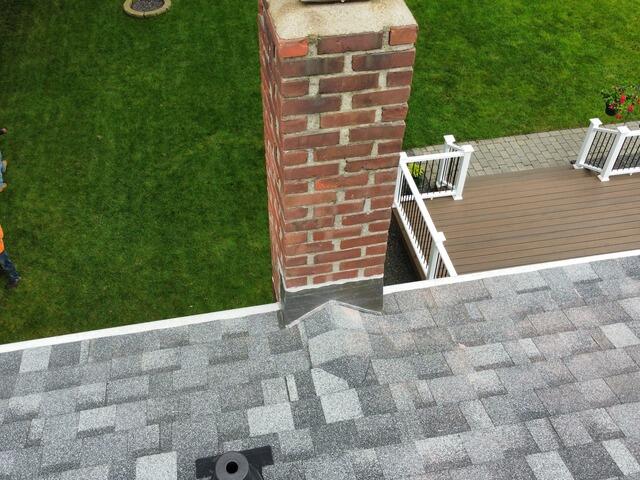
New Flashing Is Installed on Chimney
The chimney cricket is completed with precisely installed shingles and securely fitted flashing made of thin metal, ensuring a fully watertight seal at the junction.
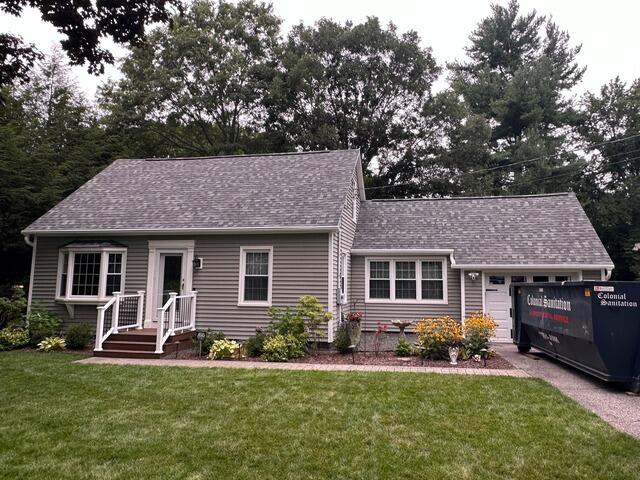
The Roof After
The crew wrapped things up with a few last steps and a full cleanup-John and Pam's new roof is all set!