
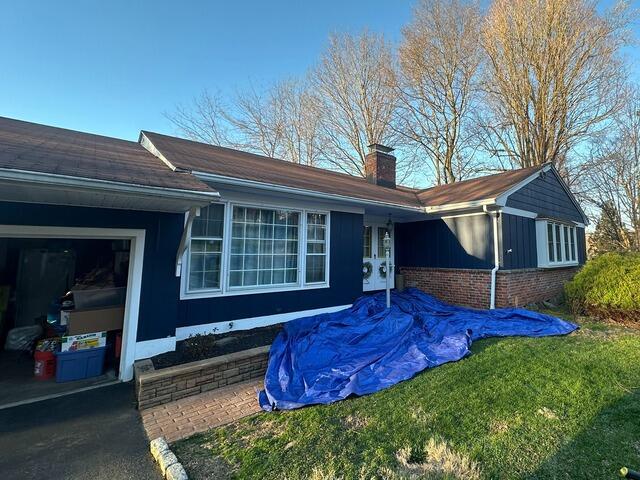
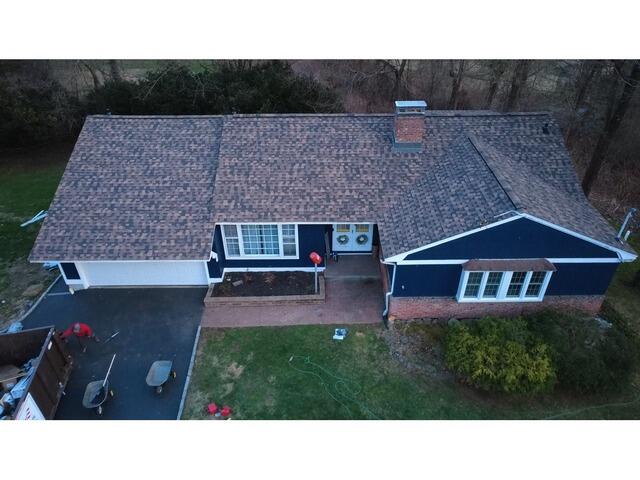
The Roof Before
Here is what Robin's roof looked like before the renovation. Click through to see the expert transformation!
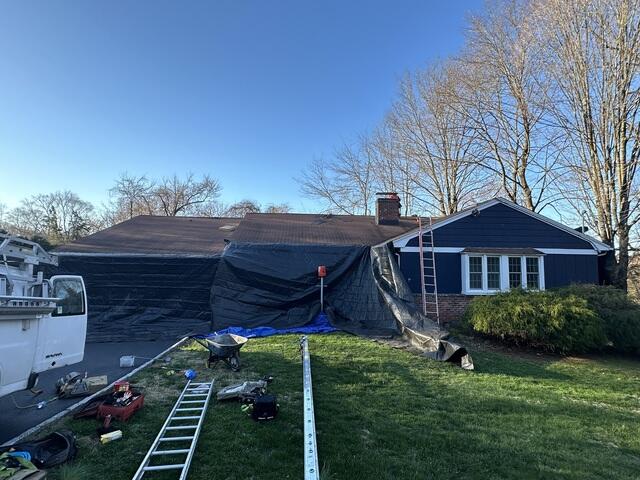
Prepping the Property
Before the crew starts the teardown, large tarps are hung up around the edges of the roof to ensure that the property is fully protected from falling debris. In addition, this helps make the cleanup process a bit more efficient.
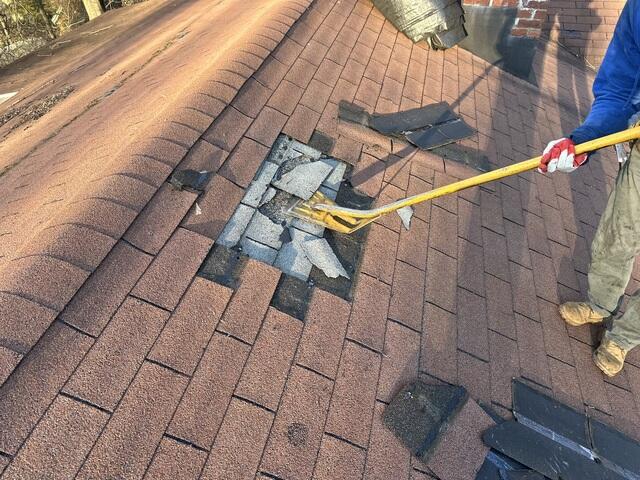
Double Layer of Shingles
Robin's roof had two layers of shingles-a common shortcut meant to save money, but one that can cause problems like added weight, poor ventilation, and hidden leaks. Luckily, those days are over! Our crew is on-site to tear it all off and start fresh with a brand-new, high-performance roof.
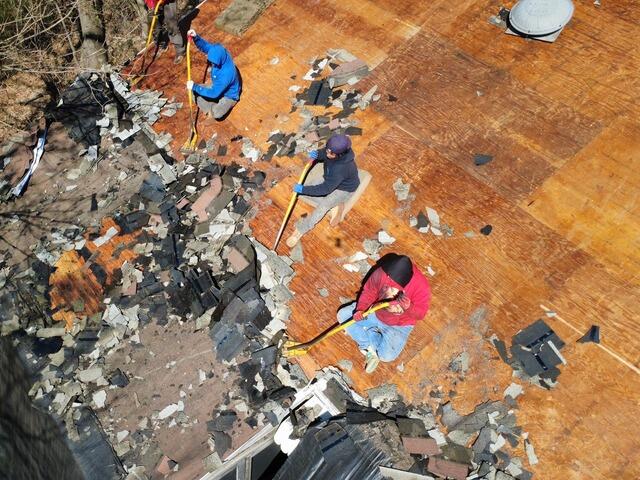
The Teardown
Once all of the shingles are removed, what's left is a layer of plywood, which is called the roof sheathing. This is the structural foundation of the roof, and as such, must be closely inspected for any signs of damage, such as rot or mold. Any sections found affected are promptly removed.
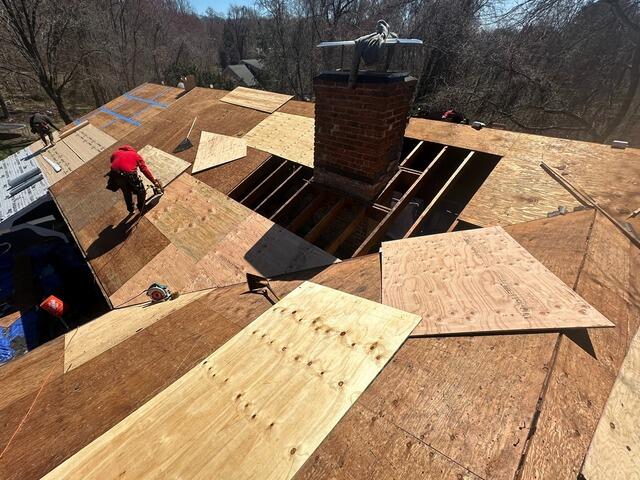
New Plywood Is Installed
Fresh sheets of 1/2" CDX plywood are carefully cut and fitted into place, creating a strong, seamless foundation for the new roof system.
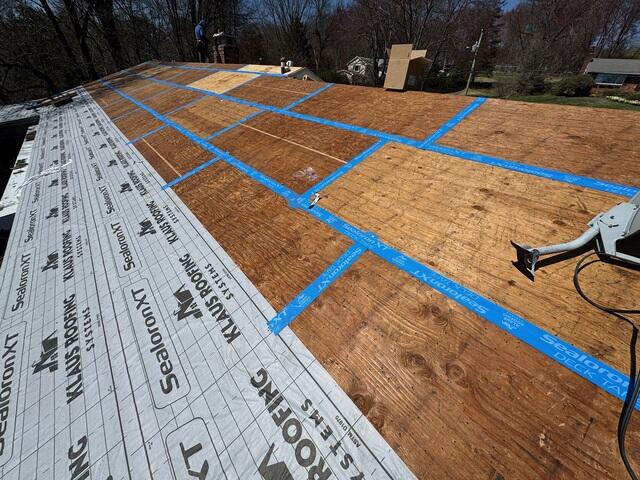
Seams Are Taped & Underlayment Is Installed
Once the plywood is secured, all the seams are sealed up with heavy-duty all-weather deck tape for added protection. Then, a full layer of underlayment is rolled out across the roof-a water-resistant membrane that shields the sheathing from moisture, wind, snow, and other harsh elements.
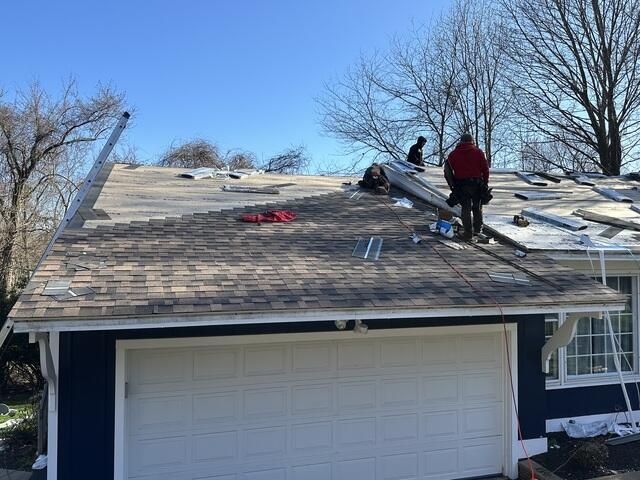
New Shingles
Next, it's time to install the new shingles! To perfectly complement her home, Robin has selected the gorgeous shade of Shadow Brown from our premium-laminated IKO Dynasty collection for her new roof.
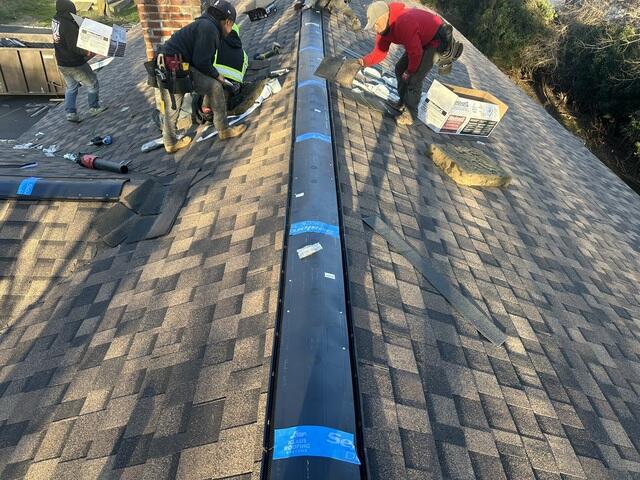
Ridge Vent Is Installed
A shingle vent is added along the ridges to help regulate airflow, giving hot, moist air a way to escape and reducing the risk of harmful condensation.
The Roof After
The crew wrapped things up with a few last steps and a full cleanup-Robin's new roof is all set!