
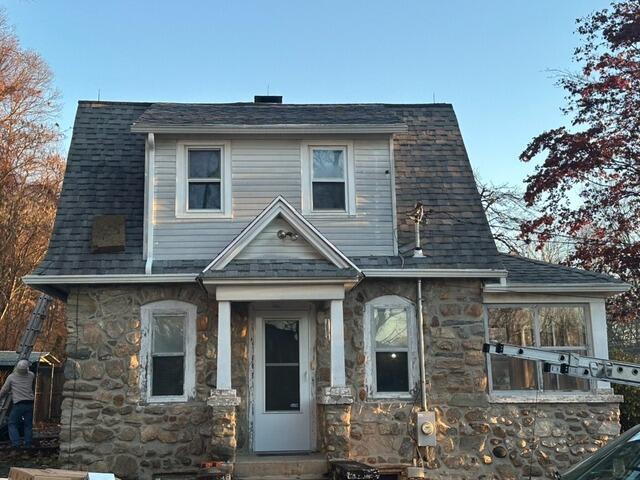
The Roof Before
This is what Linda's roof looked like before the makeover. Click through to see the sleek transformation!
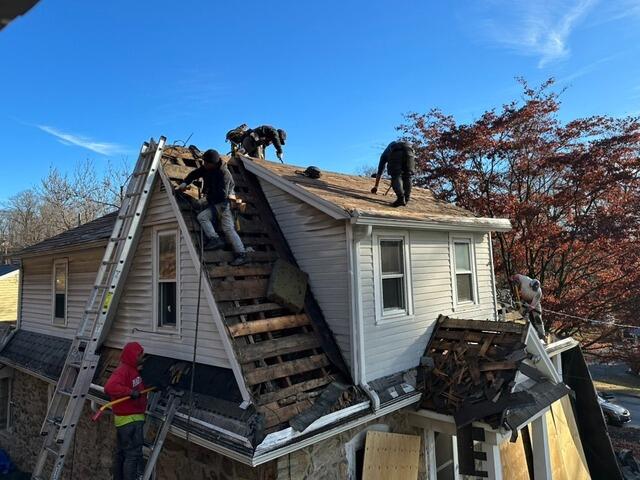
Old Shingles Are Removed
The crew starts by removing all the shingles from the roof, exposing the plywood sheathing beneath. Linda's roof originally had wood shake shingles and skip sheathing. While skip sheathing works well with lightweight shingles that require airflow, it's not strong enough to support the heavier asphalt architectural shingles we're installing.
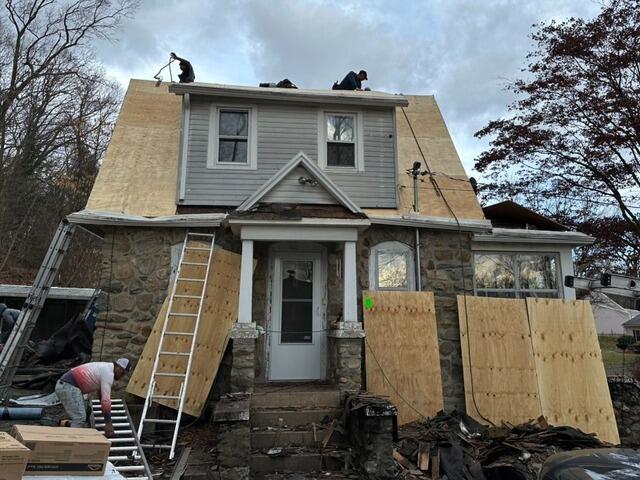
New Plywood Is Installed
To address this, the crew installs strong, new 1/2" CDX plywood over the skip sheathing, carefully nailing each sheet into place to create a solid, reliable base.
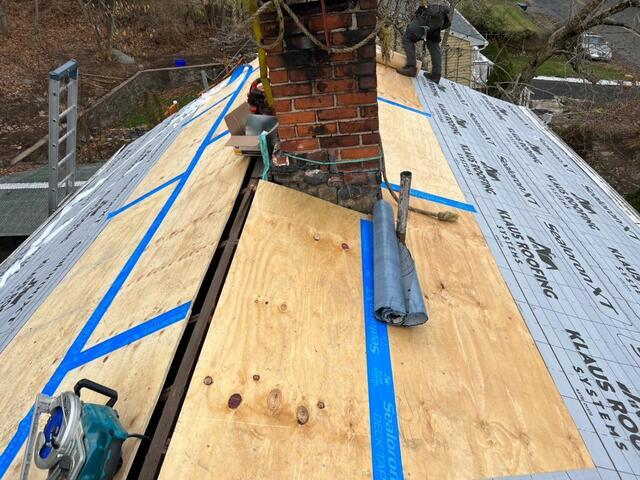
Seams Are Taped & Underlayment Is Installed
With all of the new plywood installed, each sheet is taped at the seams with heavy-duty all-weather tape as an added measure of reinforcement. After that, a layer of underlayment is installed. This is a thin, water-resistant membrane that further protects the roof from harmful elements like rain, wind, snow, or ice.
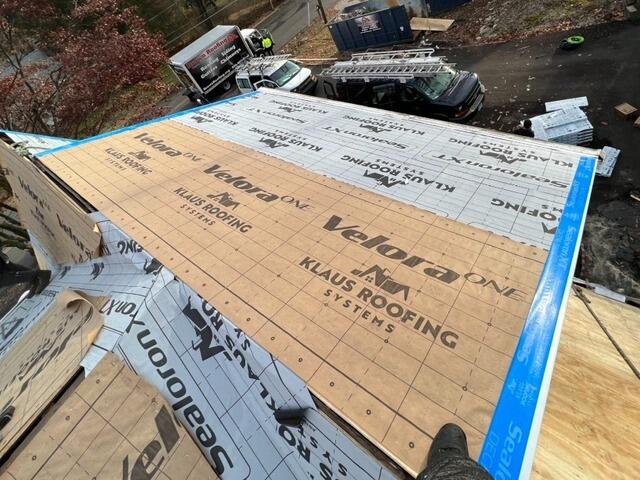
Ready for New Shingles
Once the underlayment is applied to the entire surface, a thin metal strip called drip edge flashing is secured around the roof's edges. This helps prevent water from getting under the edges, guiding it away from the fascia and into the gutters.
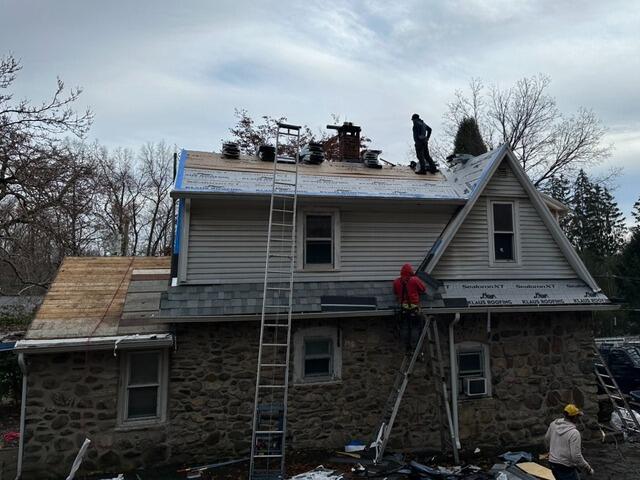
New Shingles Are Installed
Now it's time to start installing the new shingles! For her new roof, Linda has selected the gorgeous shade of Frostone Gray for to perfectly complement her home.
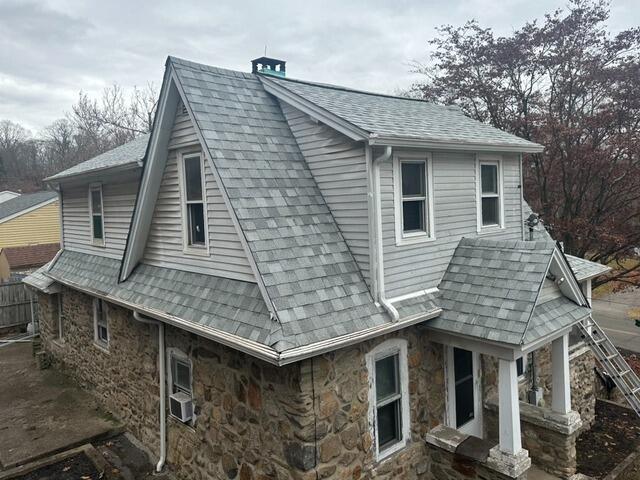
The Roof After
With the final details wrapped up and the site cleaned top to bottom, Linda's roof project is officially done!