
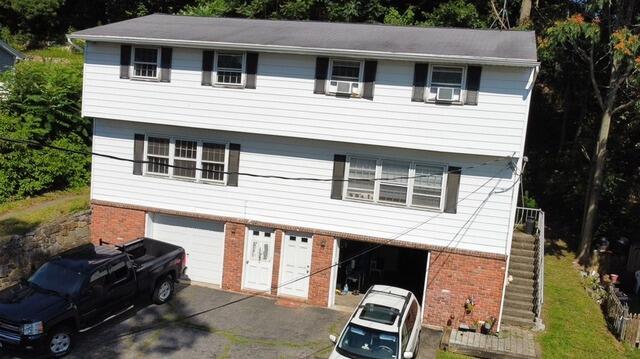
Before: Front View
Here's what Erick's roof looked like from the front before the renovation. Click through to see how we expertly transformed it!
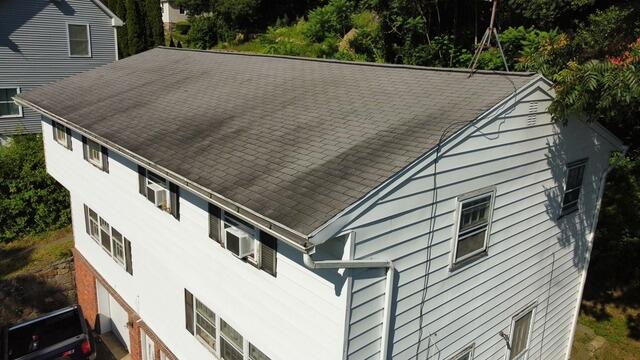
Before: A Closer Look
This closer look at Erick's roof shows that black streaks of roof algae growing on these worn three-tab shingles. This is due to a lot of moisture damage over time. It's time for a new roof!
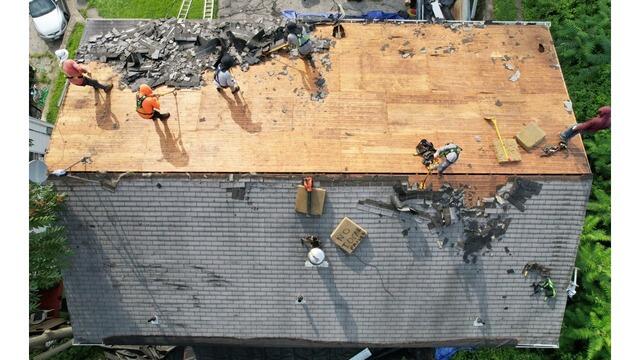
The Teardown Begins
The crew kicks things off by carefully stripping the old shingles off of the roof. This exposes the layer of plywood underneath, which is called the roof sheathing.
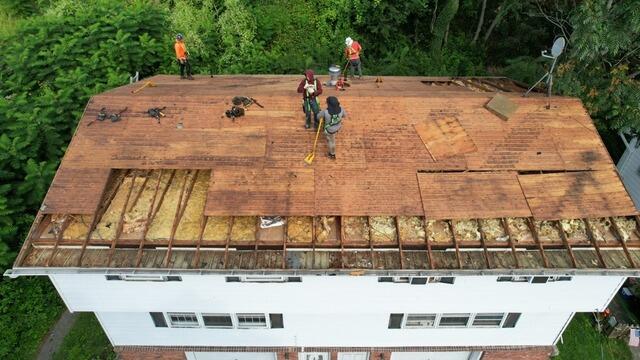
Bad Plywood Is Removed
As the structural foundation of the roof, the health of the sheathing is essential. Any sheets of plywood that show signs of damage, like rot or mold, have to be removed and replaced. Our experts found that all of Erick's sheathing showed moisture damage and needed to be removed, so the crew proceeds to remove all of the plywood.
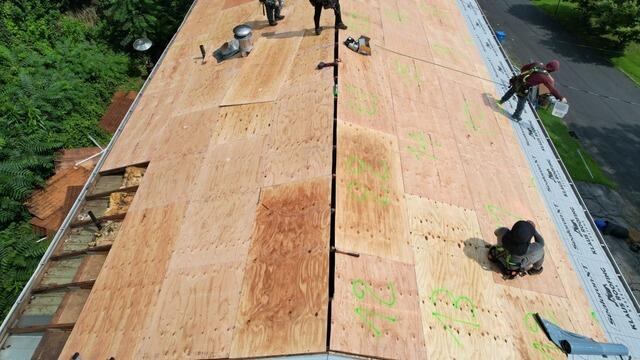
New Plywood Is Installed
Sturdy new 1/2" CDX plywood is installed to make up a solid new sheathing for the new roof. Each sheet used is numbered for easy tracking, so that the crew can accurately report back to the homeowner on exactly how many sheets were used.
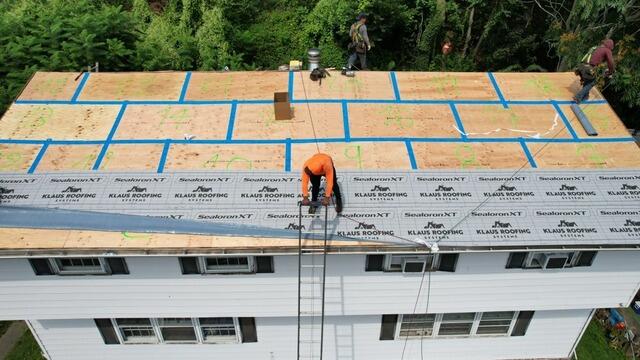
Seams Are Taped & Underlayment Is Installed
With all of the new sheathing securely nailed into place, the seams of all of the sheets are taped up with all-weather heavy-duty deck tape for extra reinforcement. Next, a layer of underlayment is installed over the entire surface. This thin, waterproof membrane protects the sheathing from harsh elements like rain, wind, snow, and ice.
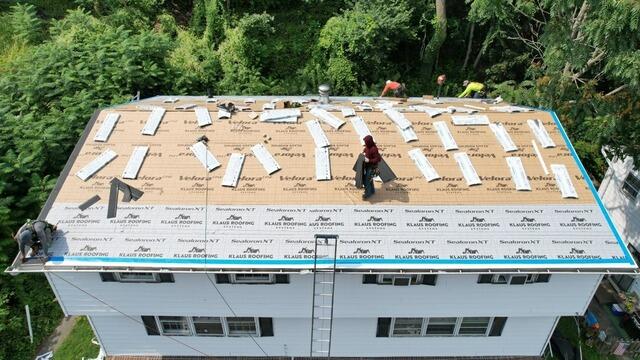
Drip Edge Flashing Is Installed
Drip edge flashing is installed around all edges of the roof, nailed in securely, and then also taped down with deck tape. This thin metal strip prevents water from seeping under the roofing material and into the fascia board, helping to direct it into the gutters.
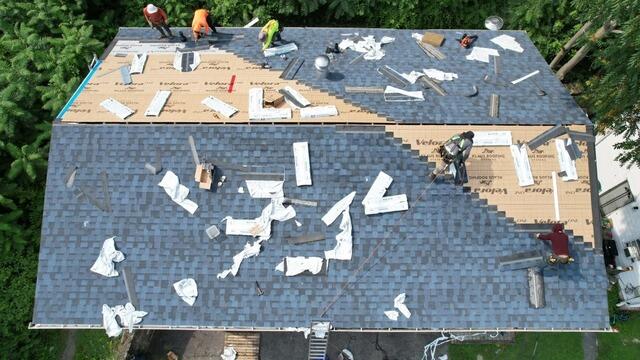
New Shingles Are Installed
Next, it's time to install the new shingles! For his new roof, Erick has selected the stunning shade of Atlantic Blue from our IKO Dynasty collection to perfectly complement his home.
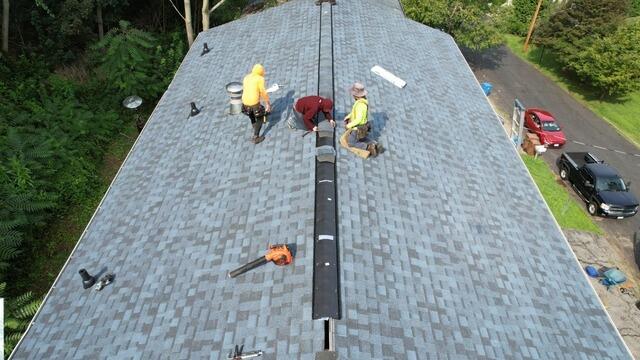
Ridge Vent Is Installed
The crew installs a shingle vent along the roof's ridge to ensure proper ventilation. By releasing hot, moist air, the vent helps protect the roof from future problems like rot and mold caused by trapped condensation.
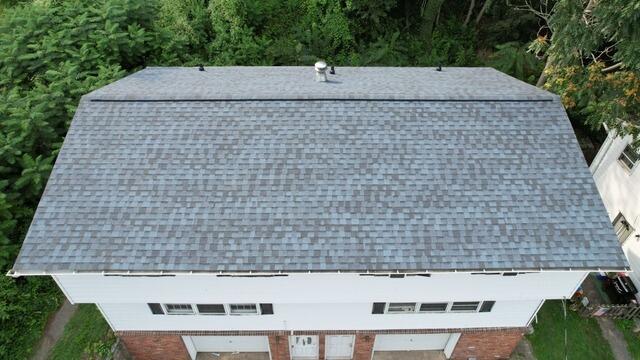
The Finished Product
After a few finishing touches, like securing flashing around all of the pipes, and installing a ridge cap over the ridge vent for a seamless finish-Erick's new roof is complete, built to last and looking gorgeous!