
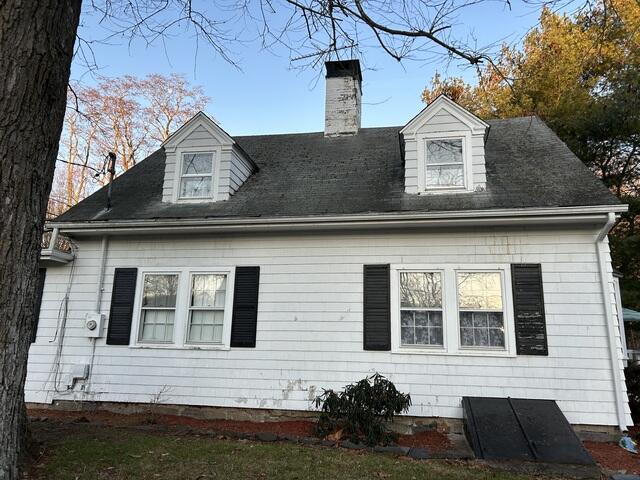
Before: Rough Look
Here's a look at Judy's roof before the replacement. This roof has definitely seen better days. Click through to see the beautiful transformation!
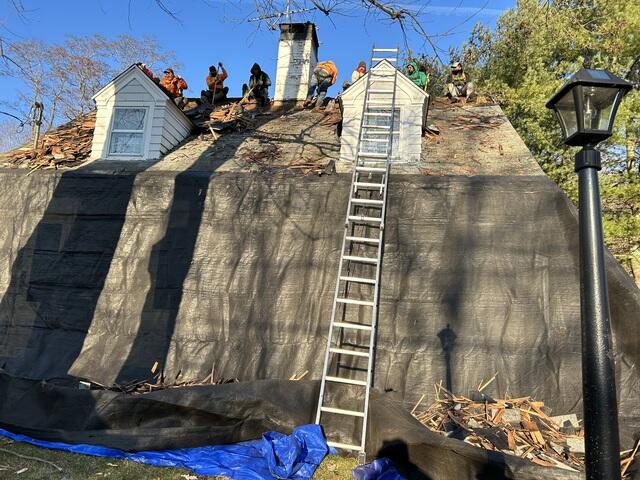
The Teardown Begins
The crew kicks things off by tearing off all of the old shingles. Before they begin the teardown, they set up large tarps around the edges of the house and lay tarps around the yard to ensure that the property is completely protected from falling debris. This also helps speed up the cleanup process at the end.
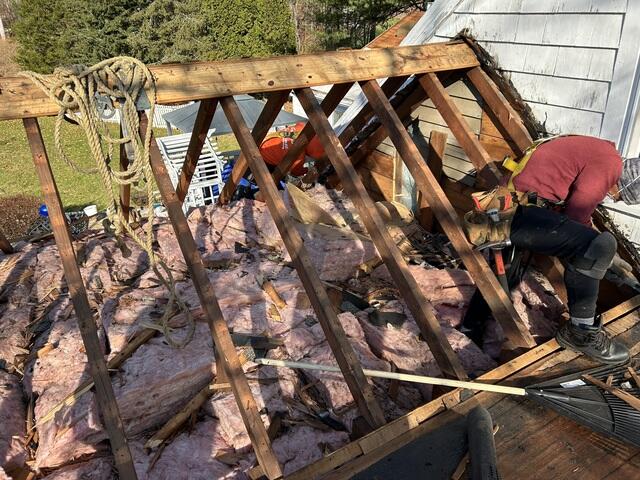
Taking It Down to the Rafters
Underneath the shingles is a layer of plywood called the roof sheathing. The sheathing is the structural foundation of the roof, and must be free of damage, rot, or mold before the new roof is installed. In this case, the crew found that all of Darlene's sheathing needed to be replaced, so they stripped it all off down to the rafters for a fresh, clean slate.
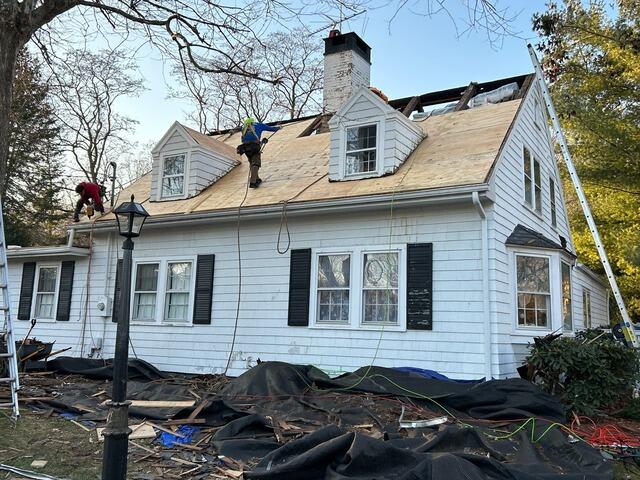
New Plywood Is Installed
Sturdy new CDX plywood is installed, precisely fit and nailed into the rafters, creating a strong, solid new base for the new roof.
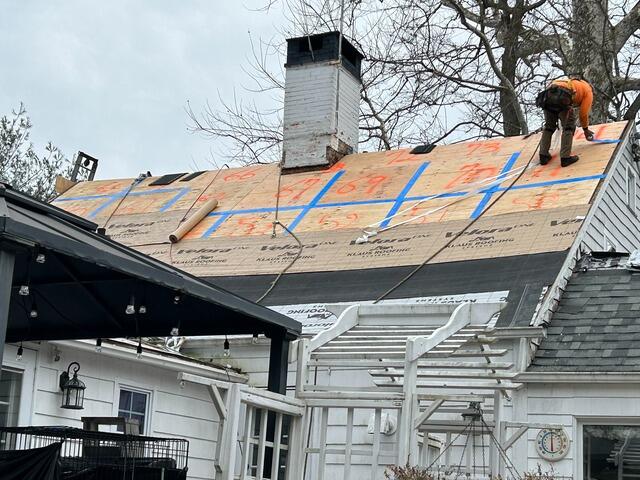
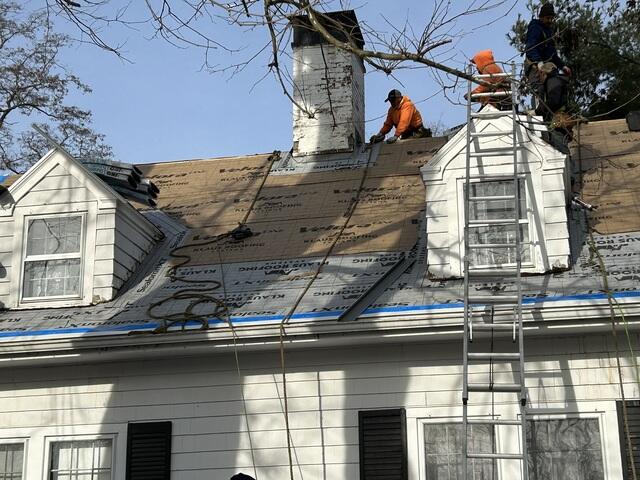
Seams Are Taped & Underlayment Is Installed
With all of the new sheathing nailed into place, the seams of each sheet of plywood are taped up with all-weather deck tape as an added measure of reinforcement. Next, underlayment is installed over the entire surface. This thin, waterproof membrane protects the sheathing from harmful elements like rain, wind, snow, and ice.
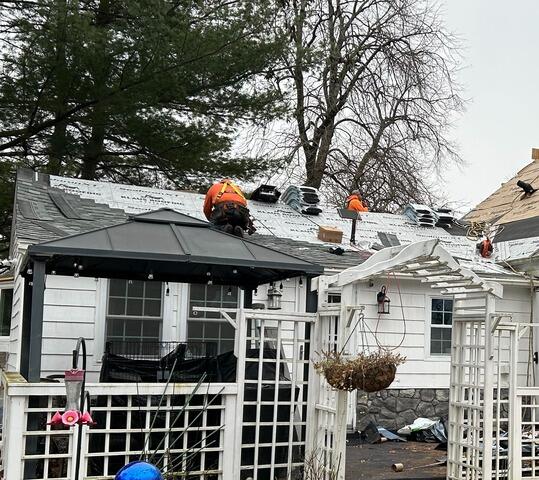
Drip Edge Is Installed
Drip edge flashing is installed around all of the edges of the roof. This thin metal acts as a barrier, preventing water from seeping into the roof, instead helping it to roll off away from the fascia into the gutters.
New Shingles Are Installed
Now it's time to install the new shingles! For her new roof, Judy has selected the elegant shade of Castle Gray from our IKO Dynasty collection to beautifully complement her home.
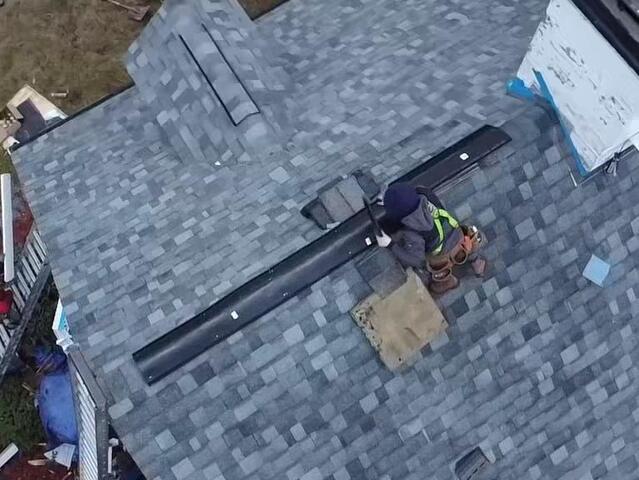
Ridge Vent Is Installed
At the highest point of the roof, a ridge vent is installed to let trapped heat and moisture escape. This crucial step keeps the attic dry and helps prevent damage from condensation buildup.
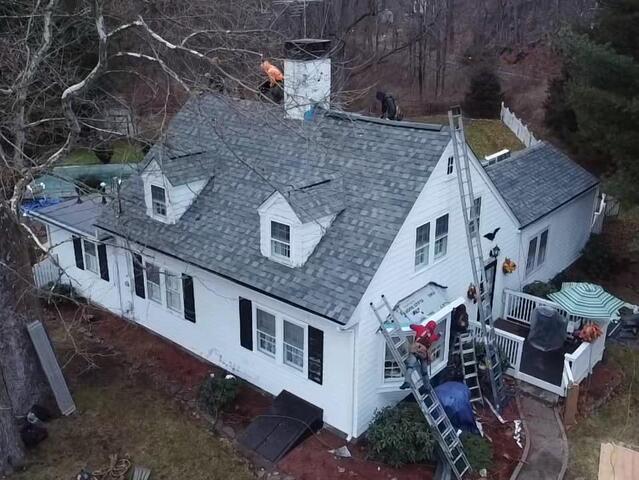
The Roof After
After a few finishing touches and a thorough cleanup process (and after this bay window is finished), Judy's roof is complete-built to last and looking beautiful!