
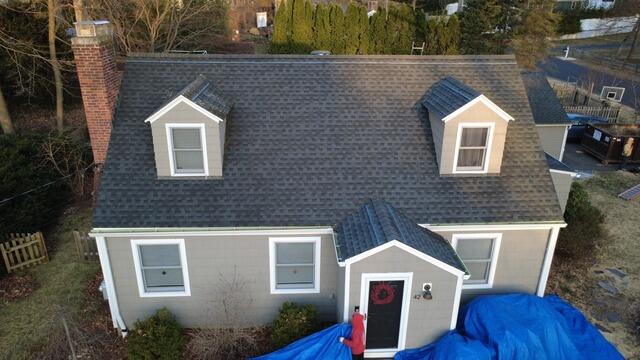
The Roof Before
Here's what Chad's roof looked like before the replacement. Click through to see the sleek transformation!
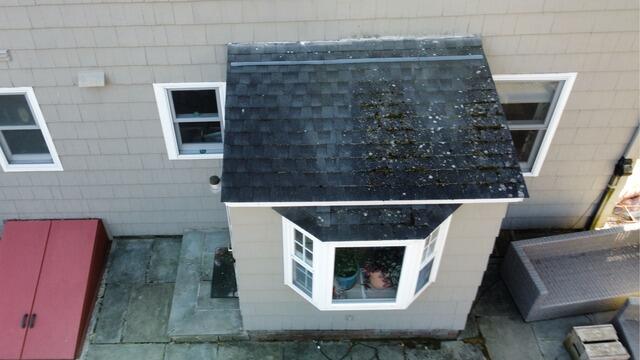
Before: Moss on the Bay
This small section above the side door really shows the worst of the wear on Chad's roof-covered in moss, lichen, and clear signs of moisture damage. But no worries-we're here to take care of it and get this roof looking (and working) like new!
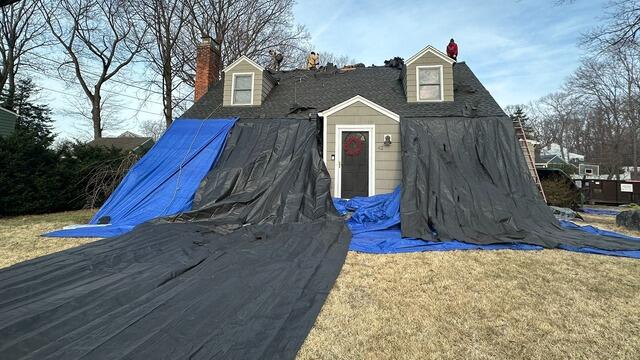
The Teardown Begins
the crew kicks things off by carefully stripping off all of the old shingles. Before they begin, large tarps are hung up around the roof and laid out along the yard to ensure that the homeowner's property is fully protected from falling debris. This also helps make the cleanup process more efficient.
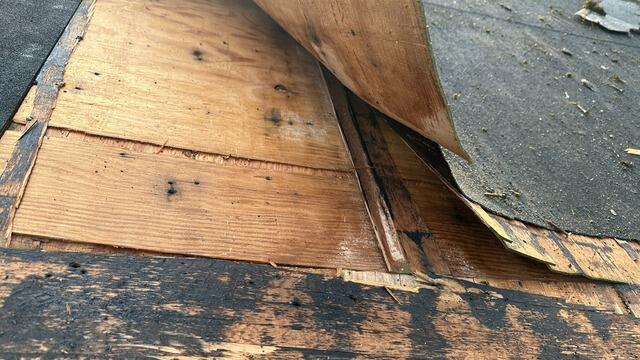
Bad Plywood Is Found & Removed
After all of the old shingles removed, what's left is a layer of plywood, which is called the roof sheathing. The roof sheathing is the structural foundation of the roof. The crew closely examines the entire surface for any signs of damage, like rot or mold. Any sections found with damage-like this piece here-are promptly removed.
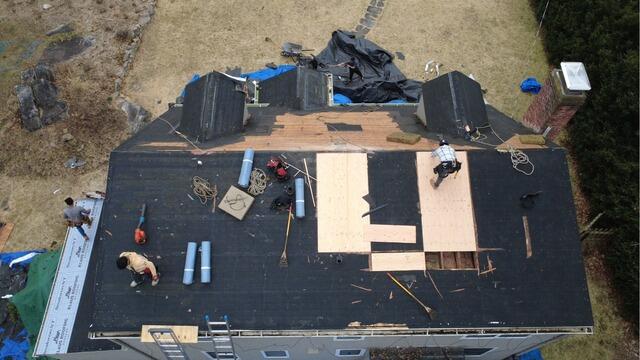
New Plywood Is Installed
Brand-new 1/2" CDX plywood is carefully measured, cut as needed, and securely nailed into place to replace any damaged sections. You might notice that much of the existing sheathing looks black-that's actually the old underlayment still adhered to the surface. Because this membrane is directly bonded to the plywood, removing it would risk damaging otherwise solid material, so it's best left intact.
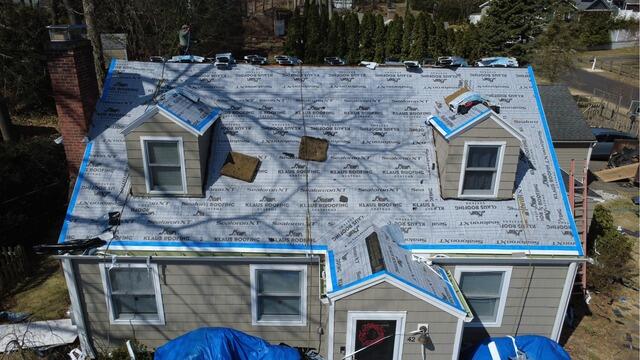
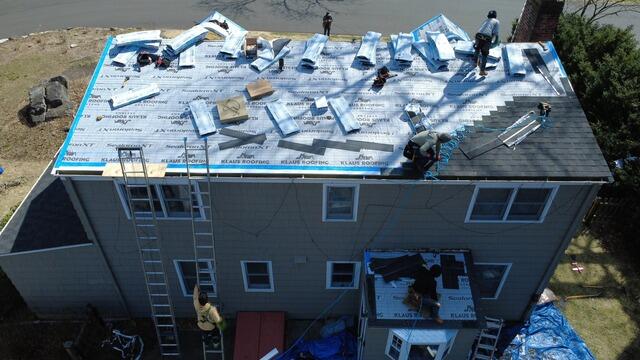
New Underlayment Is Installed
Next up: time to install our own high-performance underlayment. This premium layer acts as a watertight barrier, protecting the sheathing from the elements-rain, wind, snow, ice, and anything else. Then comes the drip edge flashing-a slim strip of metal installed along the roof's edges to guide water safely into the gutters and away from the fascia.
New Shingles Are Installed
Now it's finally time to start installing the new shingles! For his new roof, Chad has selected the cool, dark shade of Glacier from our premium IKO Dynasty collection to perfectly complement his home.
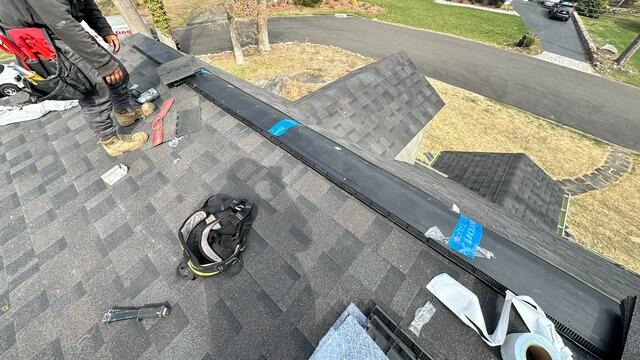
Ridge Vent Is Installed
A shingle vent is placed along the roof's ridges to promote proper airflow, giving hot, humid air a way to escape and preventing harmful condensation buildup inside the attic.
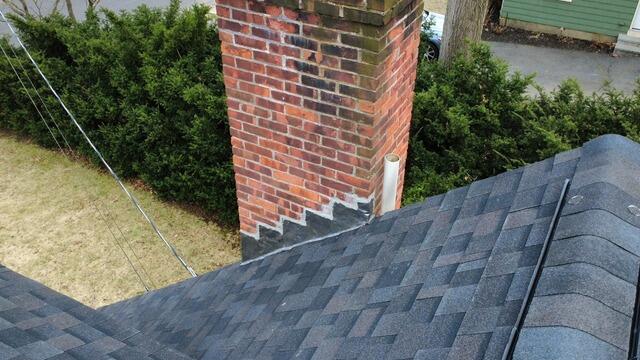
New Flashing on the Chimney
New flashing is installed on the side of the chimney where it meets the roof. This thin metal acts as a watertight barrier, preventing water from seeping through this otherwise vulnerable junction.
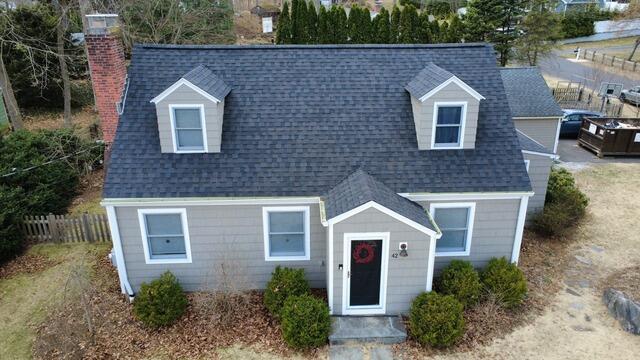
The Roof After
With a few finishing touches and a thorough cleanup of the property, Chad's new roof is officially complete, built to last, and looking fantastic!