

The Roof Before
Here's what Leslie's roof looked like before the renovation. Click through to see the amazing transformation!

The Teardown Begins
Before the crew starts the teardown, they hand up large tarps around the edges of the roof as well as drape them across the yard to completely protect the homeowner's propertyy as well as make for a more efficient cleanup process afterward.
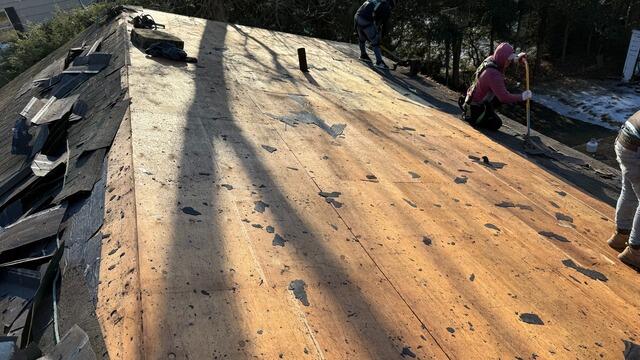
The Sheathing Is Exposed
Once the old shingles come off, all that's left is a layer of plywood, which is called the roof sheathing. This is the structural foundation of the roof, and must be inspected closely for any signs of damage, such as rot or mold.
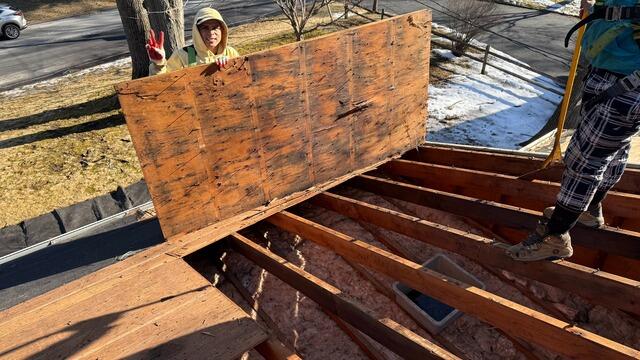
Bad Plywood Is Removed & Replaced
Any sections found with damage are promptly removed and replaced by our crew with sturdy new CDX plywood, ensuring a solid base for the new shingles.
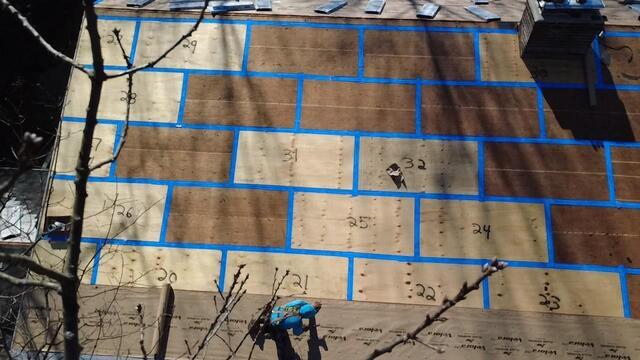
Seams Are Taped & Underlayment Is Installed
Before the shingles go on, the seams of each plywood sheet are taped up with all-weather deck tape as added reinforcement. Next, a layer of underlayment is installed over the entire surface. This thin, water-resistant membrane shields the sheathing further from harsh elements like rain, wind, snow, and ice.

New Shingles Are Installed
Now it's time to install the new shingles! For her new roof, Leslie has selected the elegant shade of Emerald Green from our prestigious IKO Dynasty collection. These premium-laminated architectural shingles are backed by our 50-year warranty.
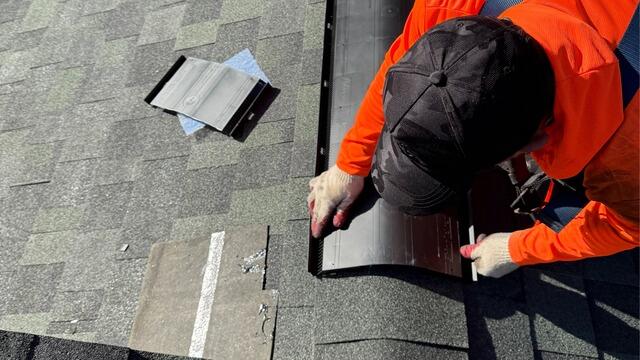
Ridge Vent Is Installed
Next, the ridge vent is installed along the peak. This vent helps regulate airflow, giving hot, moist air a way to escape and reducing the risk of harmful condensation.
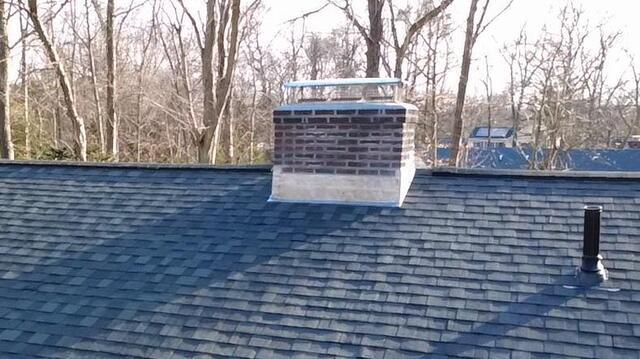
New Flashing on Chimney
New flashing is installed around the chimney where it meets the roof. This thin metal barrier prevents water from seeping into the roof at what would be an otherwise vulnerable junction.
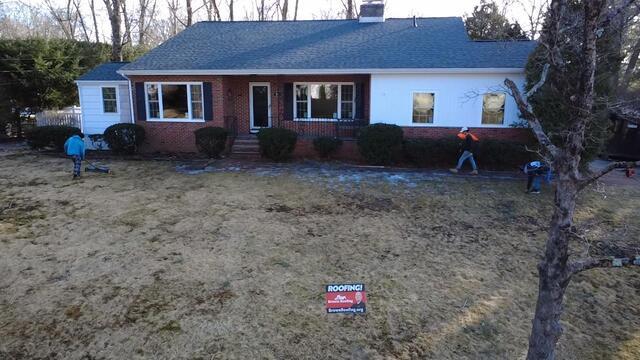
The Roof After
After a couple of finishing touches, Leslie's new roof is officially complete-built to last and looking beautiful!