
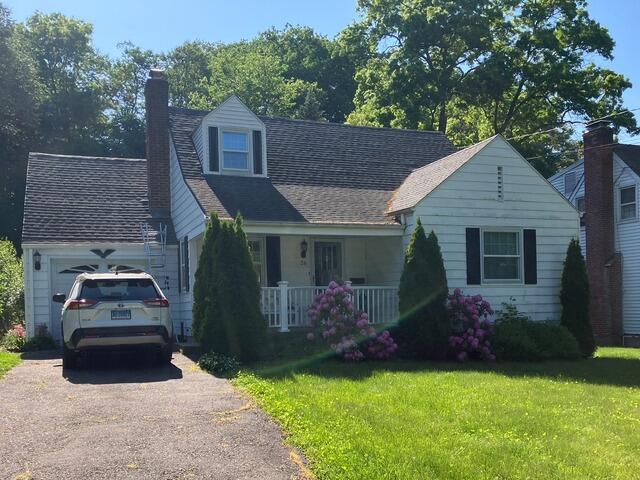
The Old Roof
Here's what Jeremy's roof looked like before the renovation. Click through to see how we awesomely transformed it!
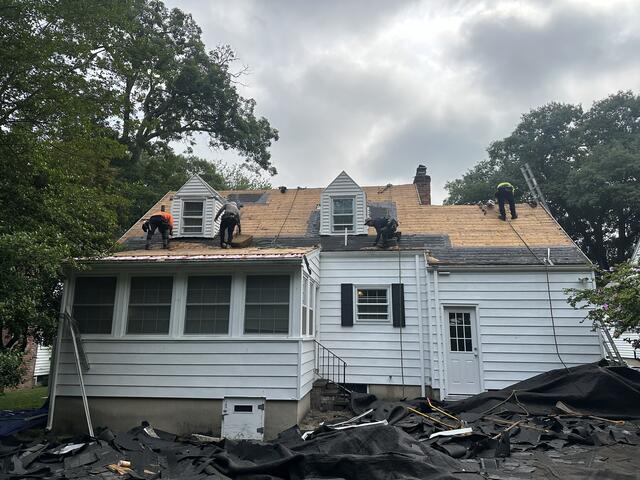
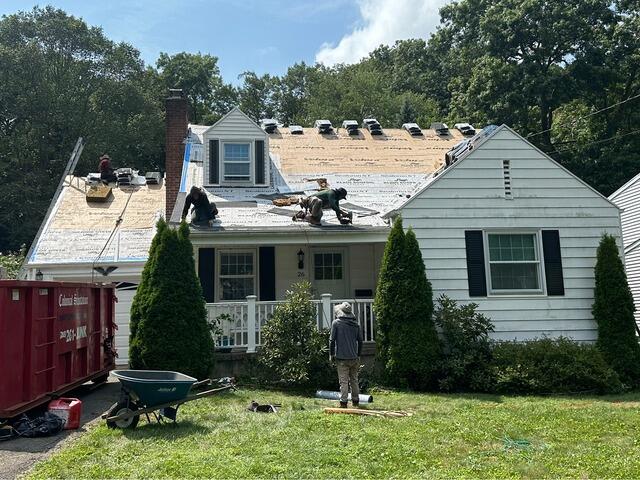
The Decking Is Examined
The first step is stripping off all the old shingles. Once that's done, the crew carefully inspects the plywood layer beneath, known as the roof decking, for any signs of rot, decay, or mold to ensure a strong foundation for the new roof.
New Plywood Is Installed
Any damaged sections are carefully removed and replaced with sturdy CDX plywood, precisely measured and cut to fit seamlessly into place.
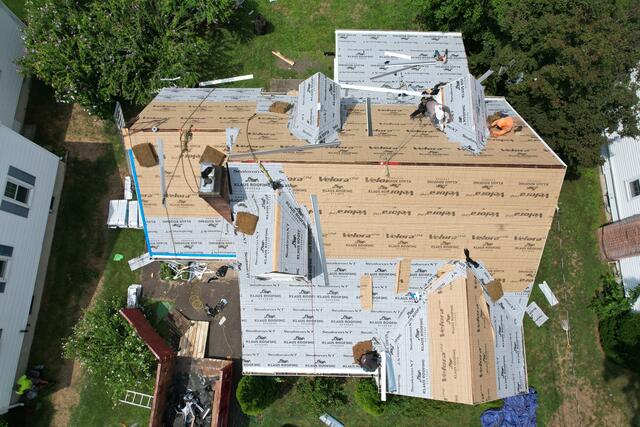
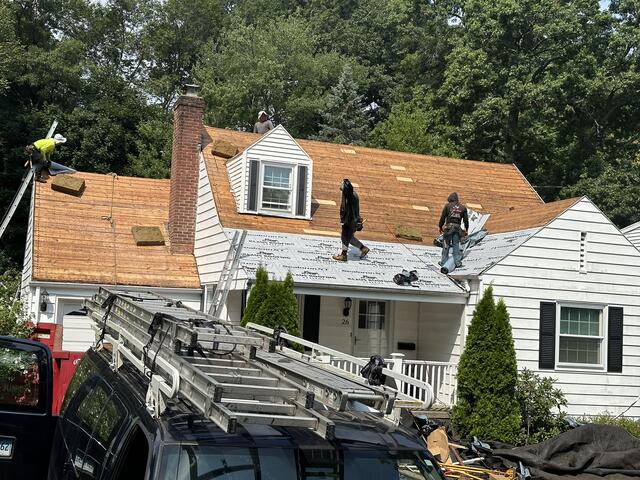
Underlayment Is Installed
A layer of underlayment is installed over the entire surface. This thin, water-resistant membrane protects the decking from harsh elements like rain, wind, snow, and ice.
New Shingles Are Installed
Next, it's time to start installing the new IKO Dynasty premium-laminated shingles! The crew starts from the bottom of the roof and works their way up, installing the shingles in a clean "staircase" pattern.
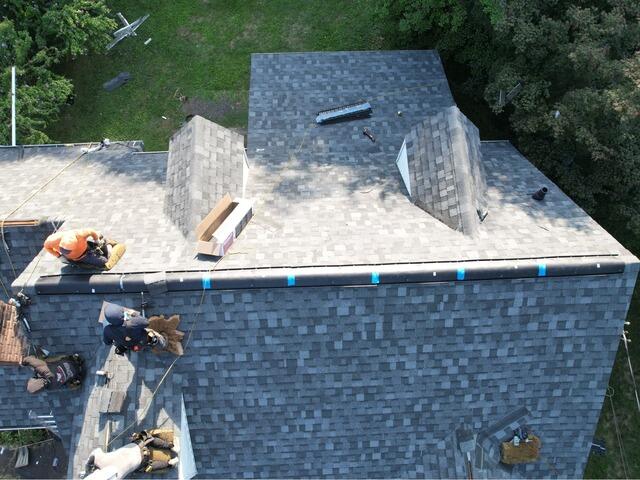
Ridge Vent Is Installed
A shingle vent is installed along the ridge of the roof to promote proper airflow. This vent allows hot, humid air rising from inside the house to escape, helping prevent damaging condensation buildup.
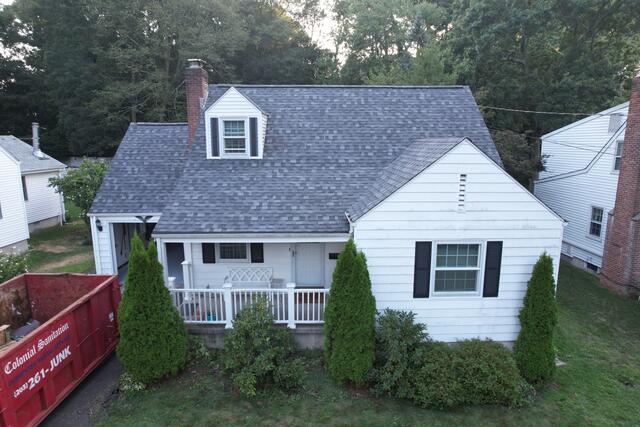
The New Roof
The ridge vent is topped off with a ridge cap, and flashing is secured on the side of the chimney. With that, Jeffrey's new roof is complete!