
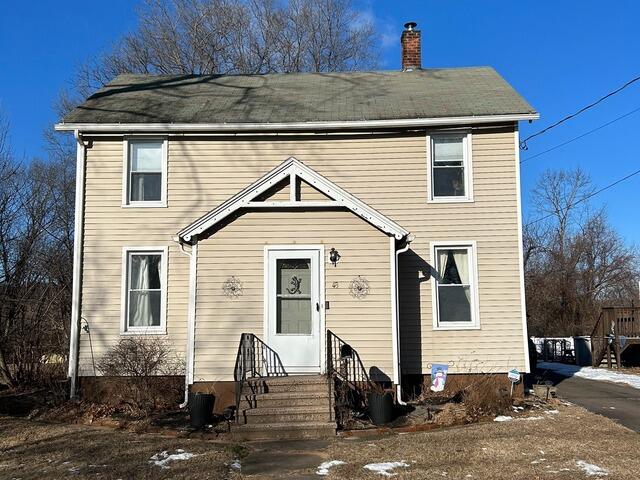
The Roof Before
Here's what Michele's roof looked like before the transformation. Those three-tab shingles have outlasted their heyday. Click through to see how we transformed this roof!
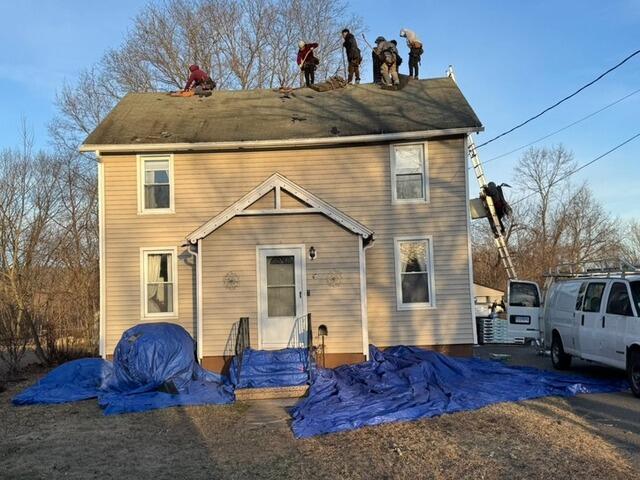
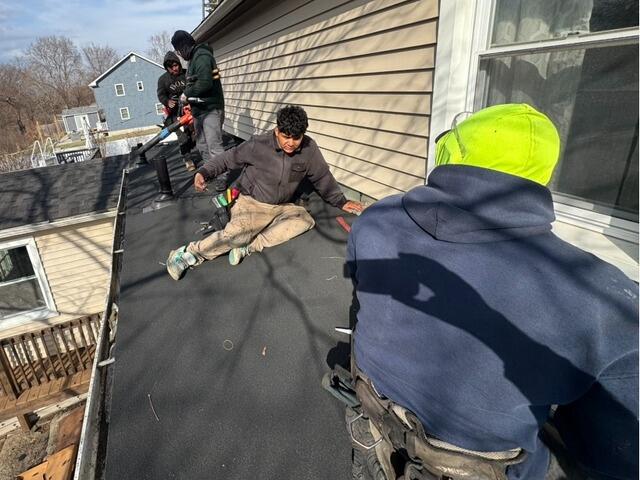
The Teardown Begins
The crew gets to work tearing off the old shingles. Before they begin, they make sure to carefully lay out tarps to ensure that the homeowner's property is not damaged during the renovation.
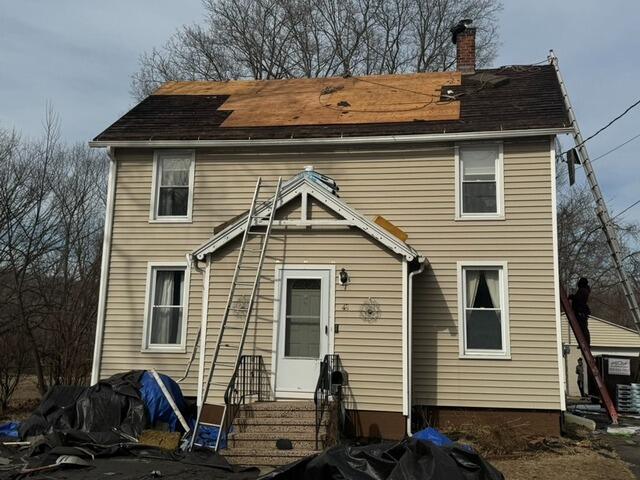
New Plywood Is Installed
Beneath the shingles lies the roof's backbone: its sheathing. Michele's home had an older style called skip sheathing, which works well for lightweight materials like wood shake or thin three-tab shingles. But since we're upgrading to durable, architectural shingles, we need a stronger foundation. The crew installs 1/2" CDX plywood over the skip sheathing to create a rock-solid base.
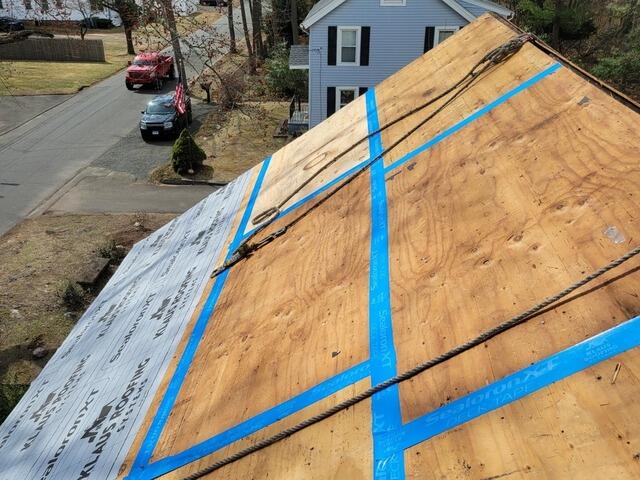
Seams Taped & Underlayment Goes On
As an extra means of reinforcement, the seams of all of the plywood sheets are taped up with all-weather deck tape. Next, an underlayment is installed over the entire surface. This thin, water-resistant membrane protects the sheathing from damaging elements like rain, wind, snow, or ice.
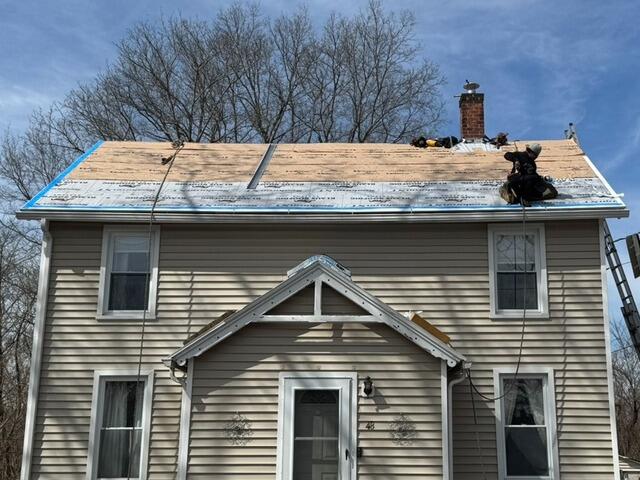
Drip Edge Flashing Is Installed
Drip edge flashing is installed around the entire perimeter of the roof. These metal pieces play a crucial role in directing water away from the fascia and into the gutters, keeping moisture from sneaking under the shingles and causing damage. Once in place, it's securely nailed down and reinforced with deck tape, ensuring long-lasting protection against the elements.
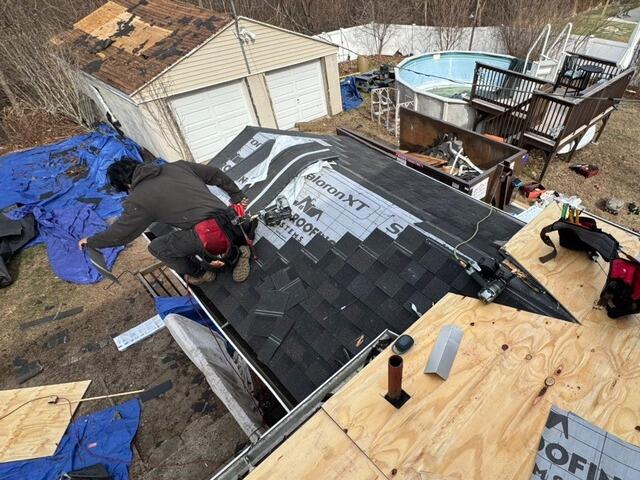
New Shingles Are Installed
Next, it's finally time to start installing the new shingles! Brown Roofing proudly uses IKO Dynasty premium-laminated architectural shingles for all roofs backed by our 50-year warranty. Michele has chosen the cool "Glacier" shade for her new roof.
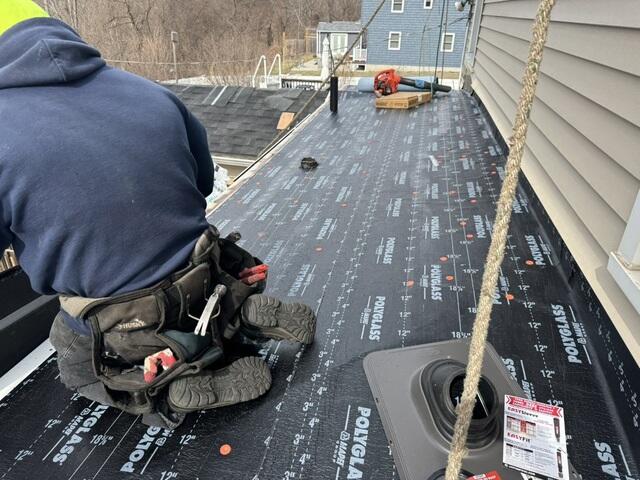
SBS Roof Base Is Installed
This section of Michele's roof is low-sloping - otherwise known as flat. Shingles cannot be installed here - instead, a specialized SBS (styrene-butadiene-styrene) membrane is adhered to the sheathing in 2 layers. This first layer, called the base, acts as the underlayment.
SBS Roof Is Finished
The top layer, known as the cap, is adhered directly onto the base. This completes the flat section of Michele's roof.
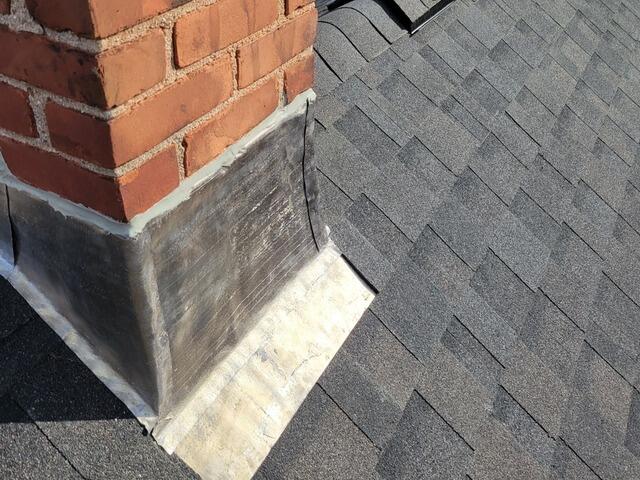
New Flashing Installed on the Chimney
New flashing is secured around the sides of the chimney where it meets the roof. This thin metal acts as a barrier, keeping water from entering through an otherwise vulnerable junction.
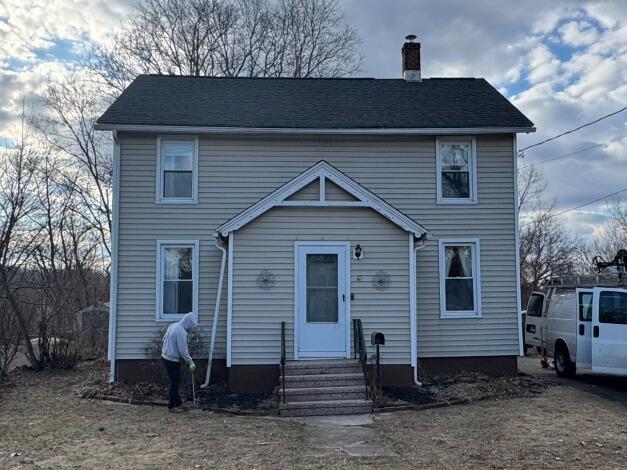
The Roof After
After a couple of final touches, like installing a ridge vent and securing flashing around all roof pipes - Michele's new roof is complete!