
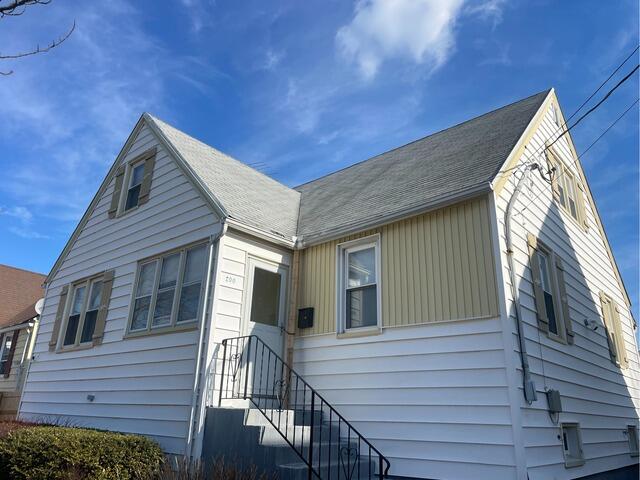
The Roof Before
Here's what Adriana's roof looked like before the renovation. Click through to see how we transformed it!
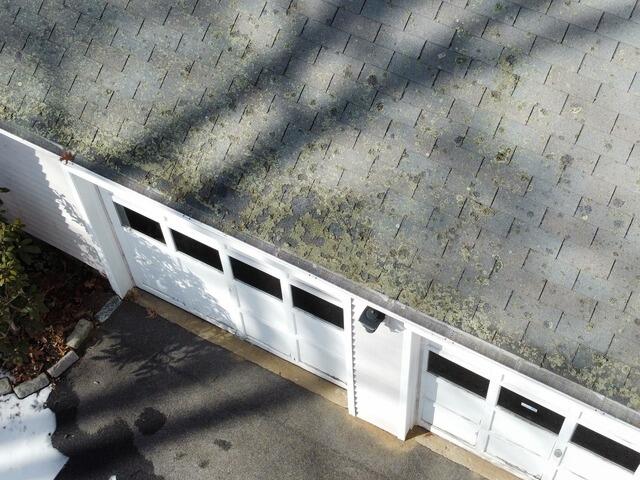
Before: Shingle Deterioration
Adriana's has three-tab shingles - once a popular and budget-friendly choice, but not as durable as modern architectural shingles. This is especially clear above the garage, where years of moisture damage have led to heavy moss growth, completely deteriorating the shingles in some areas. Time to say goodbye to the old and hello to a brand-new, long-lasting roof!
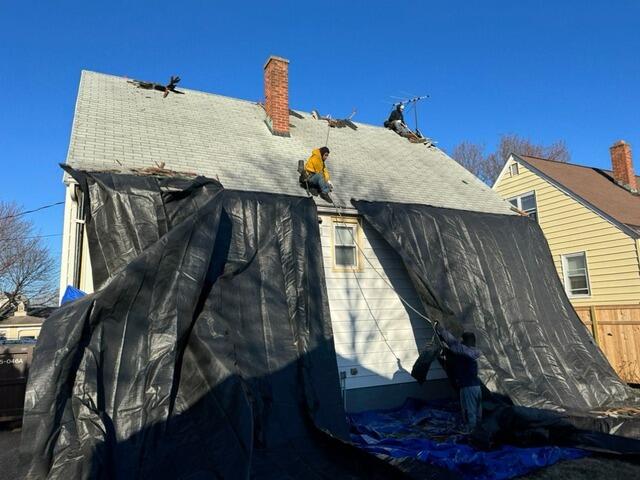
Protecting the Property
Before the crew starts the teardown, they set up large, heavy-duty tarps to protect the homeowner's property from falling debris.
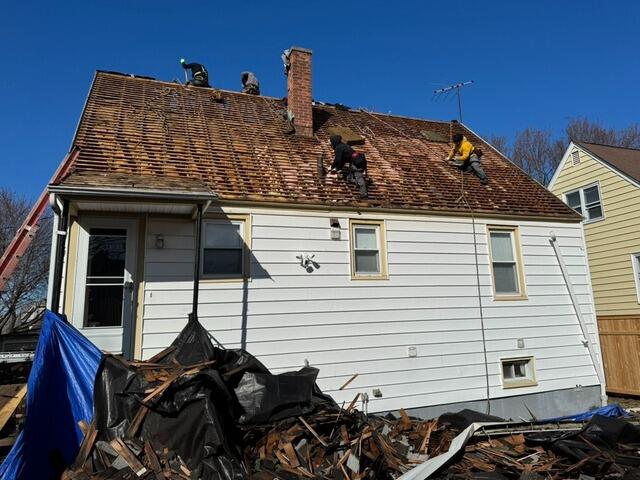
The Shingles Are Stripped
The crew strips off all of the old shingles, which were attached to wood shakes. This leaves the structural framework of the roof - which is called the roof sheathing - bare.
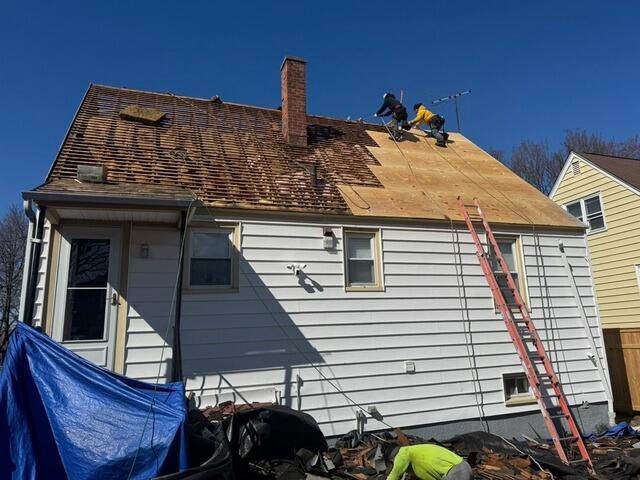
New Plywood Is Installed
In order to have solid foundation for the new roof, sturdy sheets of 1/2" CDX plywood are installed on top of the framework.
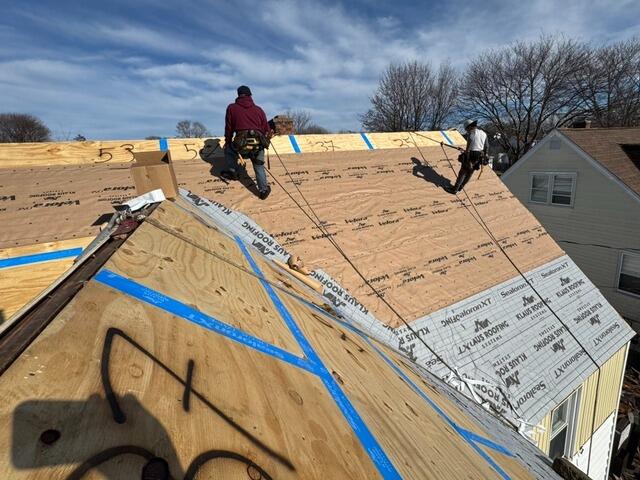
Seams Taped & Underlayment Applied
After all of the sheets are in place, all of the seams are taped with all-weather, heavy-duty deck tape. Next, an underlayment is installed over the entire surface. This thin, waterproof membrane further protects the decking from harsh elements like wind, rain, snow, or ice.
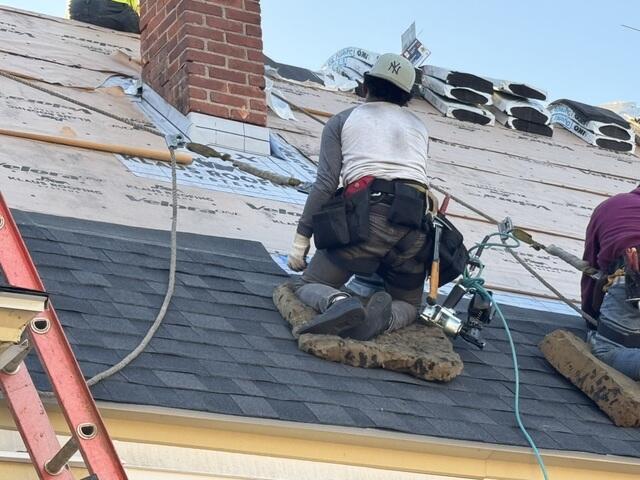
New Shingles Go On
With the underlayment fully installed, it's time to put on the new IKO Dynasty premium-laminated shingles! These high-quality shingles come in a variety of colors, and Adriana has selected the sleek shade of Granite Black for her new roof.
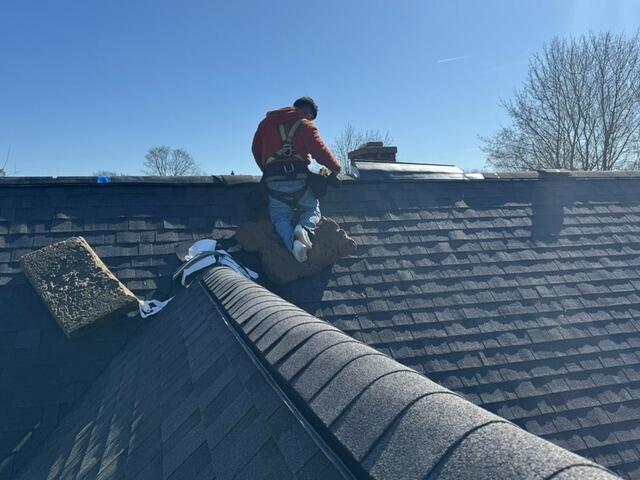
Ridge Vent Installed
A shingle vent is installed at the ridges of the roof. This vent ensures proper airflow by allowing hot, humid air rising from the house a way to escape, preventing harmful condensation buildup.

The Roof After
After a couple more final touches, Adriana's roof is officially complete and looking stunning!