
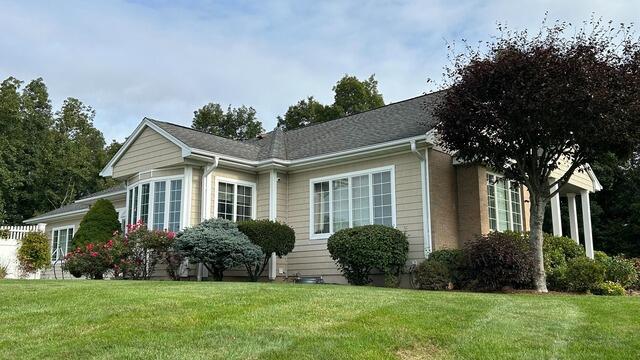
Before: Front View
Here's a view of the front of Massimo's house with his old roof. Click through to see how we expertly transformed it!
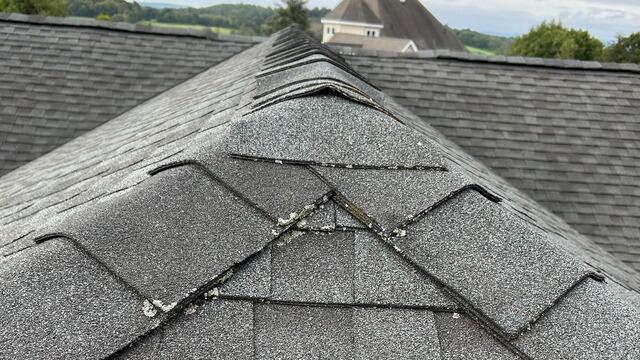
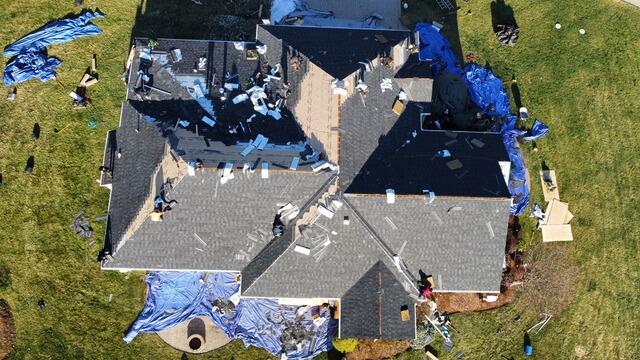
Before: Lichen & Lifting Shingles
A closer look at Massimo's roof shows moss and lichen growth on some of the shingles, indicating moisture buildup. In addition, you can see that some of the shingles are starting to lift. Let's get started on that new roof!
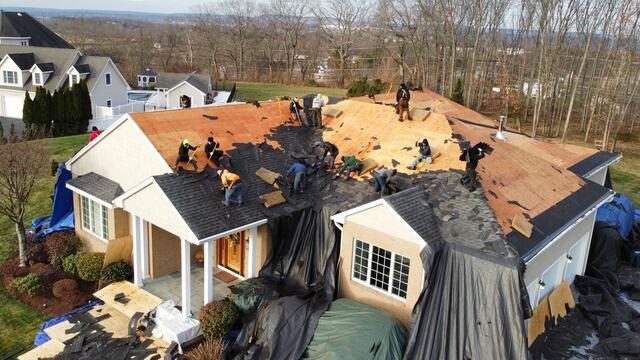
The Old Shingles Come Off
The crew starts by stripping the old shingles off. This reveals the plywood foundation, which is called the roof decking. After all of the shingles are off, the crew closely examines the decking for any signs of damage, like rot or mold. Any affected sections have to be removed.
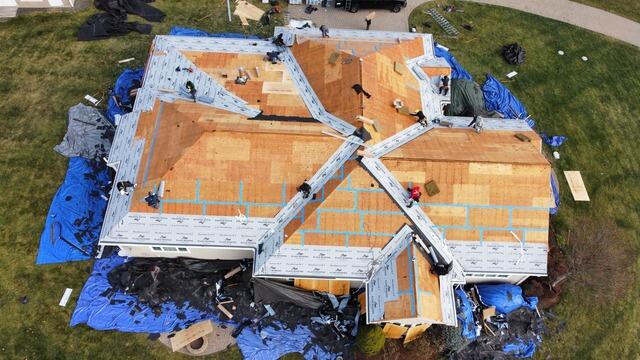
Underlayment Is Installed
Our crew found that Massimo's decking was in tip-top shape and showed no signs of damage. So they proceeded onto the next step: installing the underlayment. First, the seams of each sheet of plywood that makes up the decking are taped up with heavy-duty all-weather deck tape to ensure maximum durability. Next, a thin layer of synthetic felt is installed over the entire surface. This water-resistant material protects the decking from harsh elements like rain, wind, snow, or ice.
The New Shingles Go On
Next, it's time for the crew to start installing the beautiful new IKO Dynasty shingles! These durable, premium-laminated shingles come in a variety of colors, and Massimo has selected Granite Black for his new roof.
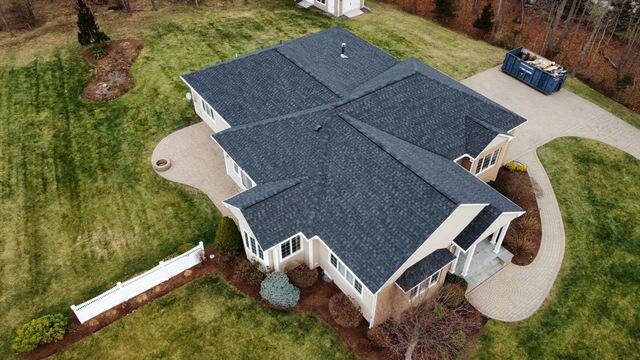
After: Top View
After a few more finishing touches, like installing flashing around all of the pipes, as well as installing a new ridge vent and ridge cap, the new roof is complete!
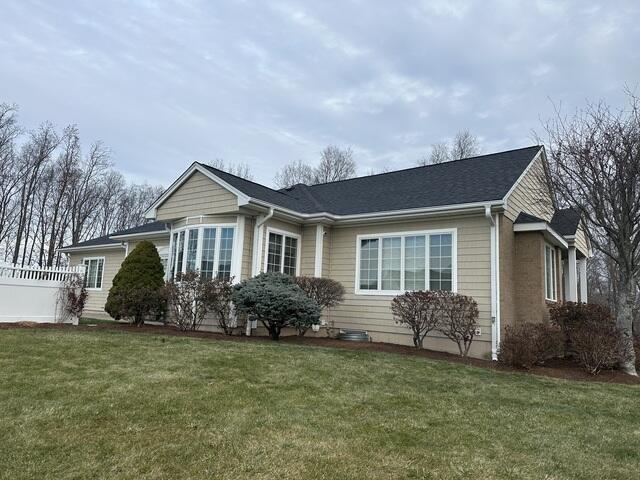
After: Front View
Massimo's roof is now fully protected, lichen-free, and ready to take on whatever Mother Nature throws its way!