
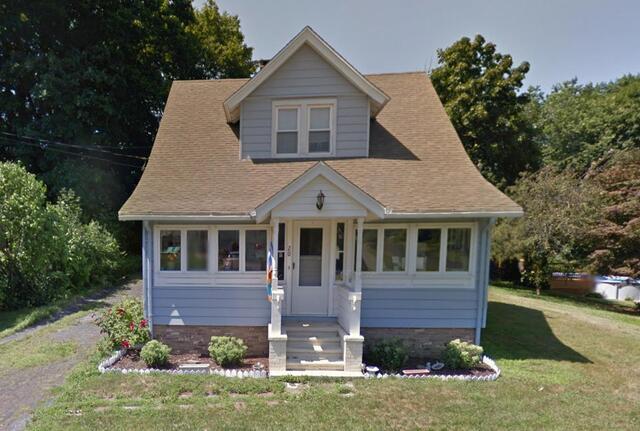
Before: Front View
Here's what Judi's roof looked like before the replacement. Click through to see the transformation!
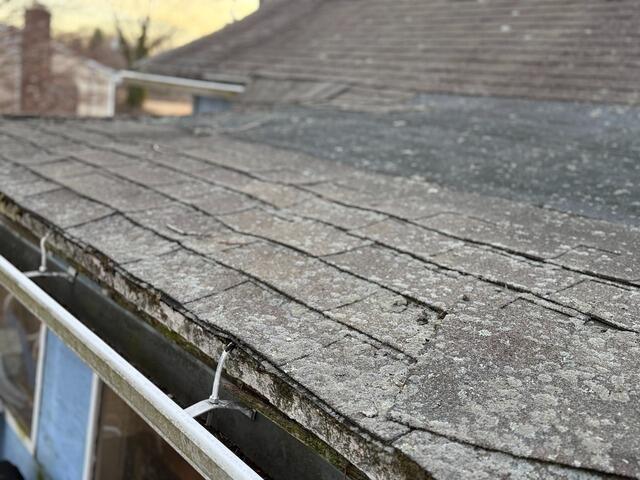
Before: Shingle Situation
A closer look at Judi's shingles shows that her shingles are in rough condition and almost completely taken over by invasive lichen, a moisture-loving plant. In addition, her gutters are looking a little worse for wear as well, with significant algae growth. Let's get this roof fixed up!
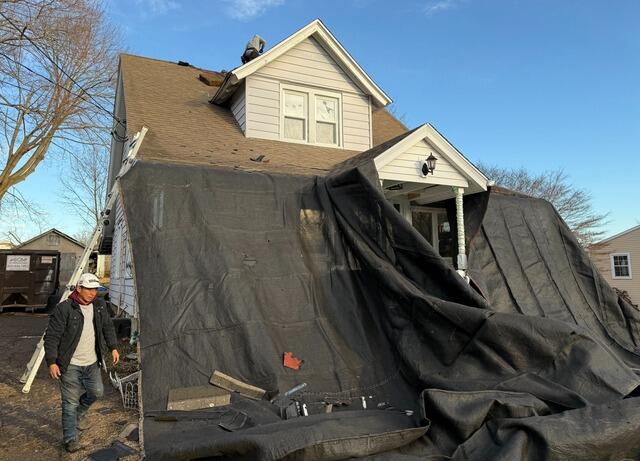
The Teardown Begins
Before the crew starts the teardown, large tarps are laid out across the home and lawn to ensure that the homeowner's property is completely protected from falling debris. This also helps make the clean-up process a little more efficient.
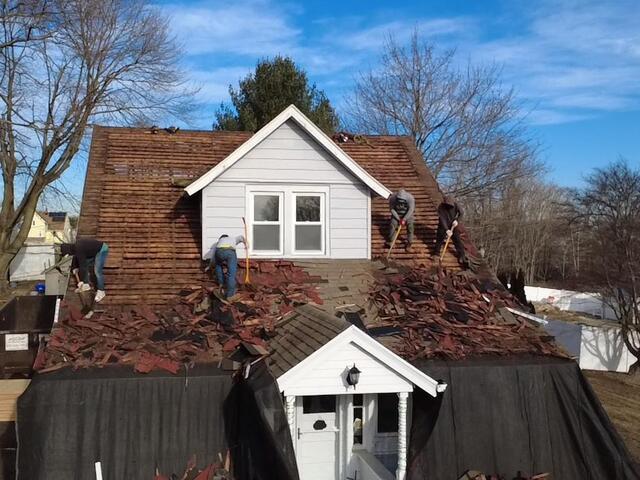
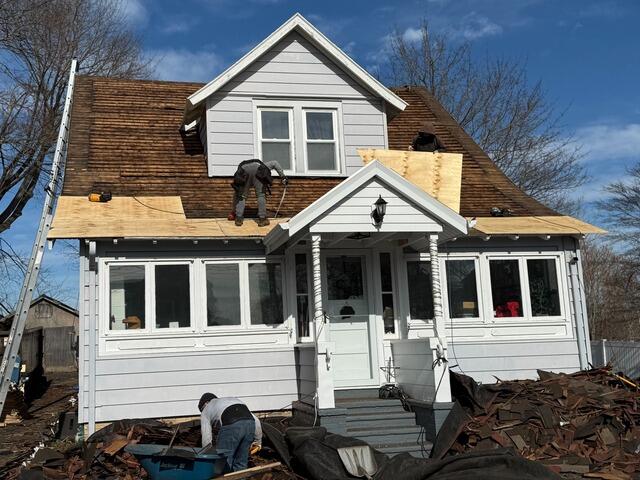
Old Shingles Come Off & Sheathing Is Exposed
Underneath Judi's old shingles lies the sheathing: the structural backbone of her roof. Her home has skip sheathing, a style made up of spaced wooden boards. While suitable for certain roofing materials, it's not the best match for architectural asphalt shingles, which are heavier and require a more solid, reinforced foundation for optimal performance and longevity.
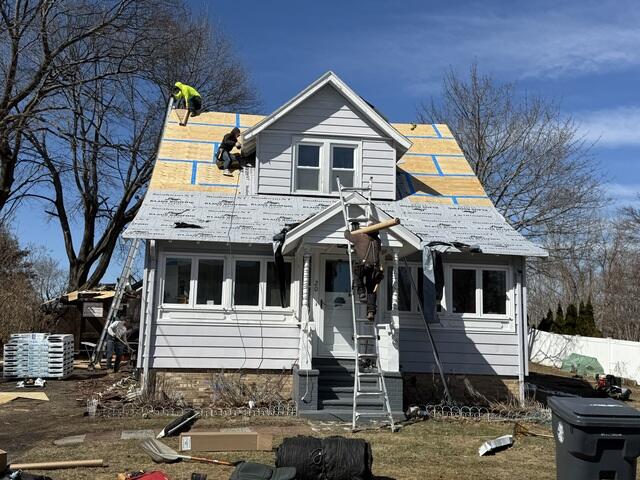
New Plywood Is Installed
To ensure Judi's roof is ready for her new shingles, the crew installs sturdy 1/2" CDX plywood over the existing skip sheathing. Each sheet is carefully measured, precisely fitted, and securely nailed down, creating a strong, reliable foundation for her upgraded roof.
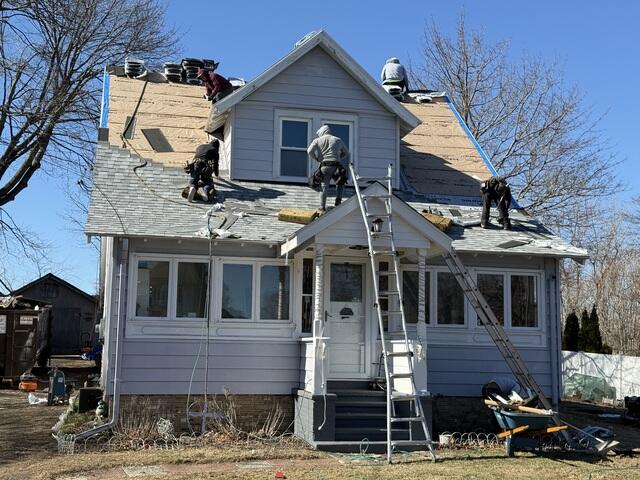
Seams Are Taped & Underlayment Is Installed
To add even more strength and protection, the crew reinforces each sheet of plywood by sealing the seams with heavy-duty all-weather deck tape. Next, they install a layer of underlayment across the entire surface. This thin, water-resistant barrier provides extra defense against harsh elements like rain, snow, and ice.
New Shingles Go On
With the underlayment firmly in place, it's time for the exciting part... installing the new shingles! The crew gets to work with IKO Dynasty premium-laminated architectural shingles, renowned for their unbeatable durability and stunning curb appeal. These top-tier shingles come in a variety of colors, and Judi has chosen the elegant Frostone Gray to give her home a chic, modern look.
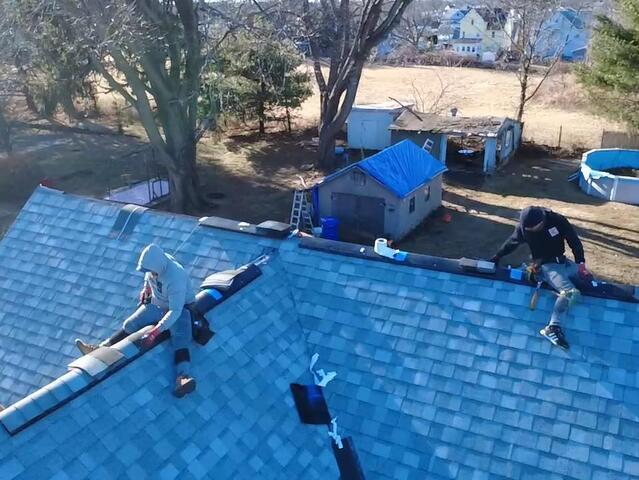
Ridge Vent Is Installed
Next, the crew installs a shingle vent along each ridge of the roof. This crucial addition ensures proper airflow, allowing hot, moist air from inside the house to escape. By preventing condensation buildup, the vent helps protect the roof from potential damage and extends its lifespan.

After: Front View
After a few final touches - like installing a ridge cap over the ridge vent for a polished, seamless look - the new roof is complete!

The Finished Look
The next day, our gutter crew arrived to put the finishing touch on Judi's renovation: installing brand-new 5k gutters. Now, with a durable new roof and a reliable gutter system, Judi's home is fully protected and looking better than ever!