
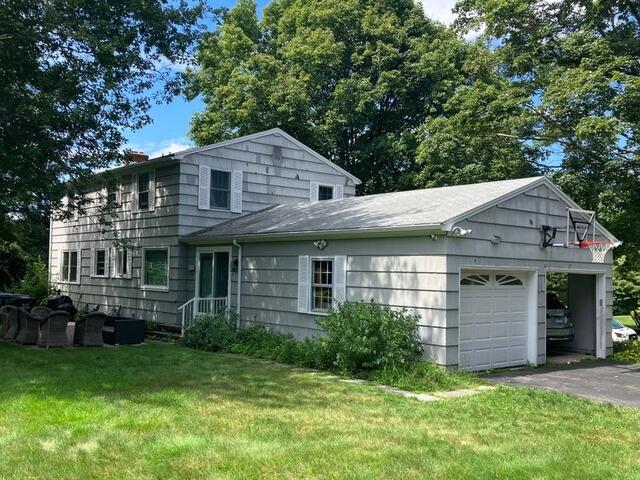
The Roof Before
Take a gander at Ryan's roof before the transformation. Click through to see the spectactular makeover!
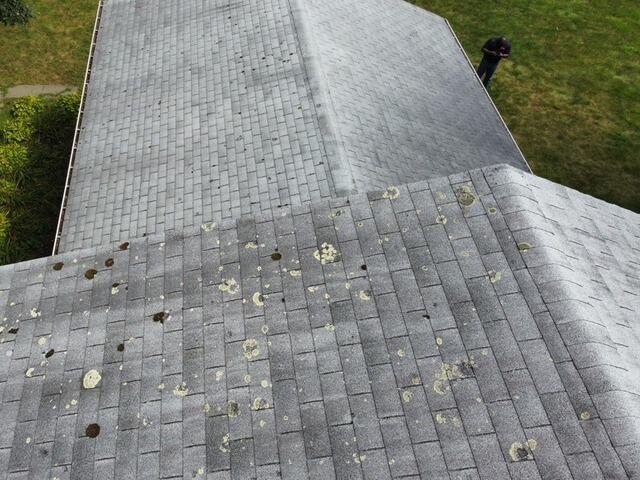
Before: Moss & Lichen
A closer look reveals the significant growth of moss and lichen spots all over Ryan's older style of three-tab shingles. This roof is definitely in need of a transformation. Let's get to it!
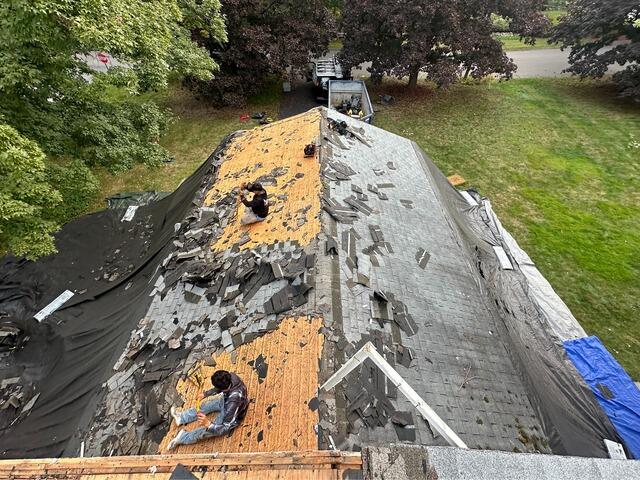
The Old Shingles Come Off
After laying out large, heavy-duty tarps to ensure that Ryan's property is completely protected from falling debris, the crew starts to carefully strip the old shingles off of the roof, revealing the wooden foundation - called the roof decking - underneath.
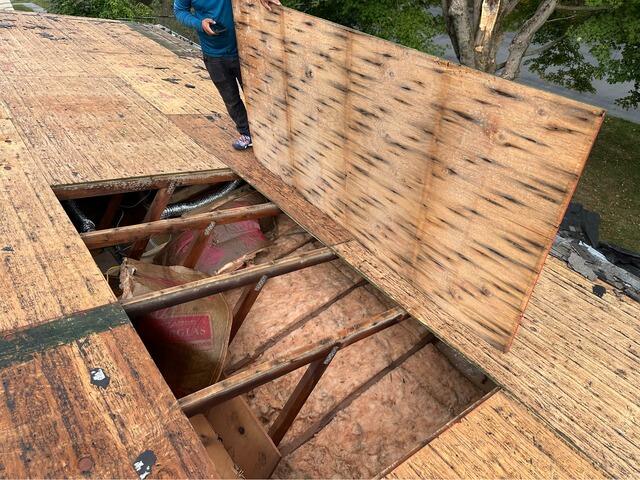
Bad Plywood Is Removed
As the structural foundation of the roof, the health of the decking is essential to the integrity of the new roof. The crew meticulously checks the decking for any signs of damage, like rot or mold, and removes any affected pieces, like this one shown here.
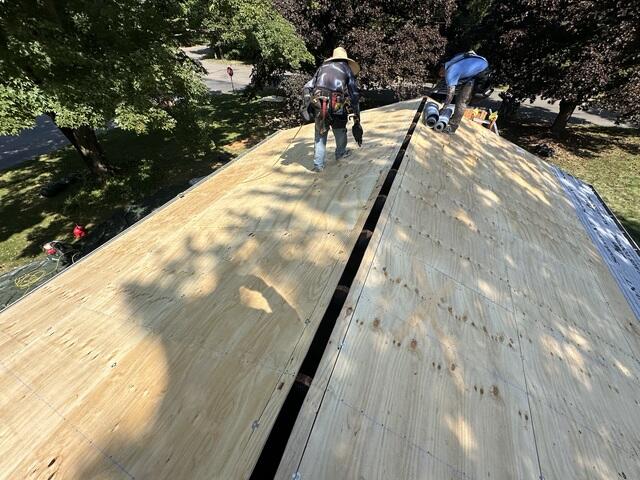
New Plywood Is Installed
The crew found that all of the old roof decking needed to be replaced. With the go-ahead from Ryan, the crew removed all of the old plywood and replaced it with sturdy new 1/2" CDX plywood - carefully fitted and nailed into place on top of the rafters.
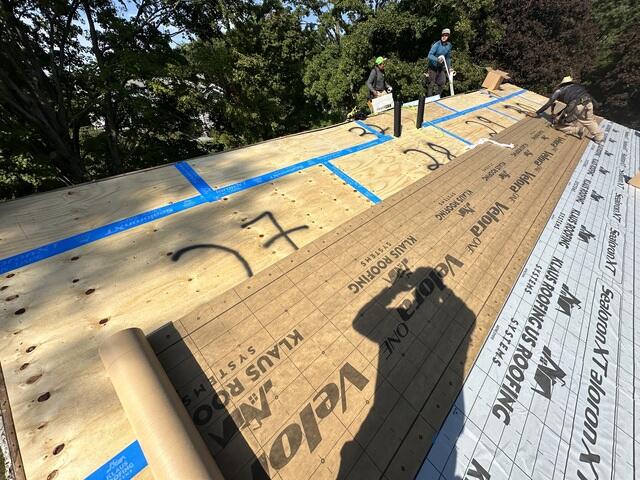
Seams Taped & Underlayment Applied
The crew tapes all the seams of the plywood sheets with durable, all-weather deck tape. Then, a layer of underlayment is carefully applied across the entire surface. This thin, water-resistant material acts as a protective barrier, shielding the decking from harsh elements like rain, snow, and ice.
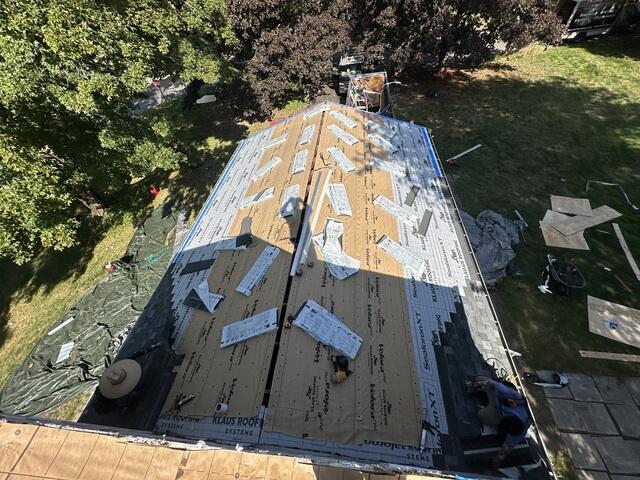
New Shingles Are Installed
After the decking is completely covered in underlayment, the crew gets to work installing the new shingles! The shingles Brown Roofing trusts for every roof backed by our 50-year warranty are superior quality IKO Dynasty premium-laminated, and Ryan has selected the beautiful color of Summit Gray for his new roof.
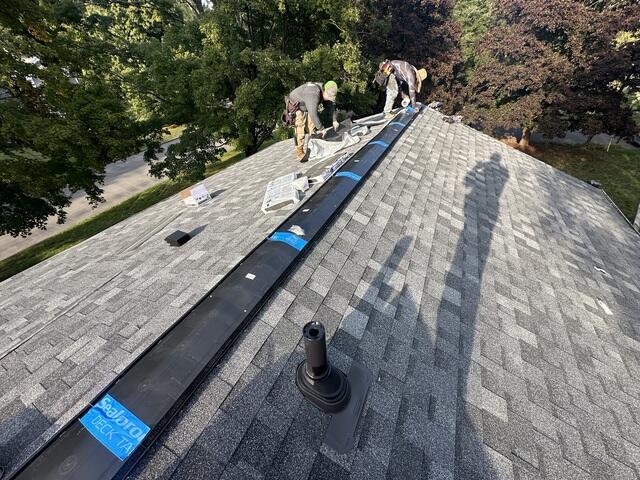
Ridge Vent Is Installed
Once all the shingles are installed, the ridge vent is placed at the roof's peak. This allows for proper air circulation, enabling hot, moist air to escape and preventing moisture buildup inside the roof.
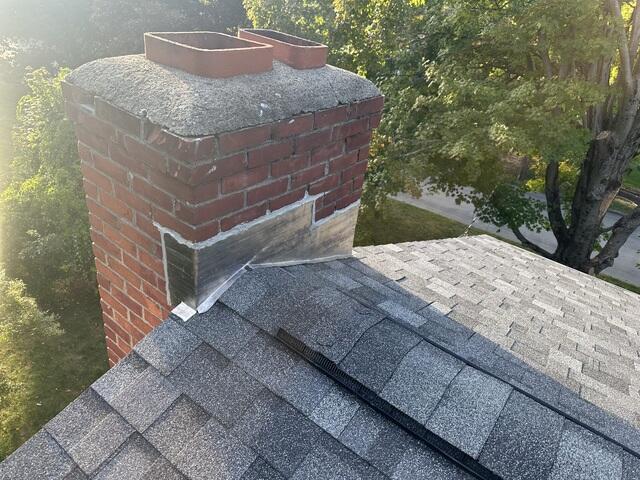
Chimney Is Flashed
A new flashing is installed on the side of the chimney where it meets the roof. This thin metal acts as a barrier, preventing water from seeping through this junction.
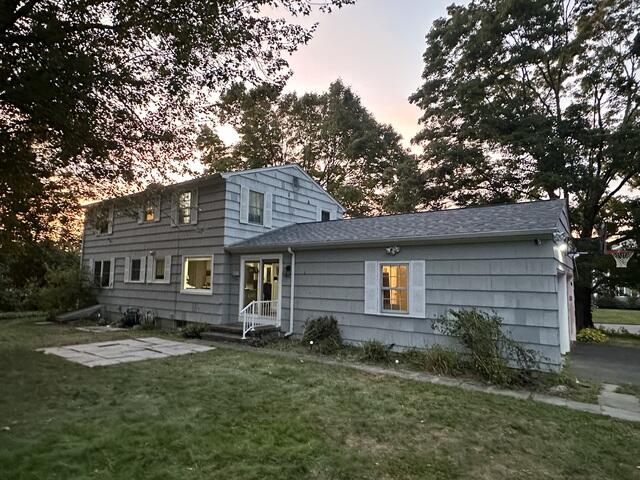
The Roof After
After a few finishing touches, Ryan's roof is complete - stronger and more stunning than ever!