

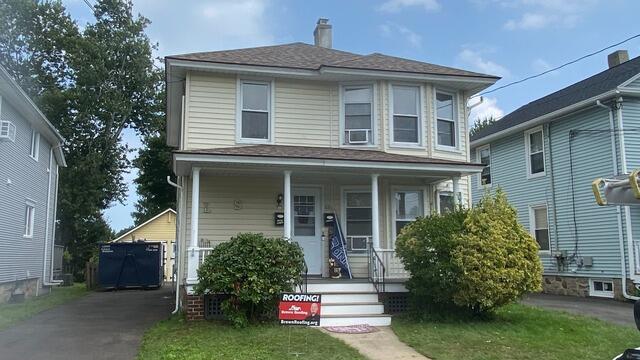
The Roof Before
Here's a look at Jayvon's roof before replacement. Click through to check out how we transformed it!
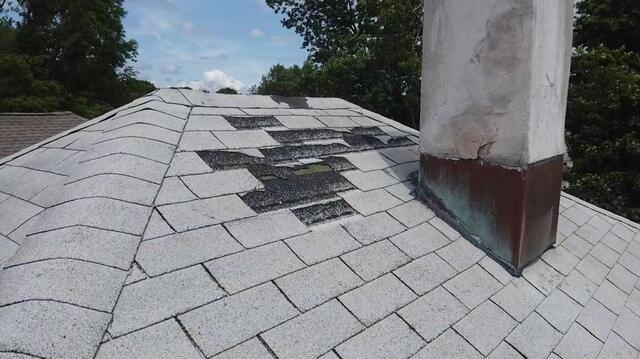
Before: Missing Shingles
A closer look reveals how harsh weather can take a toll on older shingles, as Jayvon's roof is missing quite a few in this area. In addition, the chimney could use some updated flashing as well. Let's get to work!
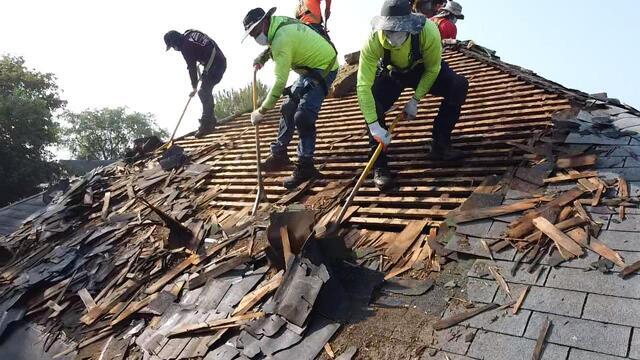
The Teardown Begins
The crew kicks things off by carefully stripping the old shingles off of the roof. This reveals the wood lats underneath. A common way to build a roof in the past, it's not as widely used today due to potential issues like twisting, bending, and cupping when exposed to moisture.
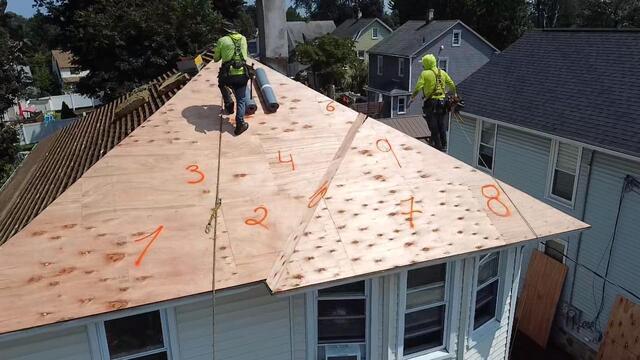
New Plywood Is Installed
In order to ensure an up-to-date, solid foundation for the new roof, the crew installs sturdy 1/2" CDX plywood over the wood lats, carefully and precisely cut to fit the roof. Each sheet used is numbered so that our crew can easily tell the homeowner how many sheets were used.
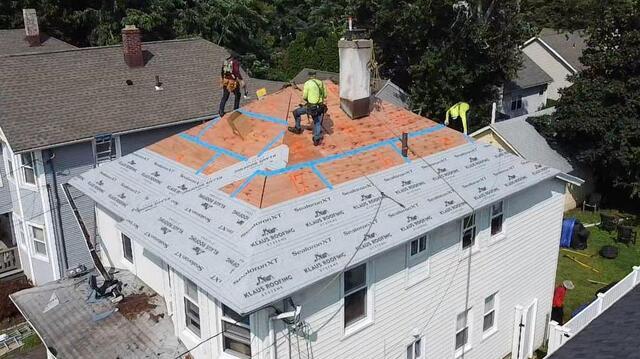
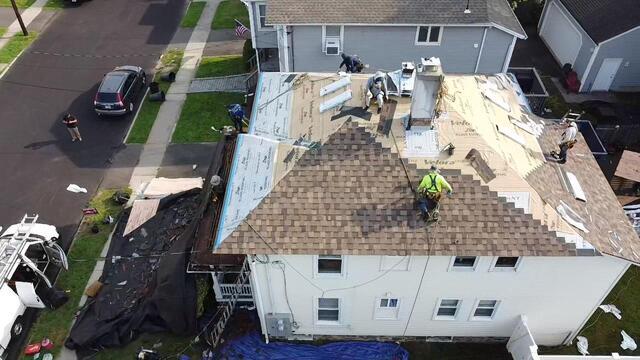
Seams Are Taped & Underlayment Is Applied
Next, the crew seals the seams of the new plywood with heavy-duty deck tape, reinforcing the structural integrity of the decking. Then, the underlayment is applied. This is a thin, waterproof barrier that protects the decking from potential water damage caused by harsh elements like rain, wind, snow, or ice.
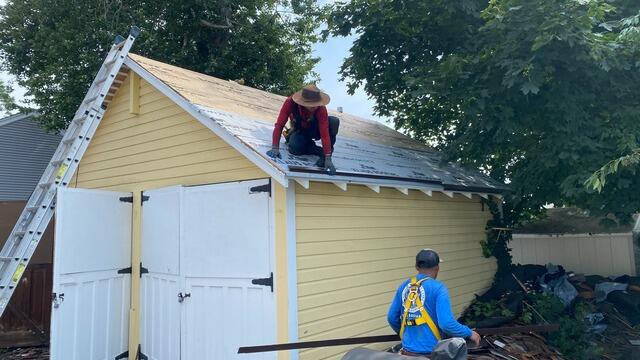
Underlayment on the Shed
The entire process is repeated for the shed, ensuring it gets the same expert treatment: reinforced decking and high-quality underlayment.
New Shingles Are Installed
Once the underlayment is adhered to the entire surface, it's time to start installing the new IKO Dynasty shingles! These shingles are premium-laminated and are as durable as they are beautiful. They also come in a variety of shades - and Jayvon has selected the elegant Brownstone color for his new roof.

New Flashing Is Installed on Chimney
The chimney is re-flashed with a strong, thin metal. This flashing serves as a barrier between harsh elements and the vulnerable roof junction, ensuring that water does not seep through any crevices.
The Finished Product
After a few final touches, like installing ridge vents and caps, and doing a double-check of the entire perimeter for any fallen debris - Jayvon's brand-new roof is complete!