
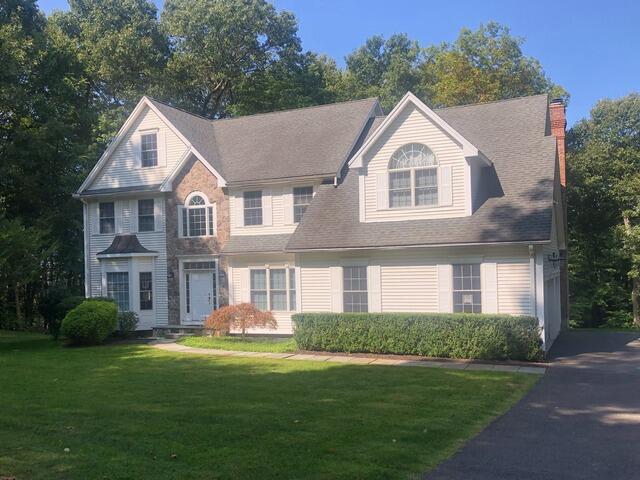
The Old Roof
Here's a look at Barbara's old roof before renovation. Click through to see how we transformed it!
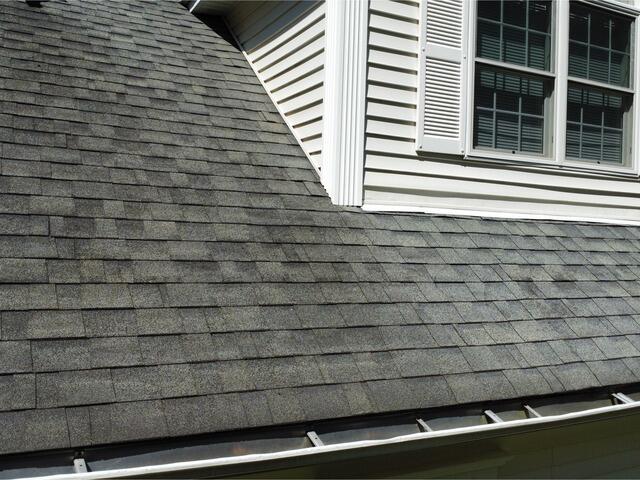
Before: Algae Growth
A closer look at Barbara's old roof reveals dark stains of roof algae taking hold. This pesky plant thrives in moisture, shade, and organic debris, slowly spreading and weakening shingles over time. But no worries, we're here to take care of it and give Barbara's roof the fresh start it deserves! Let's get to work!
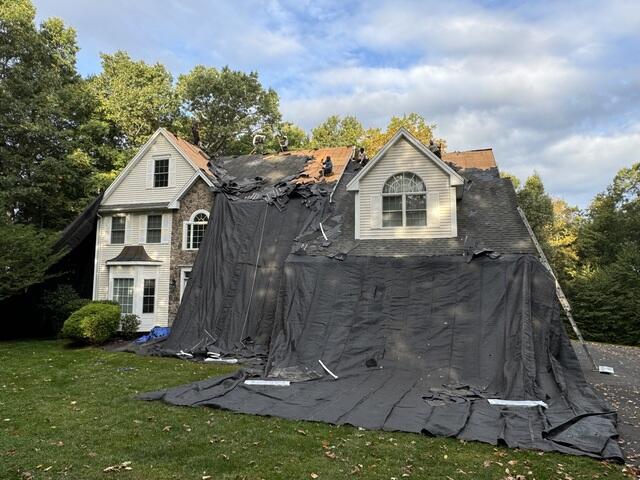
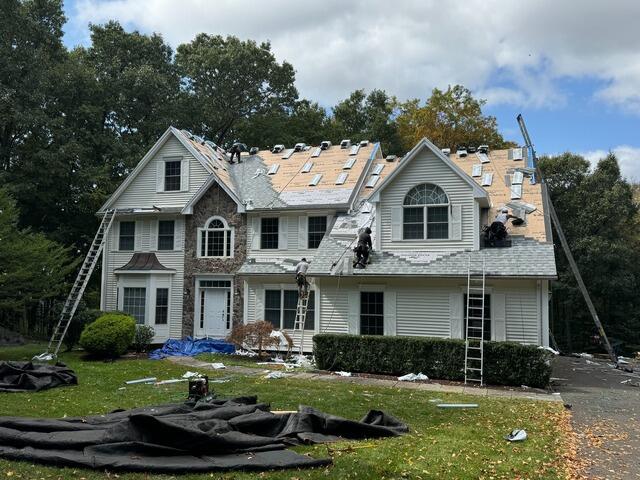
Old Shingle Teardown
The crew kicks things off by stripping off all of the old shingles. Before the teardown begins, large, heavy-duty tarps are laid across the house and landscape to ensure that the homeowner's property is completely protected from falling debris.
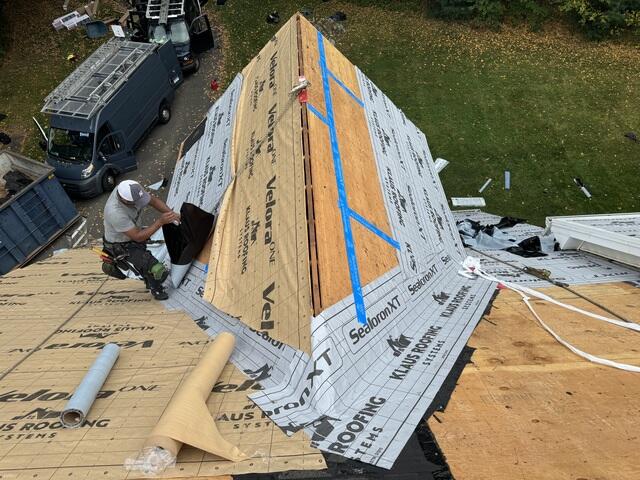
Decking Reinforced with Underlayment
Underneath the shingles is a layer of plywood. This is called the decking, and it is the structural foundation of the roof. As the structural foundation, its health is essential. So, before the crew starts installing the new shingles, they reinforce the decking with underlayment. This is a thin, waterproof material that shields the decking from harmful elements like wind, rain, snow, and ice.
New Shingles Go On
With the underlayment fully in place, it's time to start installing the brand-new shingles! Brown Roofing proudly uses IKO Dynasty premium-laminated architectural shingles for all of our roofs backed by our 50-year warranty. These shingles come in a variety of beautiful colors, and Barbara has selected the sleek shade of Frostone Gray for her new roof.
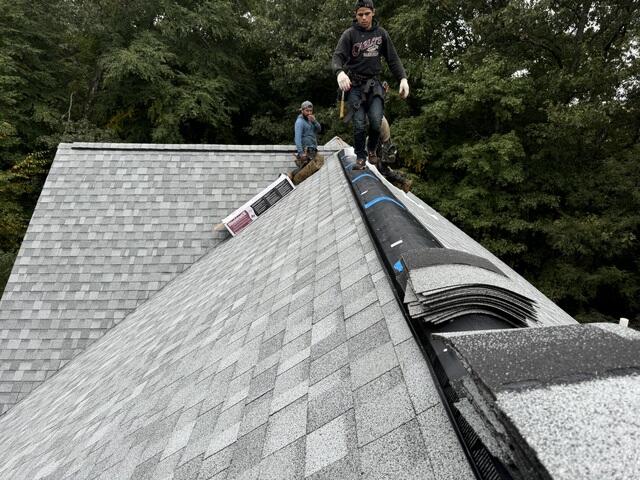
New Ridge Vent
The crew installs a vent at the ridges of the roof. This vent ensures proper air circulation by allowing hot, humid air that rises from inside of the house a means to escape - preventing damaging condensation buildup.
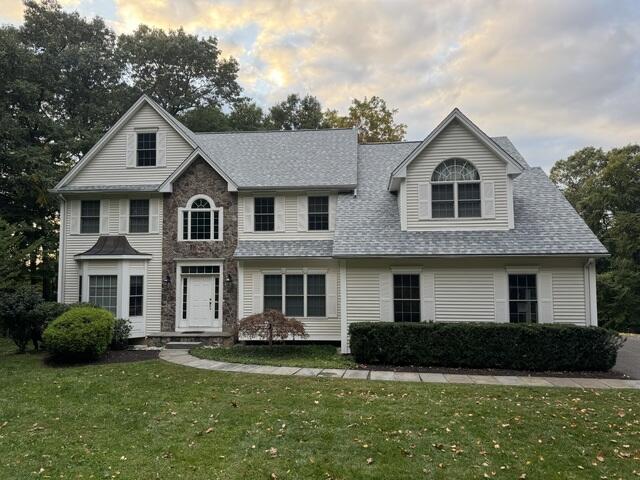
The New Roof
After a couple of final touches, like fitting each pipe with a protective pipe boot, and installing a ridge cap over the ridge vent to ensure a seamless look, Barbara's fabulous new roof is complete!