
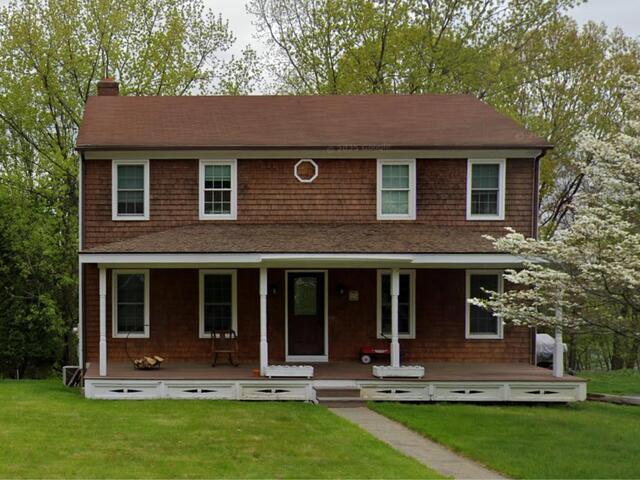
The Old Roof
Here's a visual on Maureen's house before the roof replacement. Click through to see the awesome transformation!
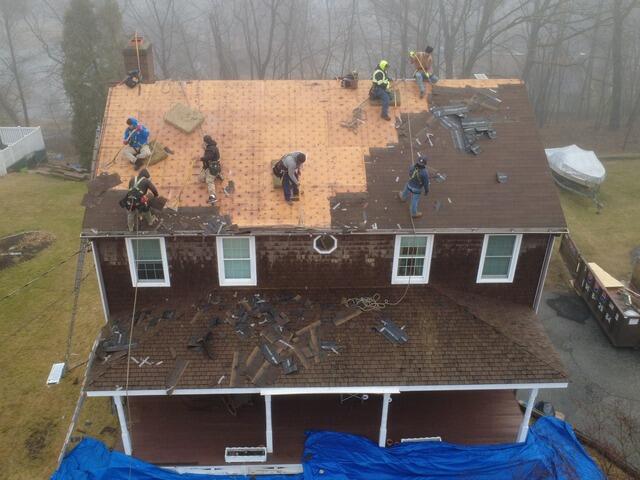
The Teardown Begins
The crew starts things off by removing the old shingles. This exposes the layer of plywood underneath, which is called the roof decking.
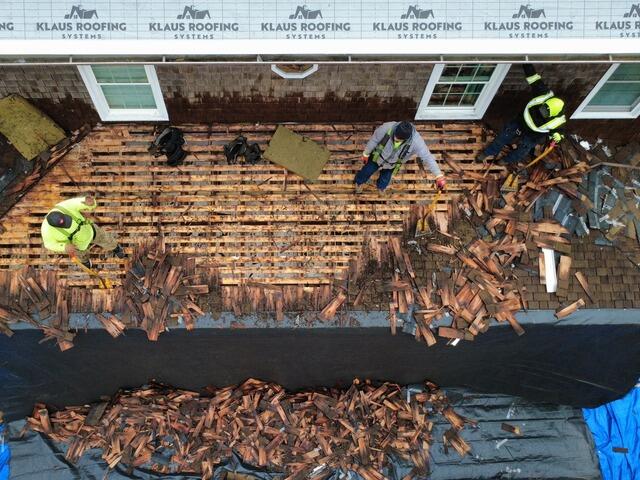
Plank Decking on the Lower Story
The lower section of Maureen's roof had plank decking, also known as wood slats. This type of decking is less common today since it isn't as structurally sturdy as plywood sheets.
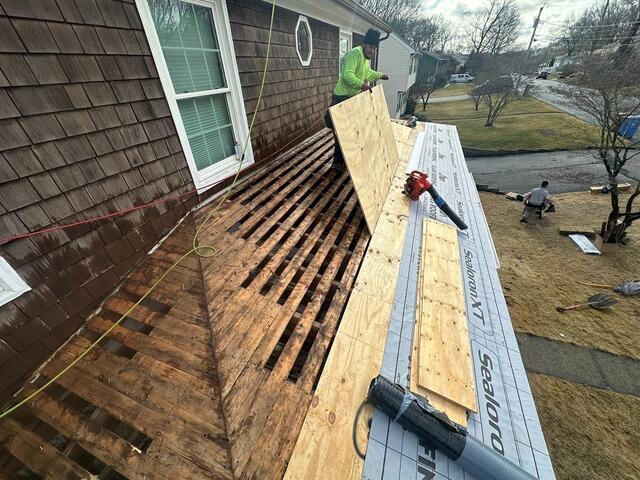
New Plywood Is Installed
To ensure a stronger and more stable foundation, the crew removed the outdated plank decking and replaced it with durable CDX plywood, the industry standard for superior roof support.
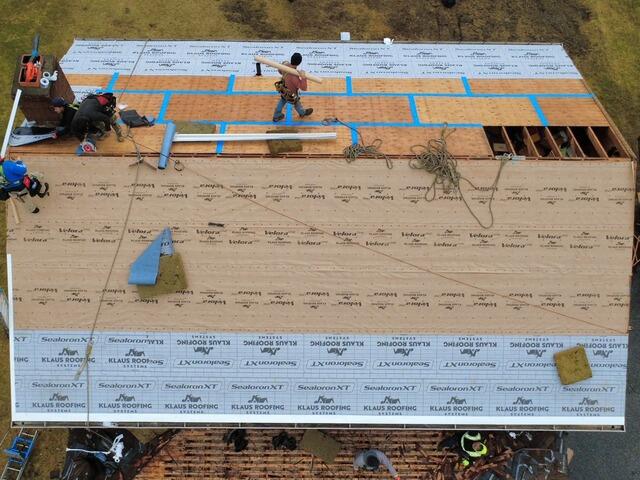
Seams Are Taped & Underlayment Is Installed
The crew discovered one damaged sheet of plywood on the top section of the roof that needed replacing. As they work on getting that new sheet properly fitted for that spot, they tape the seams of all the sturdy plywood with heavy-duty all-weather deck tape. Then, they cover the entire surface with a layer of underlayment - a thin, water-resistant material that shields the decking from harsh elements like rain and snow. The same process will be followed for the new sheet and the lower section of the roof.
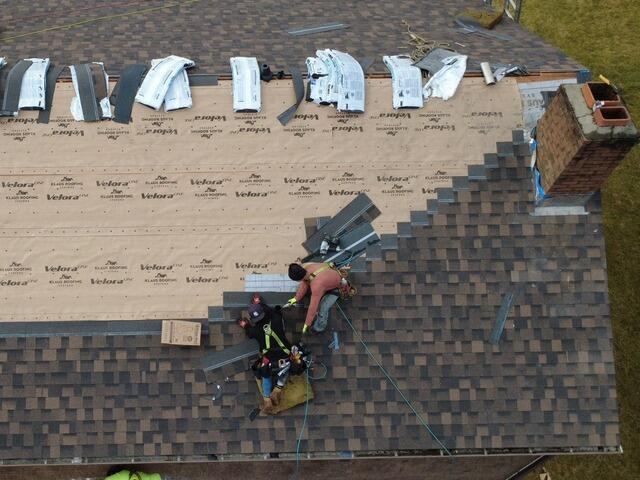
New Shingles Are Installed
With the underlayment fully installed, it's time to lay down the new shingles. Our expert crew installs IKO Dynasty premium-laminated shingles using a precise "staircase" pattern to ensure a seamless appearance.
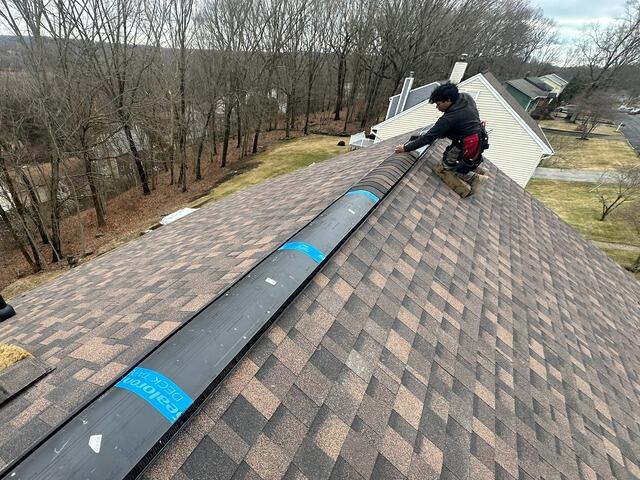
Ridge Vent Is Installed
Next, a ridge vent is installed at the peak of the roof. This vent gives rising hot, moist air a way to escape, preventing damaging condensation buildup.

New Flashing on the Chimney
New flashing is installed where the chimney meets the roof. This is a thin, protective layer of metal that prevents water from seeping into vulnerable junctions.
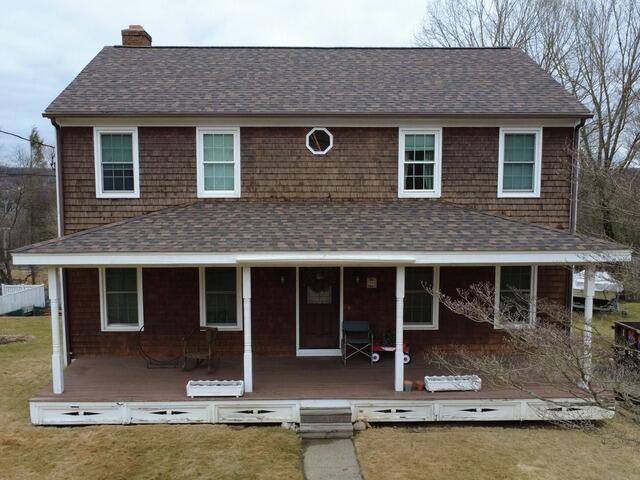
The New Roof
After a few more final touches and a thorough double-checking, Maureen's new roof is finished!