
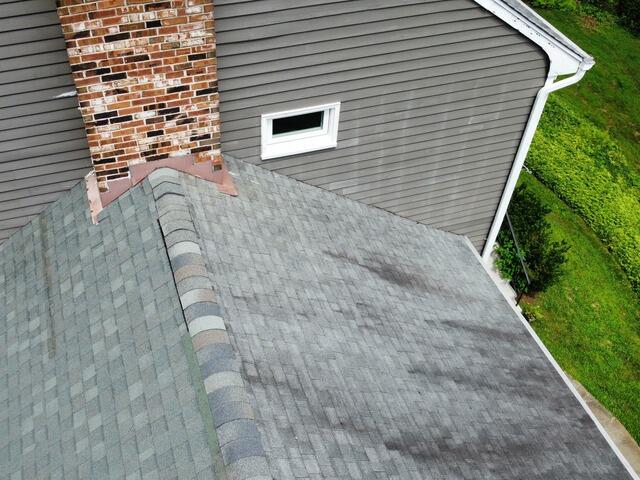
Before: Stains & Algae
You can see that Garrett's roof is in need of some attention, with its mismatched shingles and streaks of black algae staining the surface. Time to get to work!
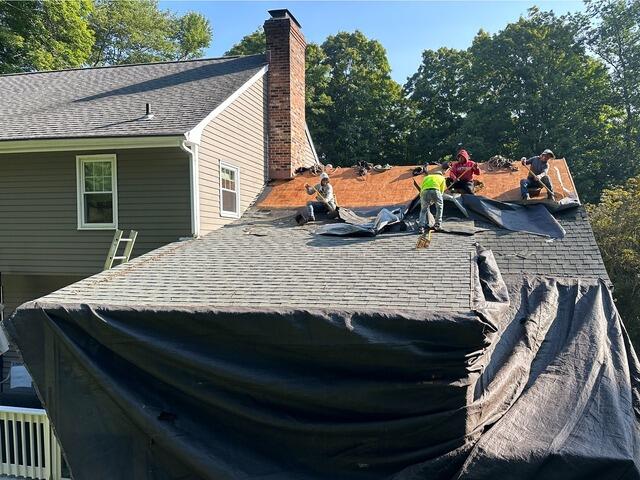
The Old Shingles Are Removed
The crew kicks things off by stripping away the old shingles. Before they begin, large tarps are carefully laid out over the property to protect the house and yard from falling debris. This also helps make the cleanup process smoother and more efficient.
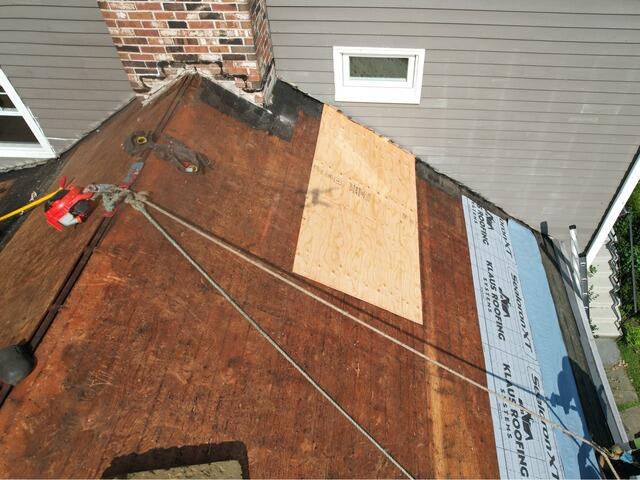
Sheathing Is Inspected & Replaced
Underneath the shingles lies the roof sheathing, the wooden foundation of the roof. Our experts carefully inspect it for any signs of damage, such as rot or mold. Any compromised areas are promptly removed and replaced with fresh, sturdy CDX plywood to ensure a strong and reliable base.

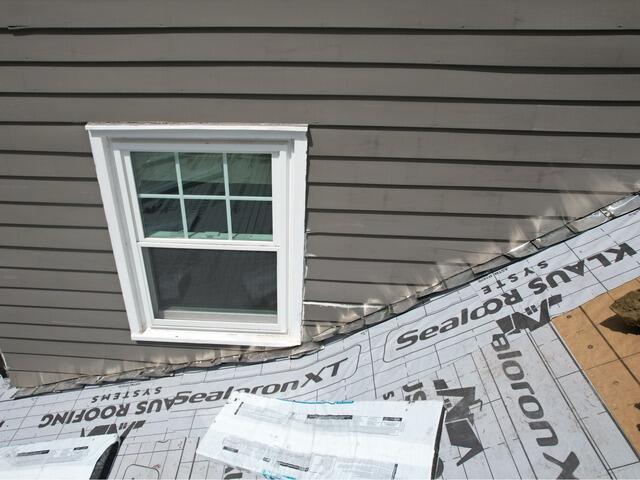
Seams Are Taped & Underlayment Is Applied
The seams of each plywood sheet in the sheathing are reinforced with all-weather deck tape for added durability. Then, a layer of underlayment is applied over the entire surface. This thin, waterproof barrier provides essential protection against harsh elements like wind, rain, snow, and ice, keeping the roof strong and secure.
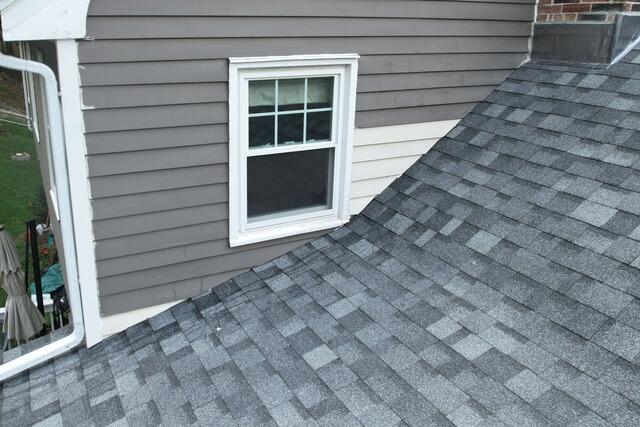
New Step-Flashing Is Installed
New step flashing is installed where the roof meets the side of the wall. This "staircase"-like arrangement of metal pieces creates a strong, protective barrier, preventing water from seeping into this vulnerable junction.
New Shingles Are Installed
With all the previous steps complete, the crew moves on to installing brand-new shingles. Brown Roofing proudly uses IKO Dynasty premium-laminated shingles, known for their top-tier performance and beauty. These high-quality shingles come in a range of colors, and Garrett has chosen the sleek Summit Gray to perfectly complement his home.
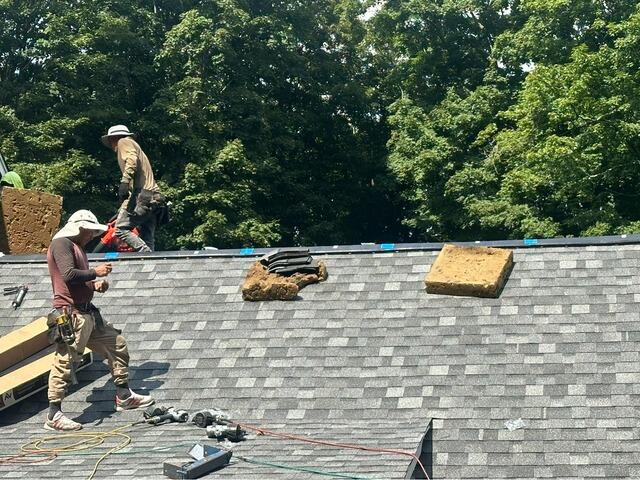
Ridge Vent Is Installed
With the shingles in place, the crew installs a ridge vent along the peak of the roof. This vent plays a crucial role in maintaining proper airflow, allowing hot, humid air from inside the house to escape, preventing condensation buildup.
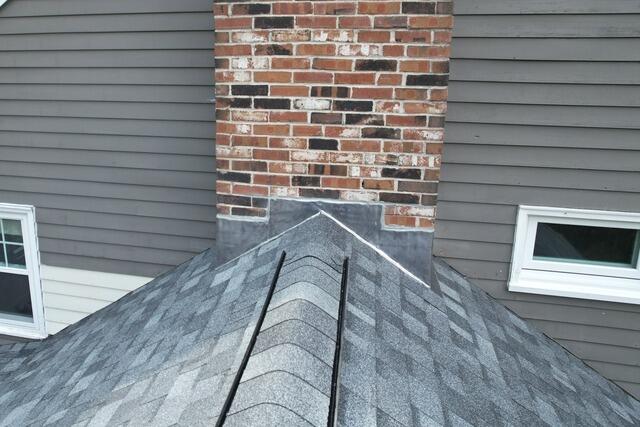
The Chimney Gets New Flashing
To complete the waterproofing process, new flashing is installed around the base of the chimney where it meets the roof. Similar to step-flashing, this protective metal barrier ensures that water cannot seep into joints and crevices. Not only does this enhance durability, but it also gives the roof a polished, seamless finish.
The Finished Look
With the final touches in place - including a ridge cap over the ridge vent - Garrett's new roof is officially complete!
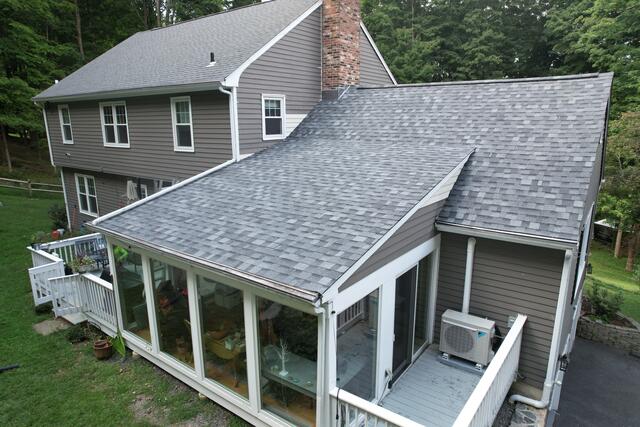
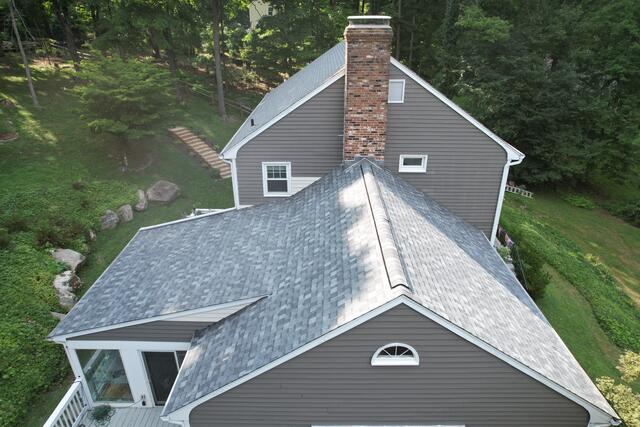
A Beautiful Result
Here's another angle of Garrett's finished roof. It's looking better than ever, seamlessly matching the rest of his home while providing first-rate strength and protection!