
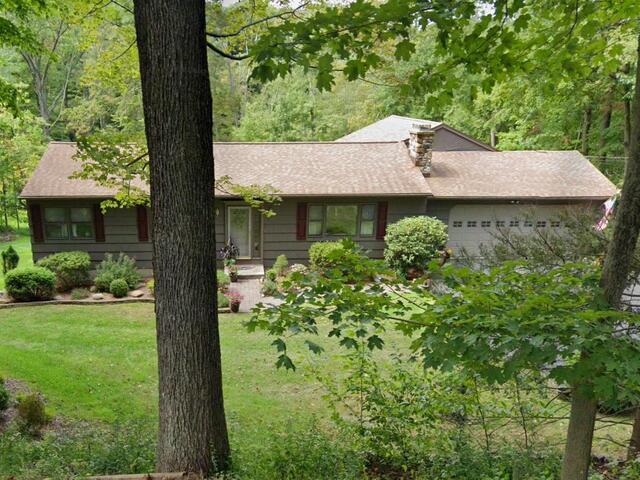
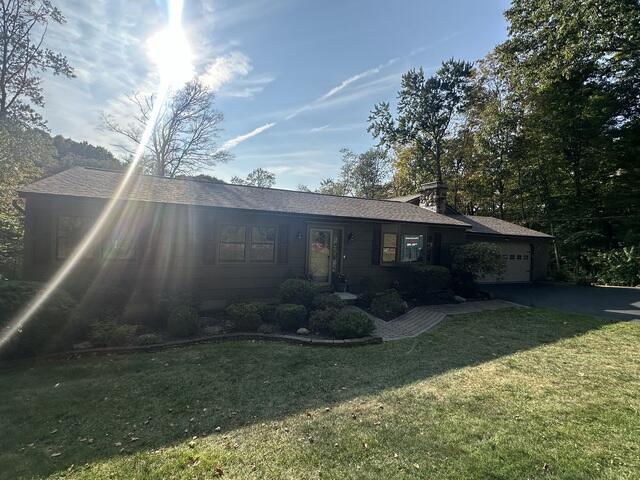
The Roof Before
Here's what Jeffrey's house looked like before the roof replacement. Click through to see how we gave this roof a fresh, new look and ensured it's ready for the next 50 years!
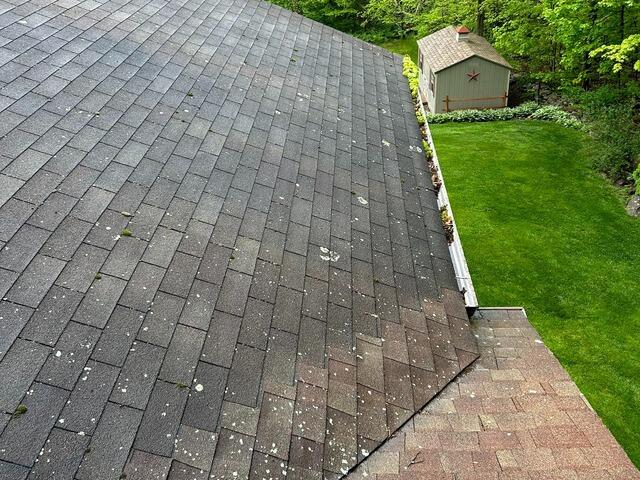
Before: Lichen & Moss
First, a closer look at Jeffrey's old roof: it's covered in white spots of lichen, an invasive algae-like plant that thrives in moist conditions. Moss, a plant much like lichen, has also taken over the gutters. It's definitely time for a fresh, new roof!
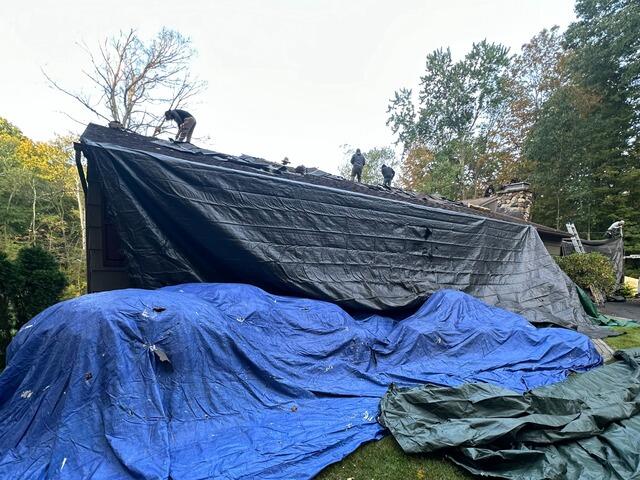
The Old Shingles Are Removed
The first step is removing all of the old shingles. Before the crew gets started, they always take the time to lay out large tarps to protect the homeowner's property and landscaping.
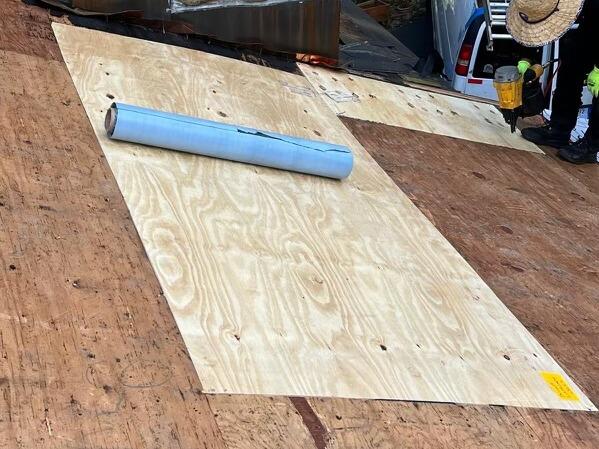
New Plywood Is Installed
After all of the old shingles are removed, the plywood foundation that the shingles were on is closely inspected for any signs of damage, like rot or mold. Any sections found with damage are promptly removed and replaced with fresh new CDX plywood.
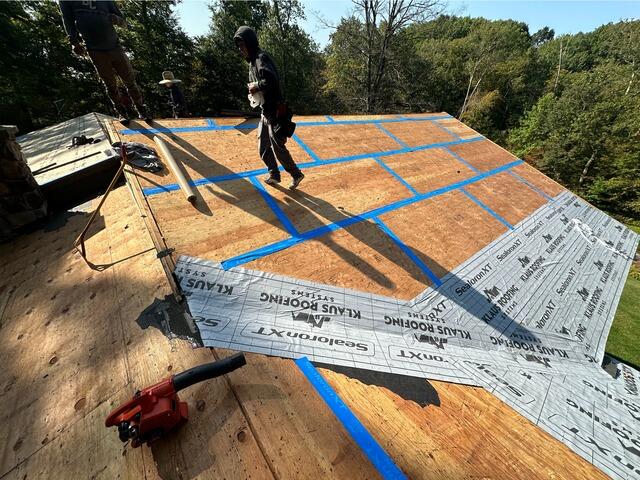
Seams Are Taped & Underlayment Is Applied
Next, the crew tapes up the seams of each plywood sheet with all-weather Sealoron XT deck tape for added reinforcement. After that, a layer of underlayment is applied over the entire surface. This thin, waterproof material serves as a protective barrier, safeguarding the plywood foundation from harsh elements like rain, snow, or ice.
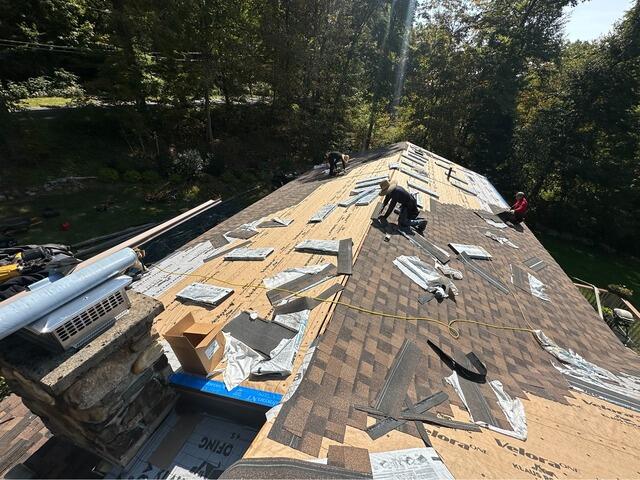
New Shingles Are Installed
With all of the underlayment applied, it's time to start installing the brand-new IKO Dynasty shingles, renowned shingles known for their premium quality and durability. These shingles come in a variety of shades, and Jeffrey has selected the elegant Brownstone shade for his new roof.
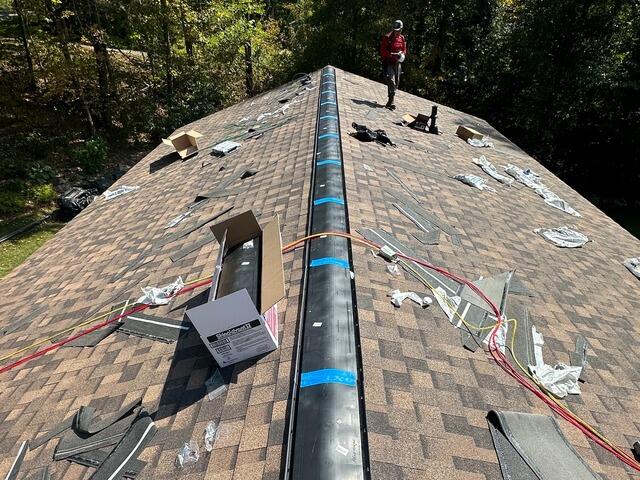
Ridge Vent Is Installed
A vent is installed at the ridge of the roof to ensure proper ventilation. This vent allows hot, humid air rising from the house to escape, preventing damaging condensation buildup and helping to maintain a healthier, longer-lasting roof.
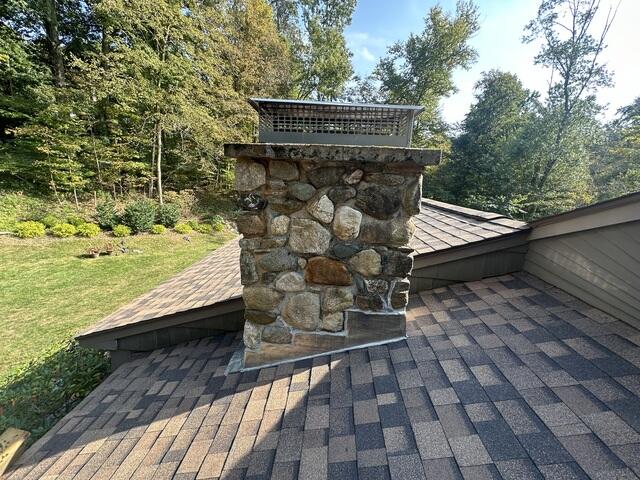
New Flashing Is Installed on the Chimney
The chimney is flashed with durable metal, which is then sealed with caulk. This flashing acts as a barrier, preventing water from seeping into the roof through vulnerable joints and ensuring a leak-free, secure connection.
The Finished Product
After a few final touches, like securing the flashing around the pipes and making sure everything is perfectly sealed, Jeffrey's new roof is complete!
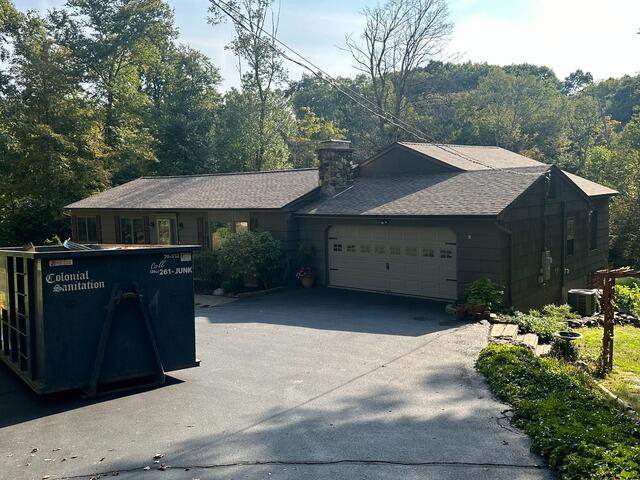
Another Angle of the Completed Roof
Here is another angle of Jeffrey's home. His home is now protected with a beautiful, durable roof that will stand the test of time.