
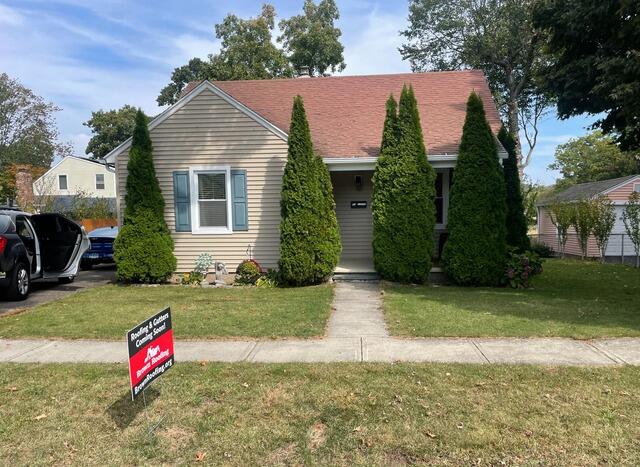
The Roof Before
This is a "before" photo of Charlene's old roof. Click through to see the incredible transformation!

Before: Shed
We will be replacing the roof on Charlene's shed as well. Let's get to it!
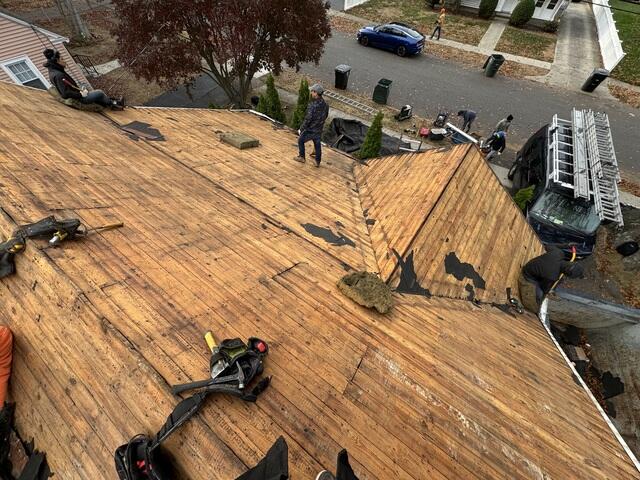
Old Shingles Are Removed
First, the crew removes all of the old shingles. This exposes the wooden foundation underneath, which is called the roof decking.
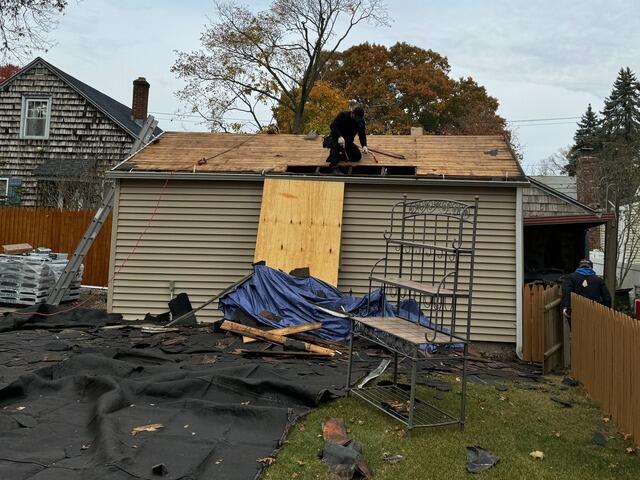
Bad Plywood Removed & Replaced
Our experts carefully inspect the roof decking for any signs of damage, such as rot or mold. Any compromised sections are promptly removed and replaced with high-quality CDX plywood, fitted perfectly to ensure a solid foundation.
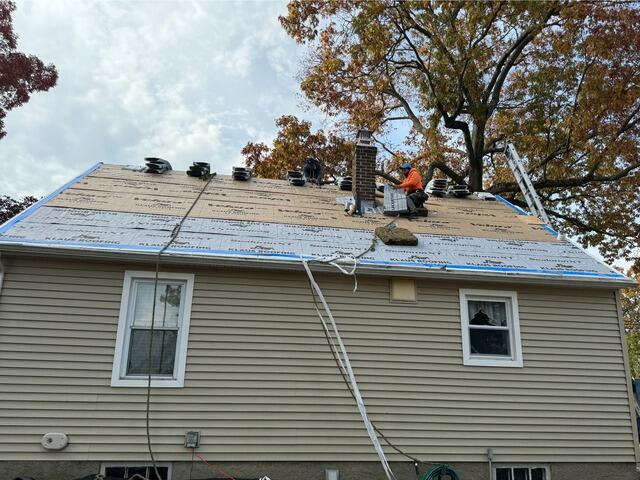
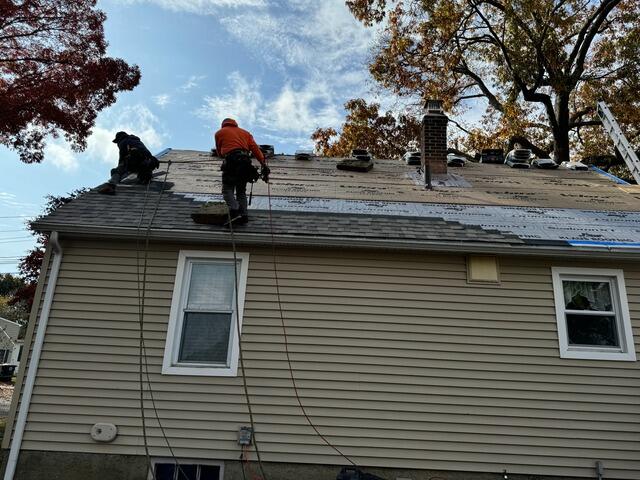
Underlayment Is Installed
Once the new plywood is securely installed, the crew adds a layer of underlayment over the entire decking. This thin, water-resistant material acts as a protective barrier against harsh elements like rain, snow, and ice.
New Shingles Are Installed
Next, it's time to install the brand-new IKO Dynasty shingles. Renowned for their premium quality and exceptional durability, IKO Dynasty shingles are a signature choice for Brown Roofing. Available in a range of colors, Charlene has selected the elegant Biscayne shade for both her home and shed.

Ridge Vent Is Installed
A ridge vent is installed at the peak of the roof. This vent promotes proper airflow by allowing hot, moist air rising from the house to escape, helping prevent damaging condensation buildup.
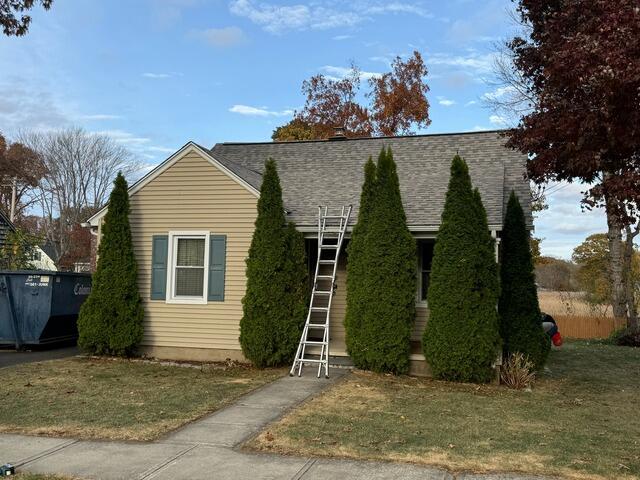
The Roof After
After a few final touches, including installing a ridge cap over the ridge vent and adding flashing to the joints, Charlene's new roof is officially complete!