
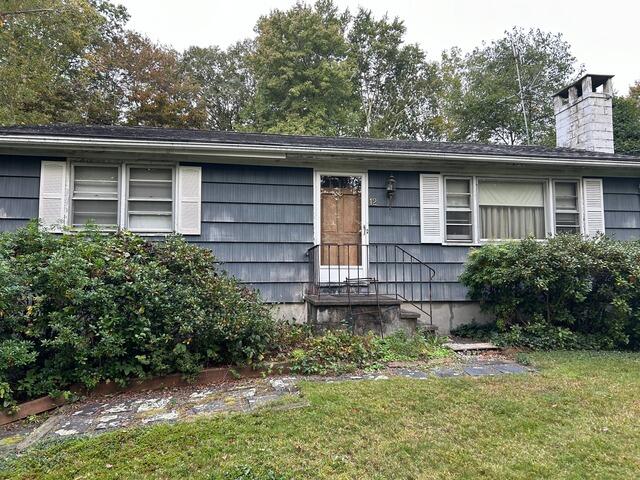
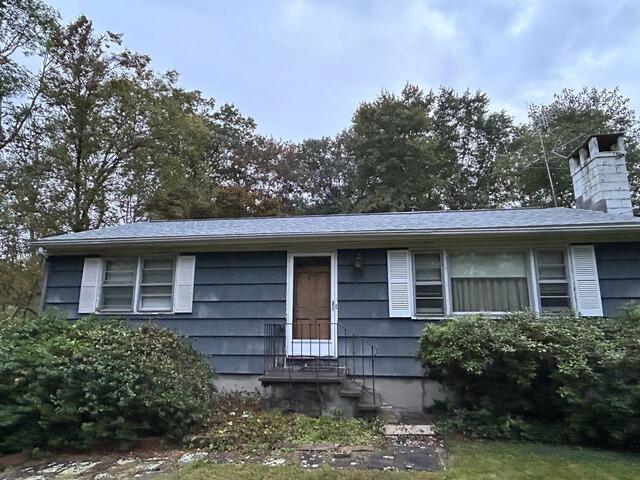
Before: Front View
This is a "before" photo of John's roof before the makeover. Click through to see the incredible transformation!
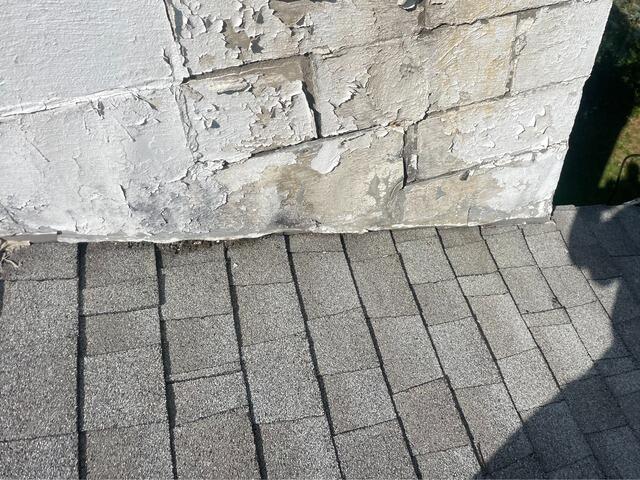
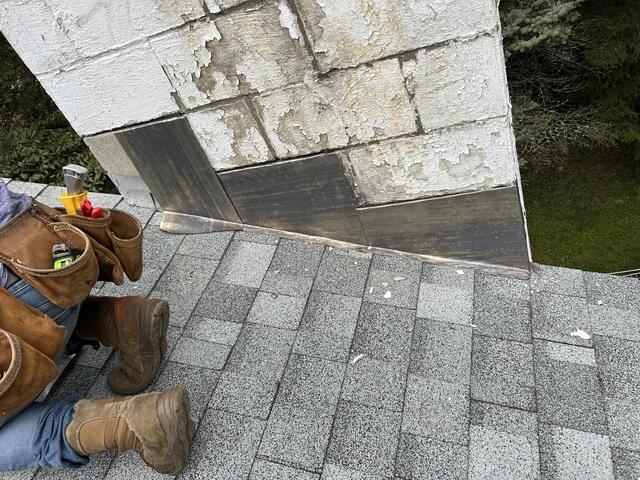
Before: Old Chimney Flashing
Here's a closer look at where the roof meets the chimney. The flashing, a thin metal barrier designed to prevent water from seeping into cracks, is worn and warped, with debris accumulating in the crevices. Time for a brand-new roof!
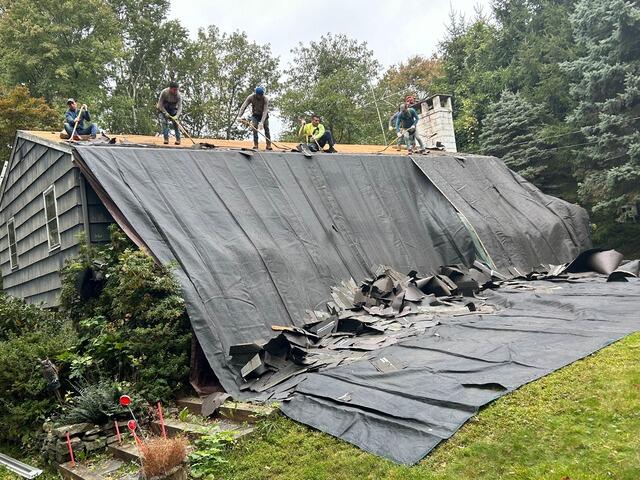
Old Shingles Are Stripped
The crew gets started by carefully stripping off the old shingles. Before they begin, large tarps are spread across the property to protect the surrounding area and ensure an easy cleanup process.
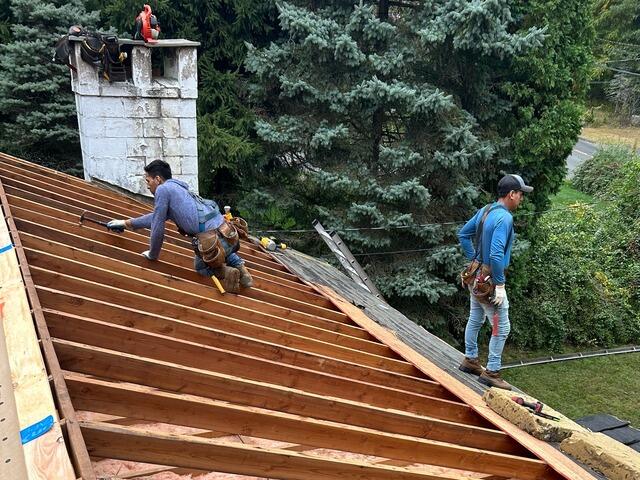
Bad Decking Is Removed
Beneath the shingles lies a layer of plywood, known as the roof decking, which serves as the structural base of the roof. Its condition is essential to the integrity of the entire roof. Any sections showing signs of damage, such as rot or mold, are removed. In this case, our crew found that much of the decking needed to be replaced.
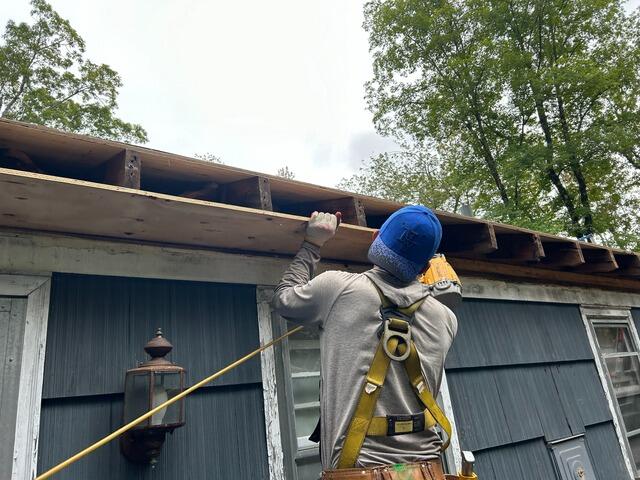
Bad Fascia Is Removed
Along with the decking, the crew also discovered that the fascia was damaged and required replacement. The fascia is the horizontal board that runs along the roof's edge, where it meets the wall of the house. It plays a crucial role in supporting the shingles and helping to prevent moisture from entering the structure.
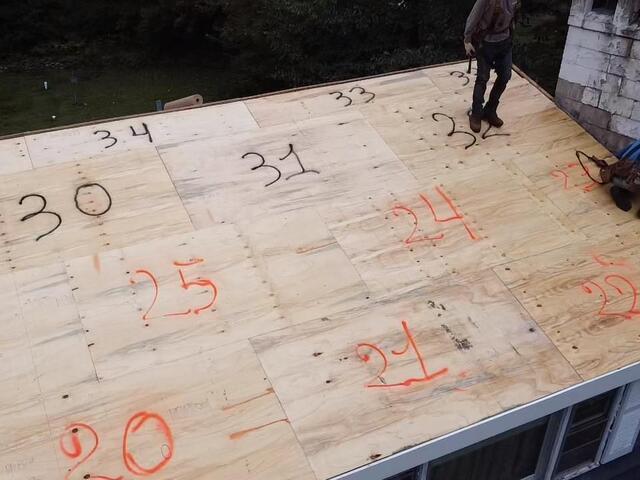
New Fascia & Decking Is Installed
The crew installs brand-new CDX plywood for both the decking and fascia. Each sheet is carefully fitted and securely nailed into place, ensuring a strong foundation. The crew also numbers each sheet so that they can easily track how many new sheets were installed.

Underlayment Is Installed
Next, underlayment is installed over the entire surface of the decking. This is a thin, water-resistant barrier that protects the decking from harsh elements like wind, rain, or snow.
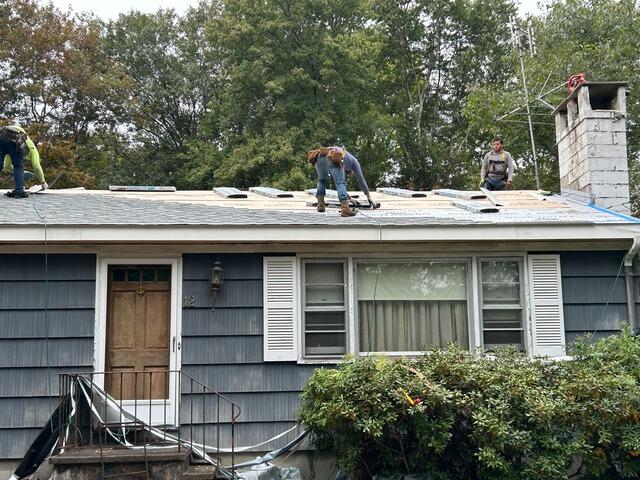
New Shingles Are Installed
Now, it's time to install the new shingles! The crew uses IKO Dynasty shingles, which are premium-laminated and architectural, providing top-tier durability and style. They come in a variety of colors, and John has selected the elegant shade of Frostone Gray for his new roof.
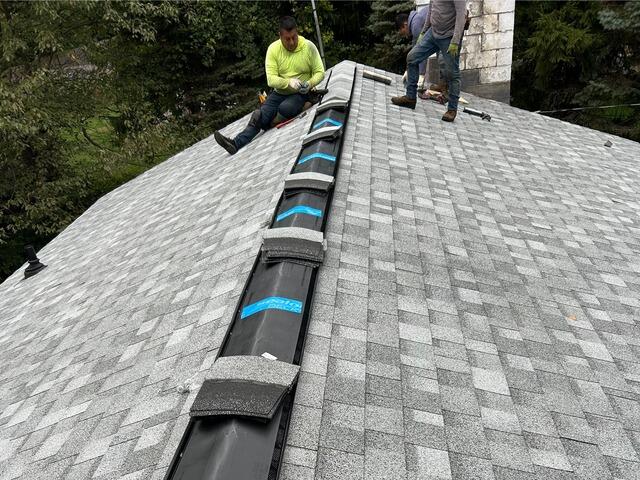
Ridge Vent Is Installed
Once all the shingles are in place, the crew installs a vent along the entire ridge of the roof. This vent promotes proper airflow by allowing hot, humid air from the house to escape, preventing harmful condensation buildup.
New Flashing Is Installed on the Chimney
New flashing is installed along the side of the chimney to prevent any debris buildup. The crew will also secure the edges of the flashing with caulk to ensure a tight seal and long-lasting protection.
After: Front View
After the flashing is caulked and the ridge vent is covered with shingles for a smooth finish, John's new roof is officially finished and ready to protect his home for years to come!