
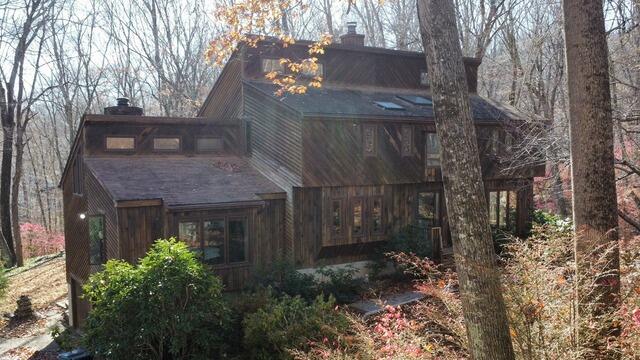
Before: Front View
Take a gander at Donna's old roof before we replaced it. Click through to see the lovely transformation!
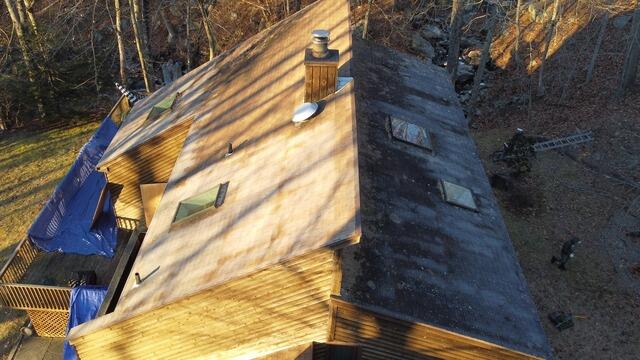
Before: Side View
In this side view of Donna's old roof, you can see the stark contrast between the sun-bleached north face and the mossy overgrowth on the shaded south side. Definitely time for a much-needed renovation!
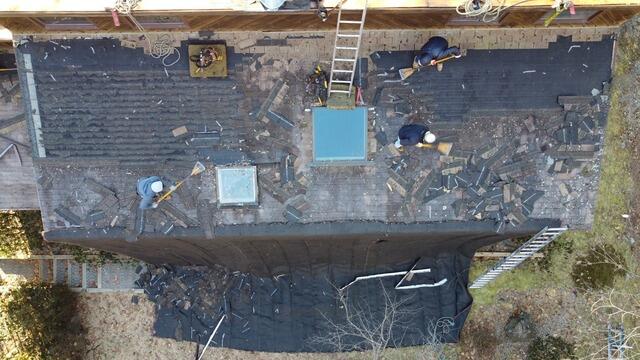
The Teardown Begins
The crew begins by carefully stripping off the old shingles. Beneath them lies the roof's sheathing, made of multiple sheets of plywood. Once the shingles are removed, the sheathing is thoroughly inspected for any signs of rot, decay, or mold.
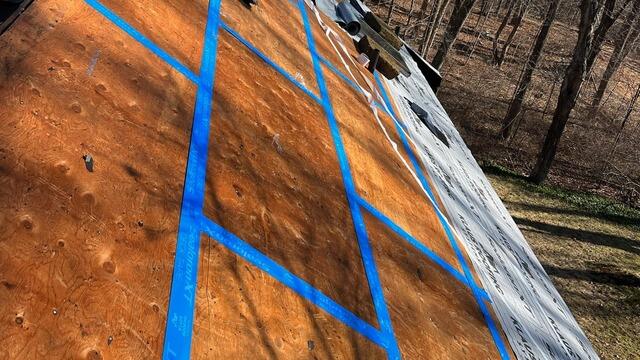
Sheathing Seams Are Taped
Damaged or rotted areas of the sheathing are removed and replaced with fresh plywood. Then, the seams of the plywood sheets are reinforced with heavy-duty, all-weather deck tape for added durability.
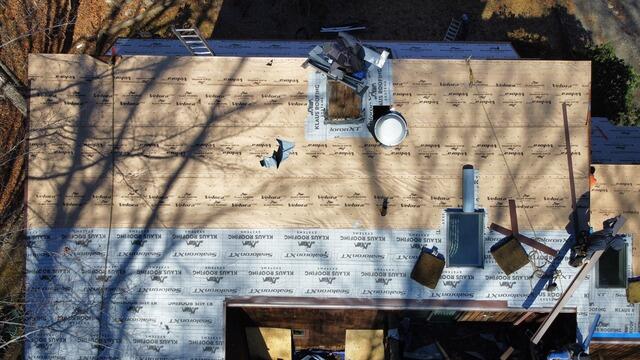
Underlayment Is Applied
Underlayment is installed to the entire surface of the sheathing. This is a thin, water-resistant layer of synthetic felt that shields the sheathing from harsh elements such as rain, snow, or ice.
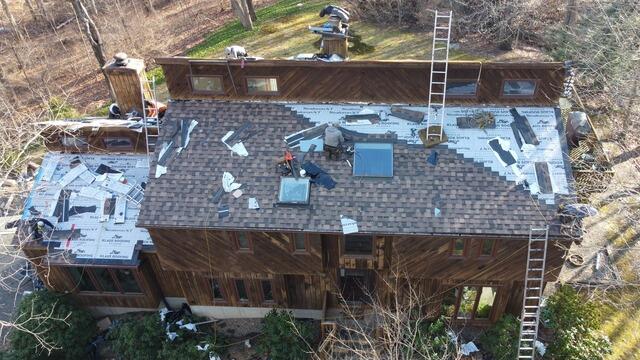
New Shingles Are Installed
Next, it's time for the new shingles to be installed! Brown Roofing trusts the superior quality of IKO Dynasty premium-laminated shingles for all of our roofing endeavors. These shingles come in a variety of colors, and Donna has selected the beautiful shade of Brownstone for her new roof.
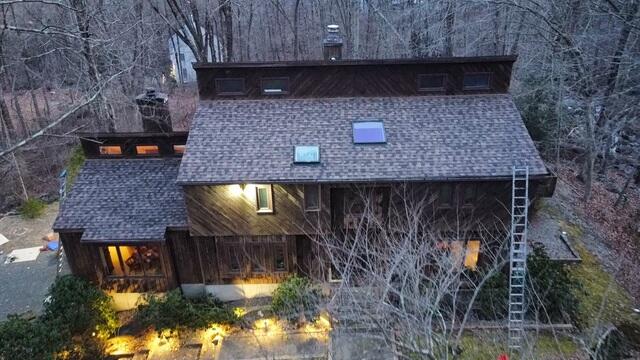
After: North Face
Once all the shingles are installed, the crew wraps up by adding ridge vents for proper airflow and installing flashing around the pipes. With that, Donna's new roof is all set and complete!
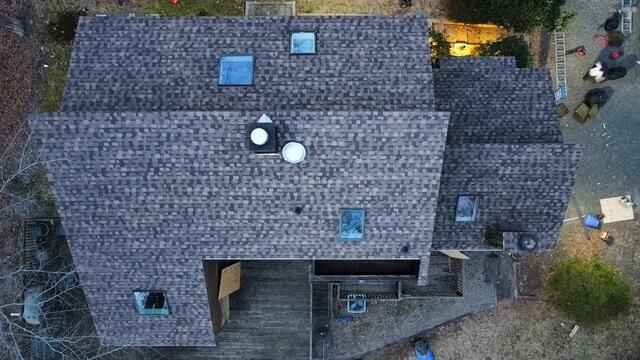
After: Aerial View
Here's a bird's-eye view of Donna's stunning new roof. Everything is uniform, and with the top-quality materials we use, it's built to maintain its beauty and durability for years to come!