
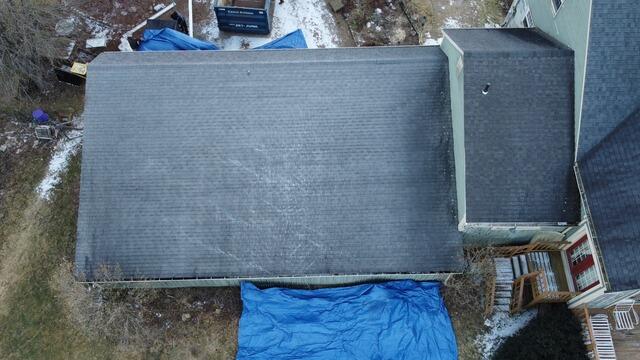
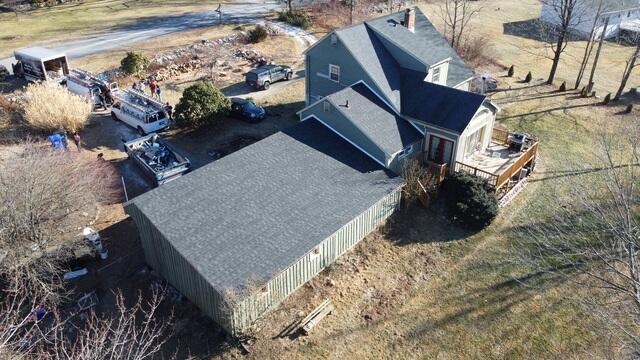
Before: Aerial View
Here's a bird's-eye view of James's garage roof before the renovation. Click through to see the incredible transformation!
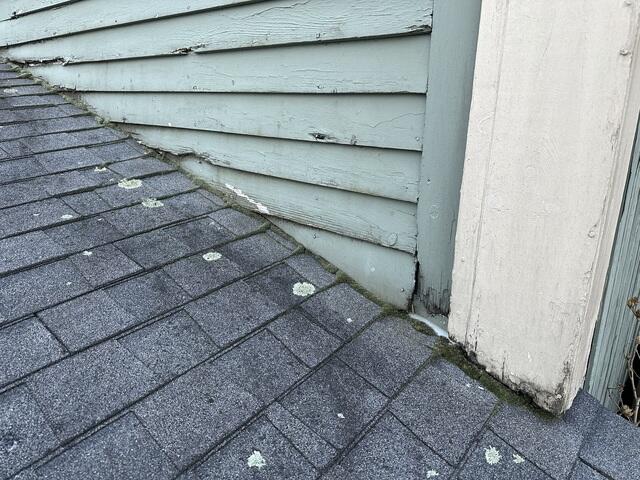
Before: Moss Madness
Before the renovation, moss had taken over the crevice between James's roof and the side wall - a clear sign of moisture buildup. The constant shade created the perfect environment for moss to thrive, causing the shingles to deteriorate quickly.

The Teardown Begins
The crew begins the roof renovation by tearing down the old shingles, revealing the plywood layer underneath. This plywood layer is known as the roof decking, and it is the structural base of the roof.
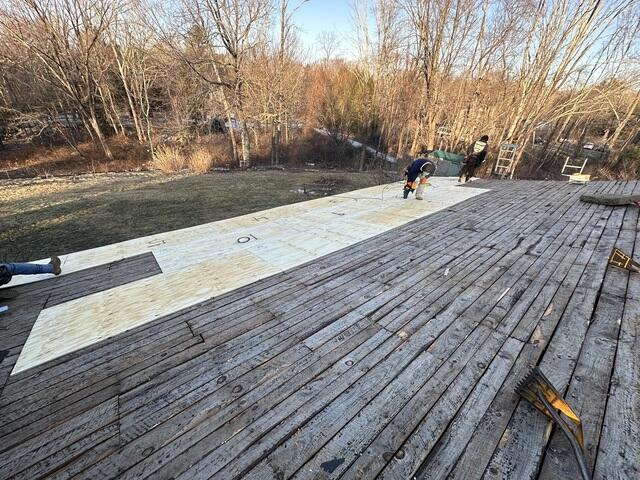
Decking Is Examined & Replaced
The crew carefully inspects the plywood decking for any signs of mold, rot, or decay. Any compromised sections are promptly removed and replaced with fresh plywood, ensuring a solid foundation for James's new roof.
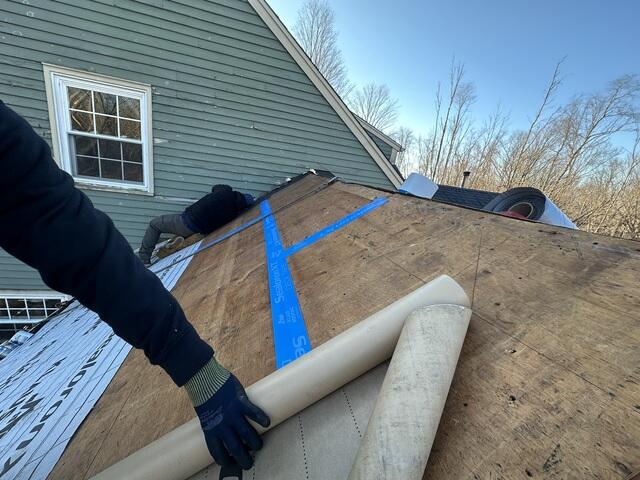
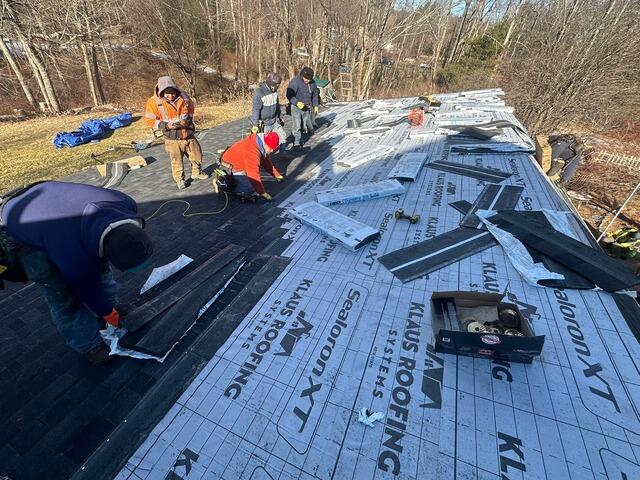
Seams Taped & Underlayment Applied
Next, the crew reinforces the decking by sealing the plywood seams with heavy-duty Sealoron XT deck tape. They then apply the underlayment. This is a thin, water-resistant synthetic felt that forms a strong barrier against rain, snow, ice, and other potential sources of damage.
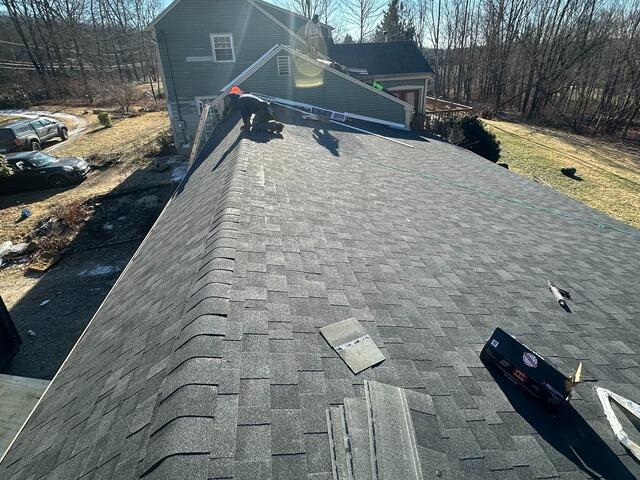
New Shingles Installed
After all of the underlayment is down, the crew can finally start installing the new shingles! These superior-quality IKO Dynasty shingles are premium laminated and crafted to withstand elements like no other. James chose Granite Black, our most popular color, for a sleek, stunning finish.
Hip & Ridge Shingles Installed
Since this is an unheated garage, a ridge vent isn't needed at the peak. The crew installs hip-and-ridge shingles along the top, ensuring a clean, seamless look.
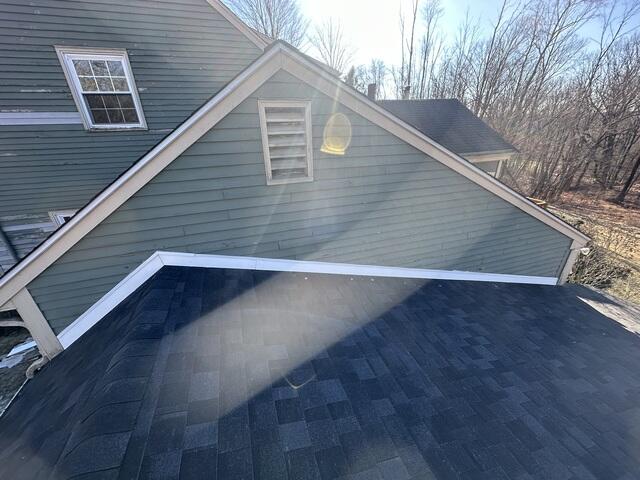
Counter-Flashing Is Installed
To prevent moss from returning where the wall meets the roof, the crew installs counter-flashing. This thin metal barrier creates a watertight seal, stopping moisture from seeping into the junction.
After: The Finished Product
The roof is complete! With a reinforced, rock-solid foundation and stunning new shingles, James's garage is now more protected and visually striking than ever.