
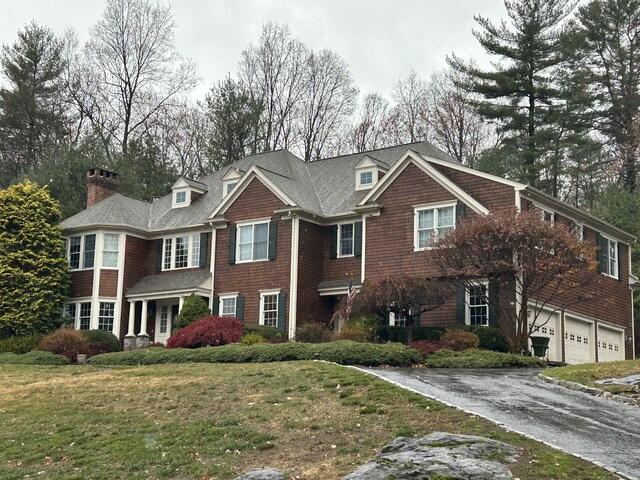
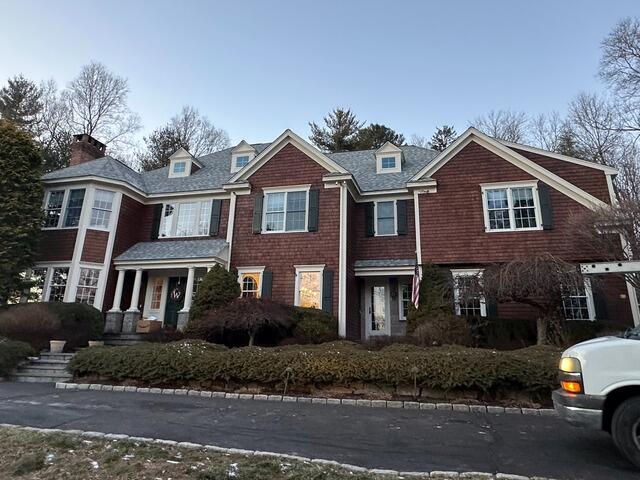
Before: Front View
Here's a look at Brian's roof before the renovation. Click through to see the transformation unfold and the stunning final result!
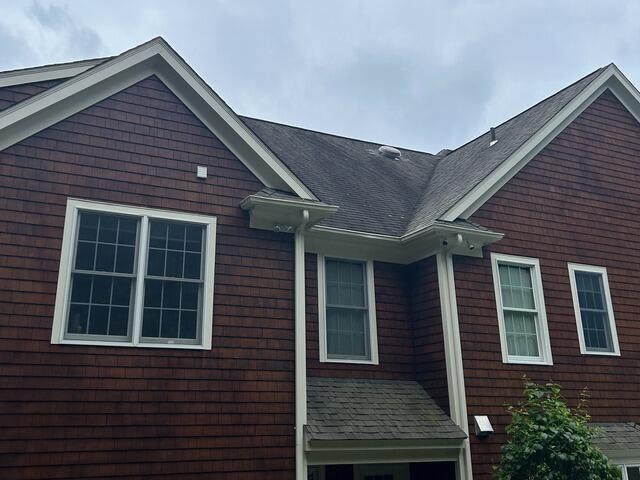
Before: Back with Algae
In this before photo of the back section, noticeable discoloration - especially on the lower roof - reveals significant algae growth. It's clear this roof is ready for an upgrade!
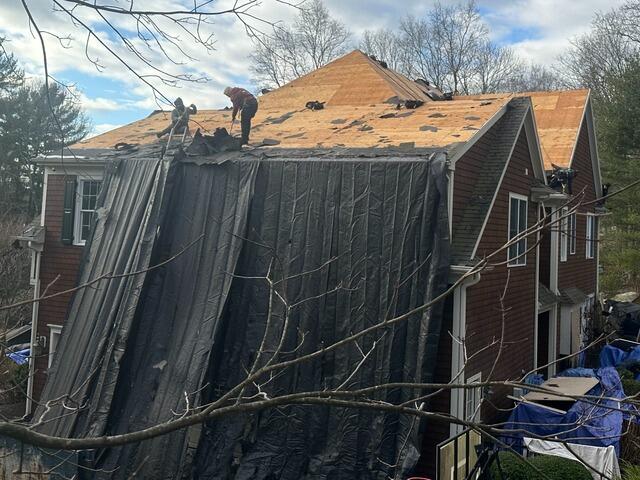
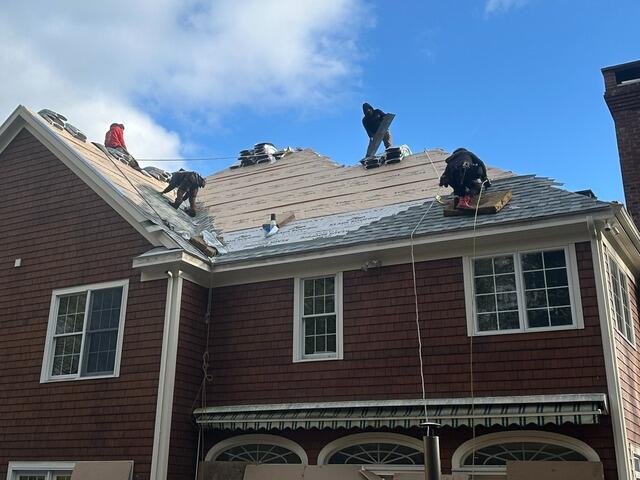
Old Shingles Are Stripped
The process starts with removing all the old shingles, revealing the plywood layer beneath. This layer is called the roof sheathing, and it is the structural framework of the roof. Its durability and integrity are essential, so once the shingles are stripped away, the crew carefully inspects the sheathing for any signs of rot, decay, or damage.
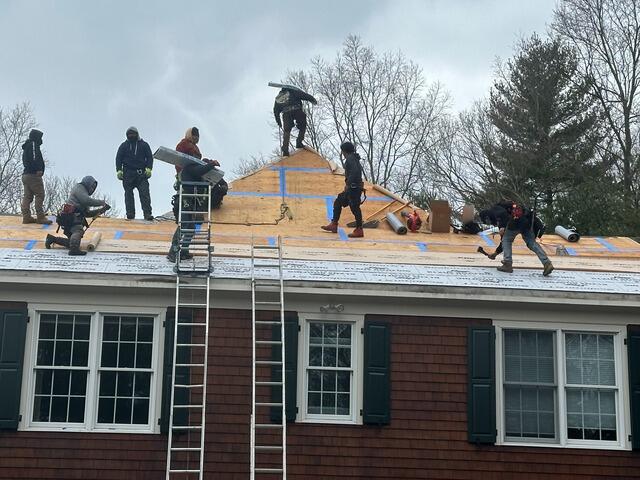
Seams Taped & Underlayment Goes On
After a thorough inspection, our crew confirmed that the plywood sheathing was in excellent condition. With no replacements needed, they move straight to reinforcing the seams with strong deck tape for added durability. Next, they apply a full layer of underlayment - a thin yet heavyweight, water-resistant barrier that shields the sheathing from rain, snow, ice, and anything else that could cause future water damage or rot.
New Shingles Are Installed
Now it's time to install the new shingles - premium-laminated IKO Dynasty, one of our most trusted brands. Brian chose the luxurious Frostone Gray, a perfect blend of style and durability.
After: Front View
A few final touches are added: a ridge vent is installed at the top of each peak, and flashing is secured around joints and other vulnerable areas. With that, the new roof is complete!
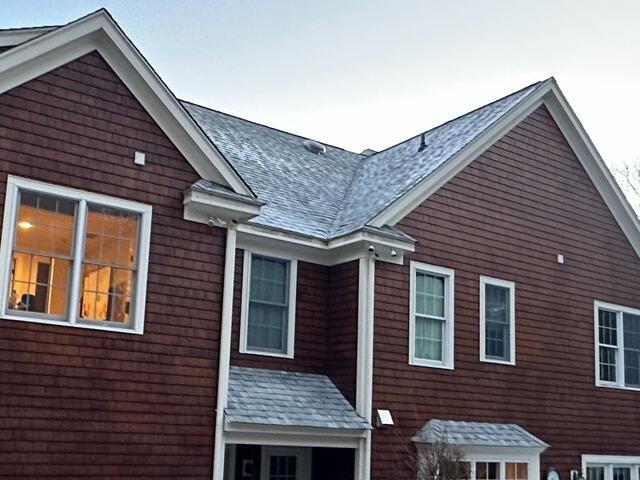
After: No More Algae
In this after image of the same back section we saw at the beginning, you can see there's no more discoloration (but maybe just a little snow)! With these high-quality shingles, all those issues are now a thing of the past.