
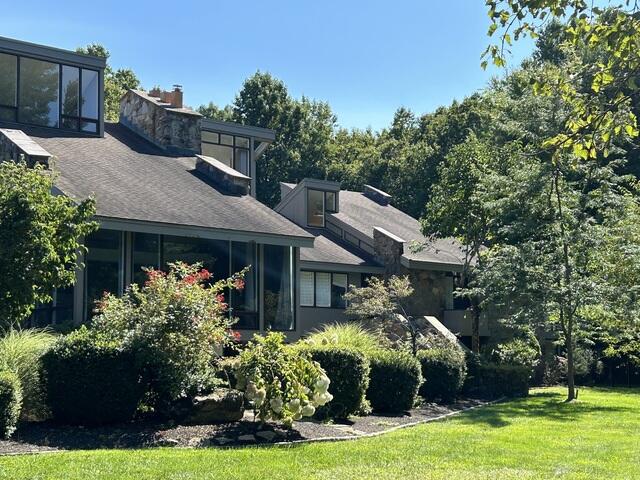
Before
Here's a look at Barry's roof before the makeover. Click through to see the incredible transformation and the journey we took to get there!
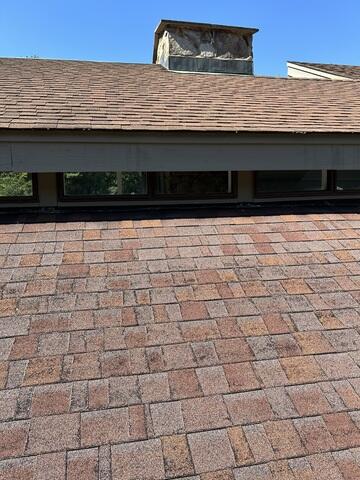
Before: Deteriorating Shingles
In this closer look at Barry's old roof, you can see the splotchy black stains - an indication of roof algae, which is caused by moisture buildup. This not only affects the appearance but also accelerates the rate of deterioration, leading to long-term damage if not addressed.
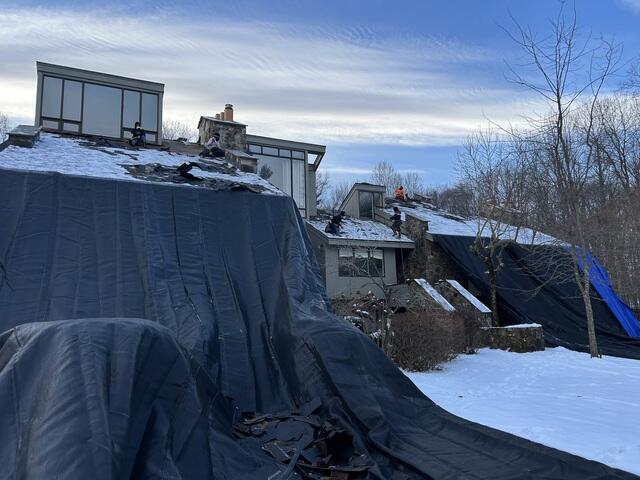
The Teardown Begins
The crew starts by meticulously removing the old shingles, exposing the plywood layer beneath. This is known as the roof sheathing. This layer serves as the structural foundation of the roof.
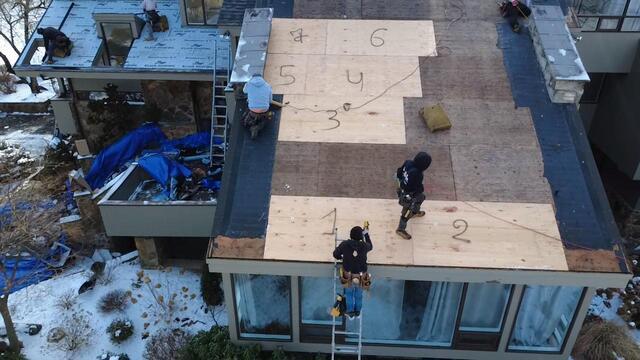
Sheathing Examined, Removed, & Replaced
To maintain the roof's stability and integrity, each section of the sheathing is carefully inspected for any signs of rot or decay. Damaged areas are replaced with fresh plywood, and each sheet is numbered for easy tracking by the crew.
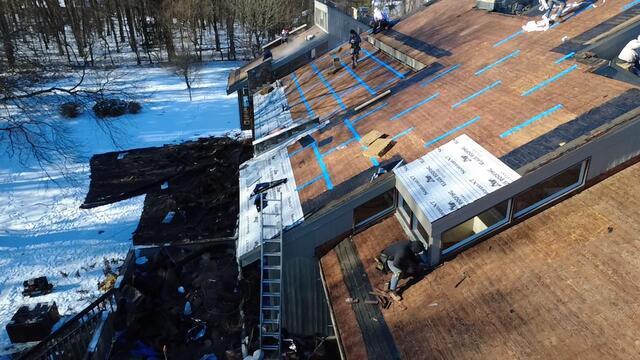
Seams Are Taped & Underlayment Is Applied
Once the plywood sheets are securely in place, the seams are taped with heavy-duty deck tape for added reinforcement. Next, a layer of underlayment is applied. This thin, waterproof material shields the sheathing from rain, snow, and ice.
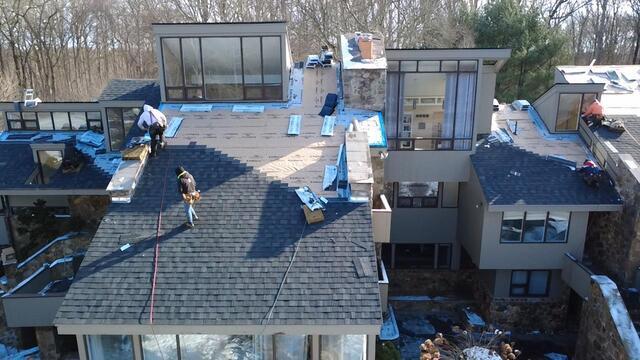
New Shingles Are Installed
Once the sheathing is fully covered in underlayment, the crew begins installing the new IKO Dynasty shingles. These premium-laminated asphalt shingles are a signature of Brown Roofing. Barry chose Granite Black, our most popular color.
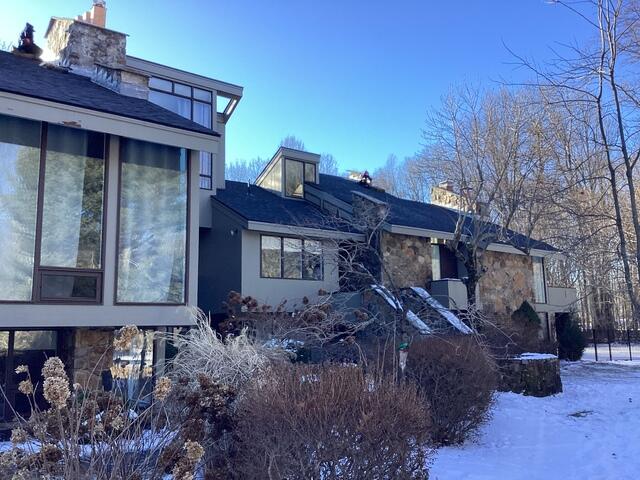
After: The Completed Roof
A few final touches are made, including the installation of ridge vents, and flashing - thin, waterproof material designed to prevent water from seeping into vulnerable areas - is placed around the chimneys and pipe vents. With that, Barry's new roof is complete! Here's the after photo, taken from the same angle as the before photo at the start.
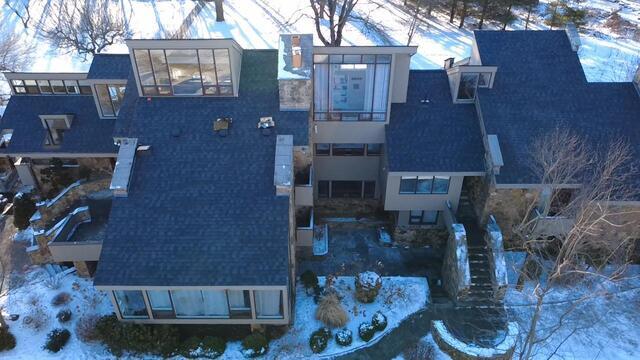
After: Aerial View
This aerial view highlights the premium look of Barry's new roof. This was an intricate and exciting project for our crew, demonstrating that no job is too complex or large for our team!