
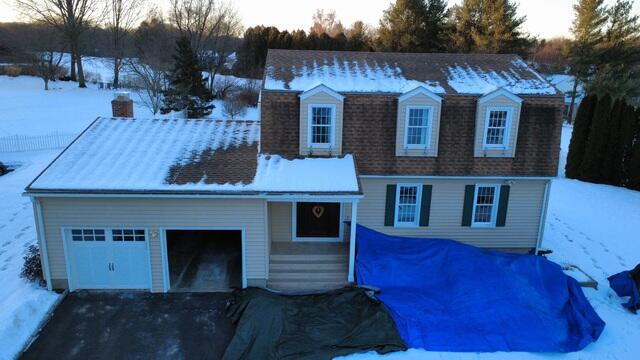
Before: Front View
Before the renovation begins, our crew takes careful steps to protect the homeowner's property. Heavy-duty tarps are laid down to shield the house and yard, ensuring a clean and damage-free workspace. Since the roof is covered in snow, we use snow blowers and shovels to gently clear it away, preparing for a smooth and efficient installation.
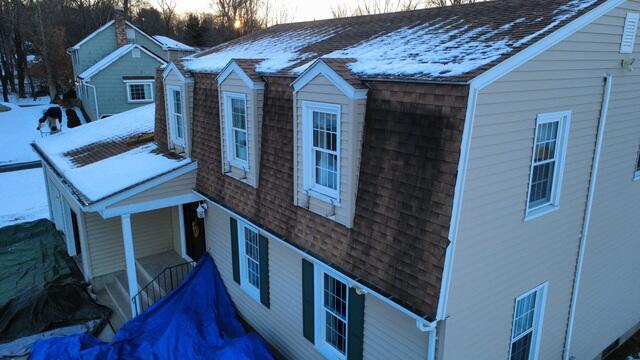
Before: Algae Growth
The dark discoloration on Bob's shingles is not just dirt but invasive roof algae. This moisture-loving plant not only thrives in damp conditions but also traps moisture, accelerating shingle deterioration. Let's get to work on Bob's brand-new roof!
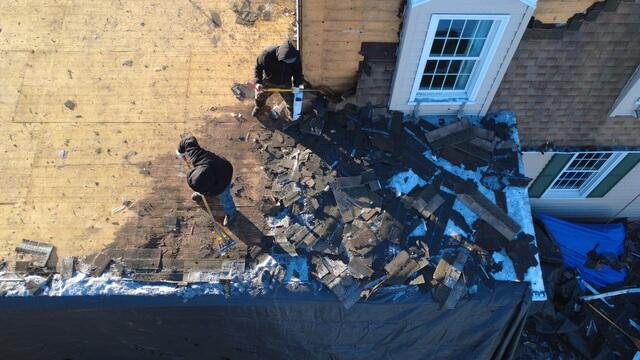
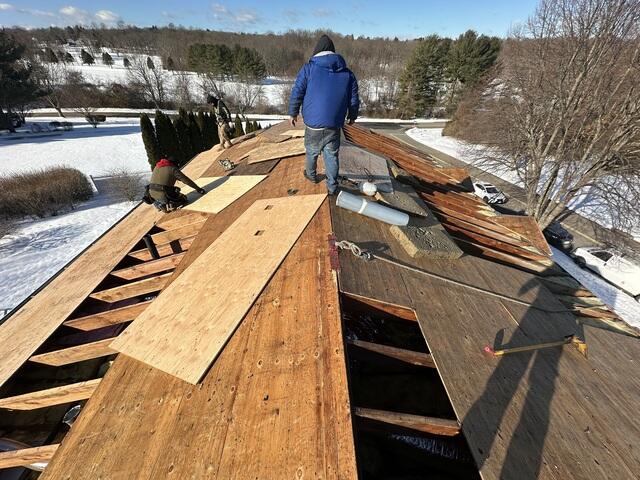
Stripping Off the Old Shingles
The first step is stripping away the old shingles, exposing the plywood layer beneath - known as the roof decking. Right away, it's clear that this section of the roof decking has significant water staining.
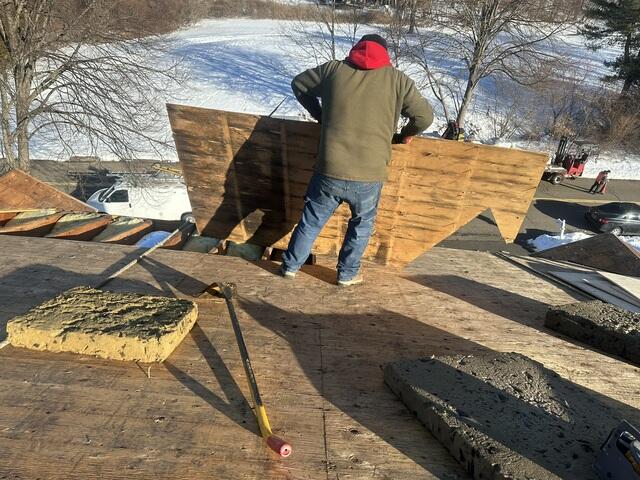
Bad Plywood Removed
As the foundation of the roof, it is crucial that the roof decking is in top shape. Any sheets of plywood that have been compromised by water damage, decay, and mold are removed and replaced.
Plywood Is Replaced
Each new sheet of plywood is precisely cut for a perfect fit and securely nailed to the rafters, ensuring a strong and stable foundation for Bob's new roof.
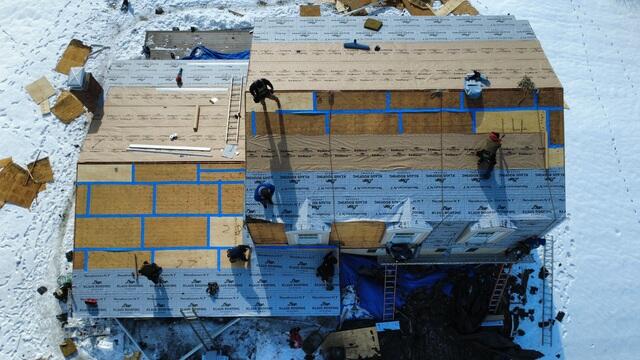
Seams Taped & Underlayment Applied
With all the new plywood securely in place, the crew reinforces the decking by sealing the seams with heavy-duty Sealoron XT deck tape. Next, they apply the underlayment: a thin yet powerful waterproof barrier designed to shield the decking from rain, snow, and ice, ensuring long-term durability and protection against water damage.
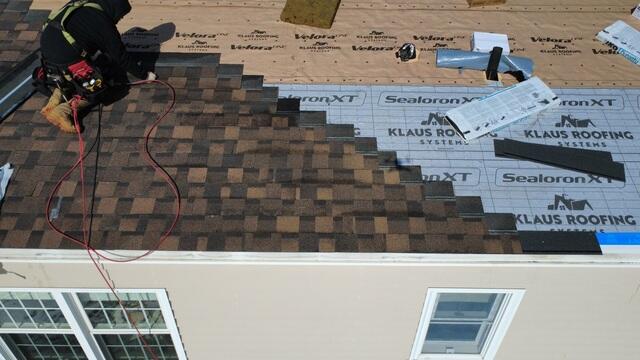
New Shingles Go On
With the underlayment fully in place, it's time for the exciting part: installing the new shingles! Our experts trust heavyweight IKO Dynasty premium laminated shingles for their durability and superior protection. For his new roof, Bob has selected the rich, stylish Shadow Brown.
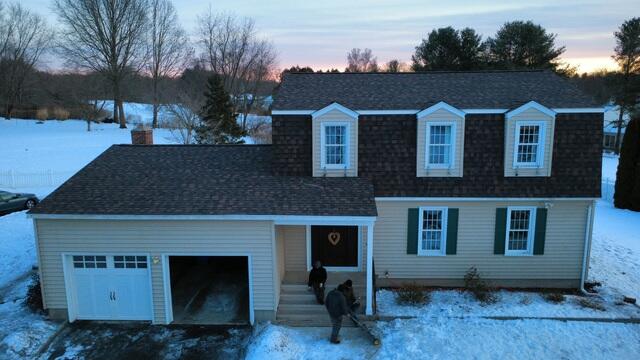
After: Front View
With all the shingles in place, the crew adds the finishing touches to ensure Bob's roof is built to last. A ridge vent is installed at the peak, allowing for proper air circulation to prevent moisture buildup. Next, flashing - a thin, protective material - is carefully placed around the chimney and pipe vents to seal off any vulnerable areas from water intrusion. With every detail perfected, Bob's brand-new roof is officially complete!