
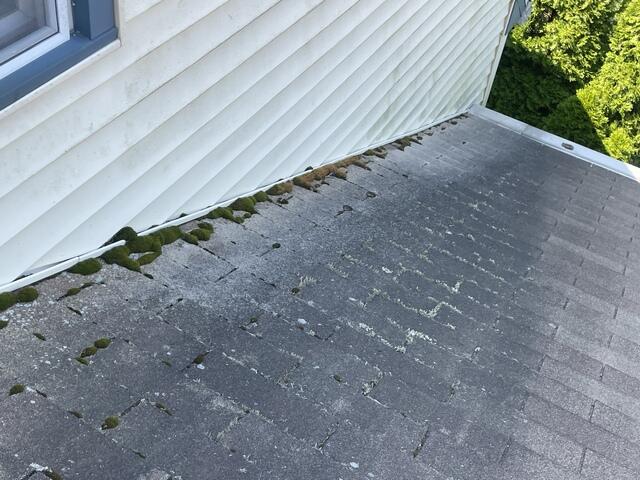
Before: Moss on the Side
In this photo taken by Inspector Darwin, the roof before shows significant moss growth between the shingles, particularly along the side of the house. This is a result of excessive moisture and debris buildup, which is causing serious damage.
Before: Side View
In this side view photo, the damage to the shingles is even more apparent, with noticeable discoloration throughout. Clearly, it's time for a new roof!
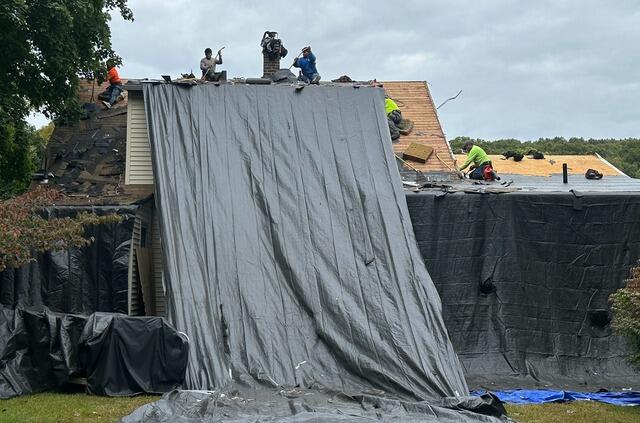
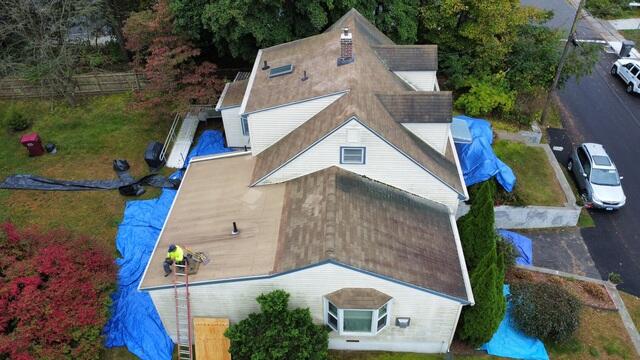
The Teardown Begins
After setting up heavy-duty tarps to protect the house and landscape, the crew begins the roof renovation by carefully tearing off the old shingles.
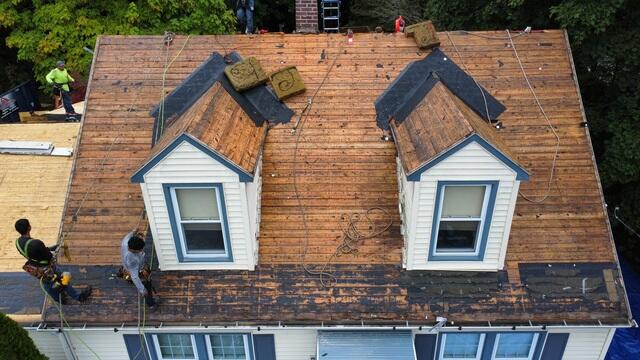
The Decking Is Inspected
After all the shingles are removed, the roof decking underneath is revealed. This is the plywood foundation of the roof. The crew meticulously checks each piece of the decking for any signs of rot, decay, or mold.
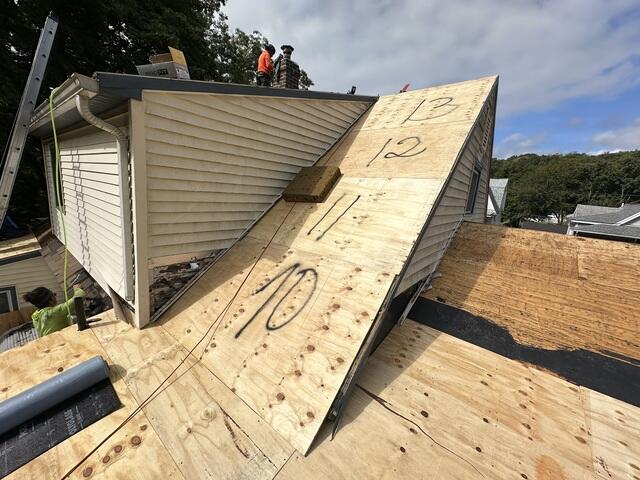
Bad Plywood Is Replaced
Any sections of the roof decking showing signs of decay are promptly removed and replaced with new sheets of plywood. Each sheet is numbered with spray paint to maintain organization and keep track of exactly how many pieces were replaced.
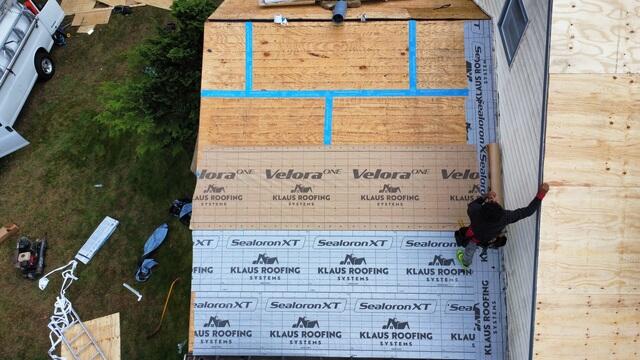
Seams Taped & Underlayment Applied
After all of the new plywood is in place, the crew tapes down the seams of each sheet to ensure that the decking is as durable as possible. Next, a layer of underlayment is installed. This is a thin, waterproof layer of strong synthetic felt that helps protect the decking from rain, snow, and ice.
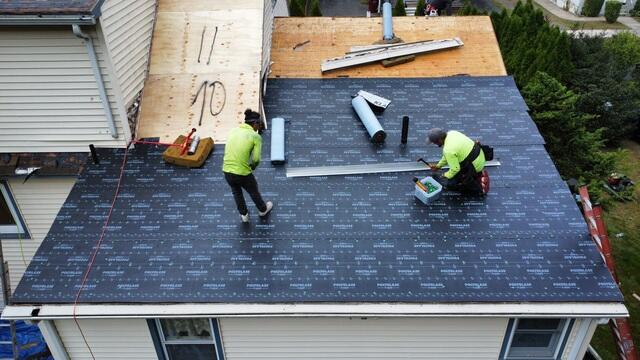
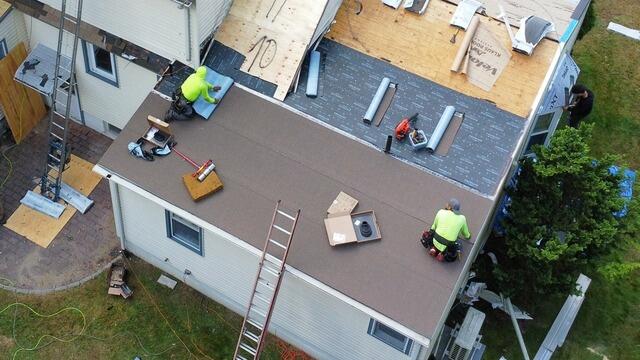
Polyester Base Is Applied
This section of Wayne's roof is considered low-sloping. Due to building codes, shingles cannot be installed on low-sloping roofs because it hinders water from properly draining off. Instead, two layers of heavy-duty Polyglass Elastoflex membrane are applied. The first layer, which serves as the underlayment, is called the base.
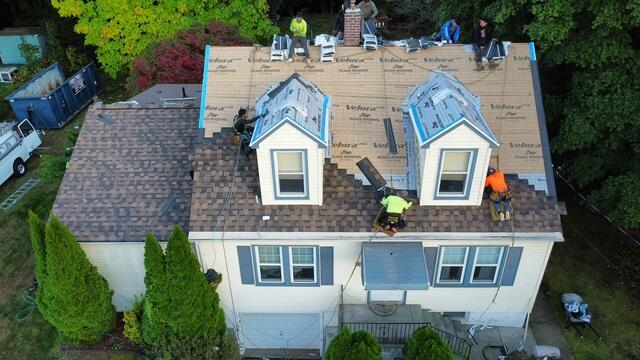
New Shingles Are Installed
Meanwhile, on the rest of the roof, after the underlayment is fully laid, the crew begins installing the new premium laminated IKO Dynasty shingles. Wayne selected the sleek Brownstone shade for his home.
Polyester Cap Is Installed
The top layer of Polyglass Elastoflex, known as the cap, is installed, completing the low-sloping section of the roof. Like shingles, the Polyglass Elastoflex comes in multiple colors. This cap is in the color Heather Blend, which pairs beautifully with the Brownstone shingles!
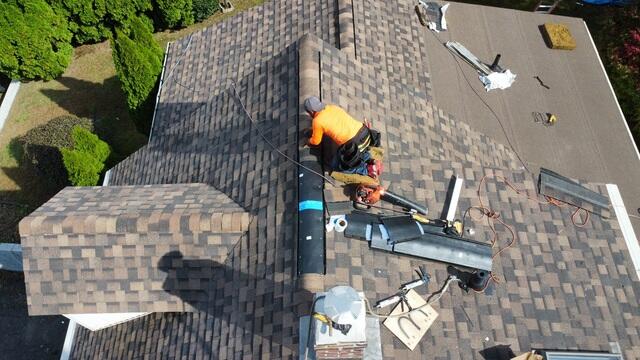
Ridge Vent Is Installed
After all of the shingles are in place, a ridge vent is installed at the peak of the roof. This vent allows rising hot, humid air to flow out of the house, reducing moisture buildup.
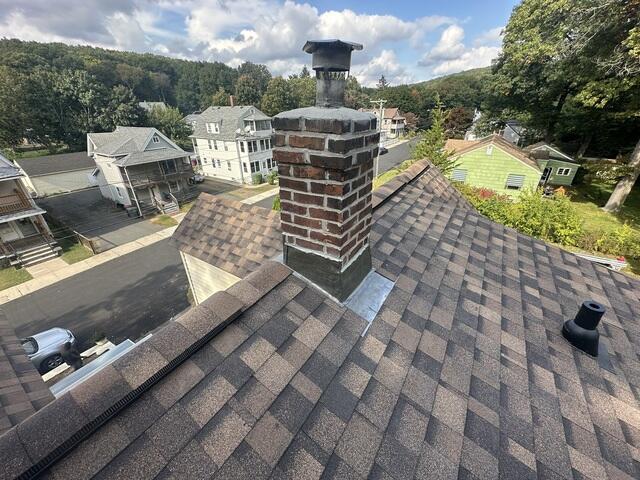
New Chimney Flashing
New flashing is installed around the base of the chimney. This thin, waterproof metal barrier ensures that water flows safely off the sides rather than seeping into joints and crevices. The same process is applied to all pipe vents, as seen here with our ultra-durable Perma Boot, offering long-lasting security against leaks.
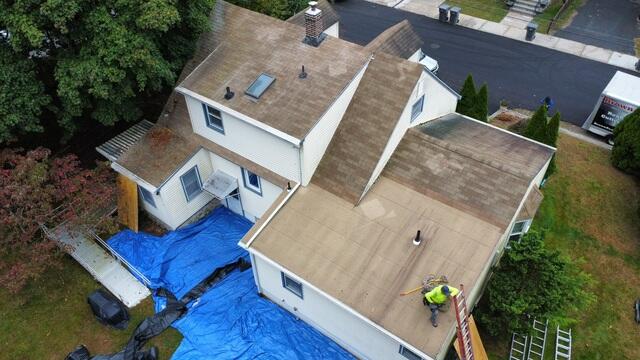
Before: Back Aerial View
Here is a look at Wayne's old roof with stains, moss, and faded shingles...
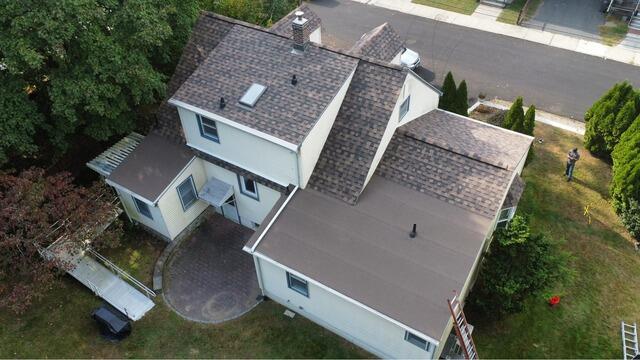
After: Back Aerial View
...and here is Wayne's beautiful new roof! With brand-new, premium-quality materials, this new roof is sure to stand the test of time.