
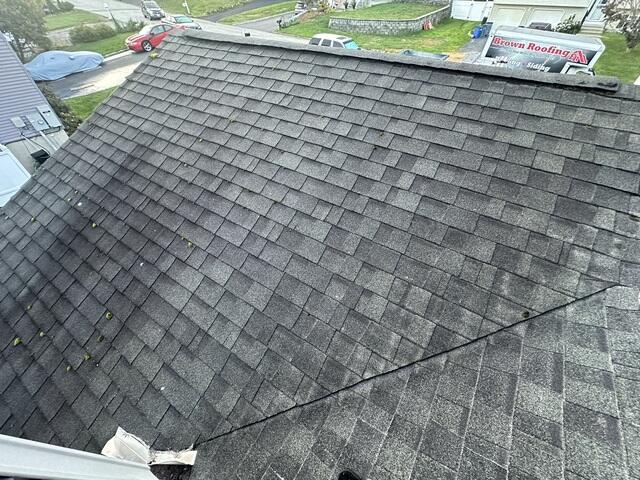
Before: Moss & Algae
Nicholas's roof exhibited significant moss and algae growth, with moss appearing as green patches and algae as black stains. This accumulation occurs due to the retention of moisture and debris in certain areas.
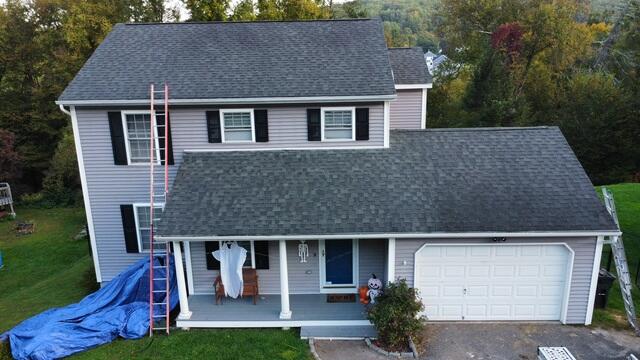
Before: Front View
Besides the moss and algae covering the roof, Nicholas was also dealing with leaks inside the house, so it was definitely time for an upgrade.
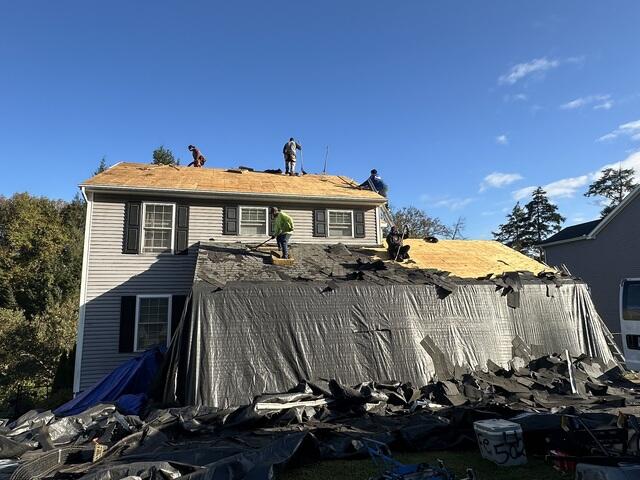
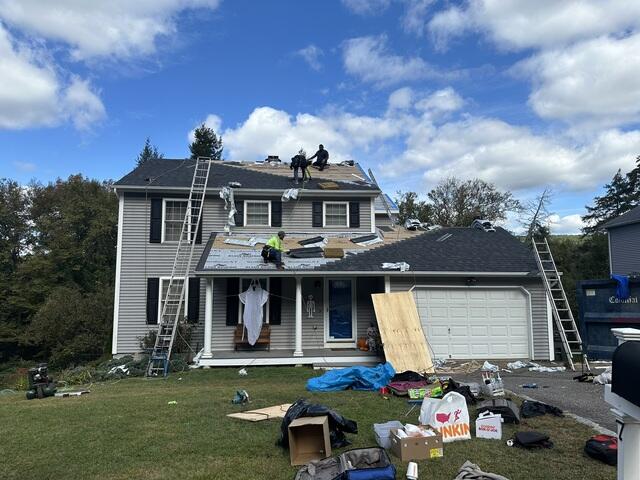
The Old Shingles Are Removed
The crew begins by carefully stripping off the old shingles, with large heavy-duty tarps in place to protect the house and landscape.
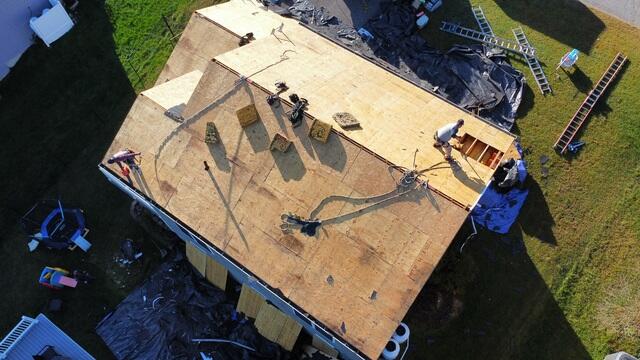
Bad Plywood Removed & Replaced
Once all the old shingles are removed, the roof decking - the plywood foundation of the roof - is fully exposed. Each sheet of plywood is carefully inspected for rot or mold, and any damaged sections are replaced.
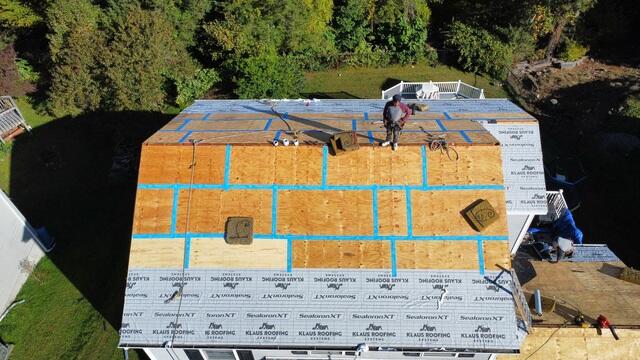
Seams Are Taped & Underlayment Is Applied
Once the decking is secured, the crew reinforces the seams with heavy-duty deck tape. Then, they cover the entire surface with underlayment: a thin, waterproof barrier designed to protect against potential water damage from rain, snow, or ice.
New Shingles Are Installed
With the decking prepared, the crew begins installing the shingles. They use heavyweight IKO Dynasty premium laminated shingles, designed to endure the toughest weather conditions. Nicholas selected Granite Black, our most popular color choice.
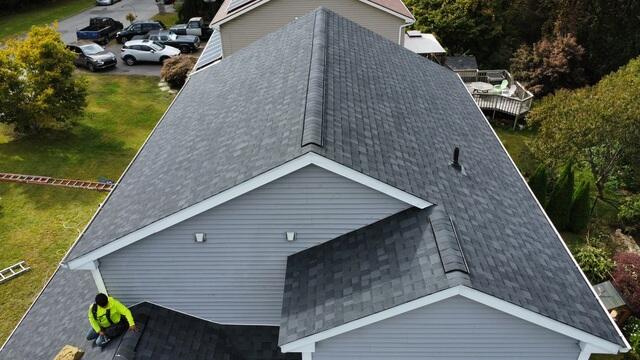
Ridge Vents Are Installed
Finally, the crew installs a ridge vent along the roof's peak. This vent promotes proper airflow, allowing hot, humid air from the attic to escape and preventing moisture buildup. Then, matching shingles are placed over the vent to maintain a seamless look.
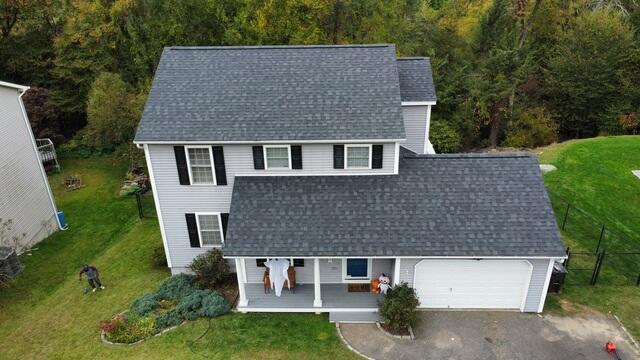
After: Front View
Nicholas's roof is now fully completed. The new shingles, secure decking, and ridge vent system provide long-lasting protection against the elements, giving him peace of mind for years to come!