
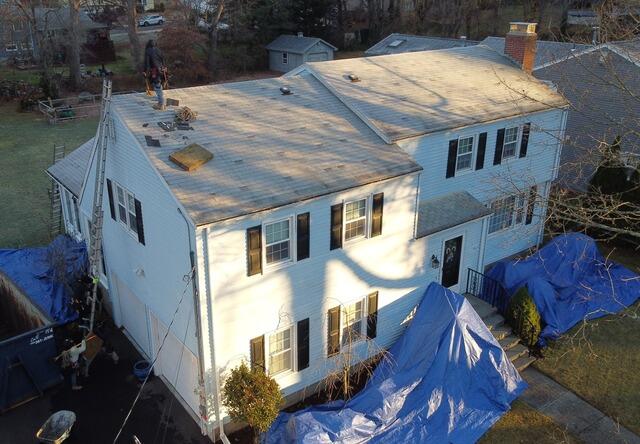
Before: Front Aerial View
Mary's roof, though not in the worst shape, was showing signs of wear with dull shingles and some discoloration along the edges. (The darker spots on the shingles indicate where the brackets for her solar panels were placed. These will be reinstalled by the solar panel company once the roof replacement is complete.)
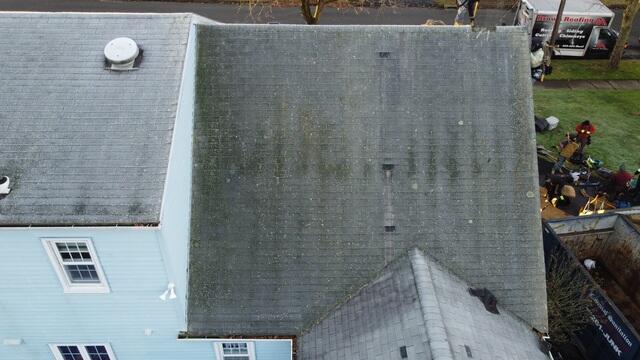
Before: Damage on the Back
The damage to the roof is much more noticeable at the back of the house, where there's strong growth of all three invasive, moisture-loving plants that commonly thrive on roofs: algae, moss, and lichen.
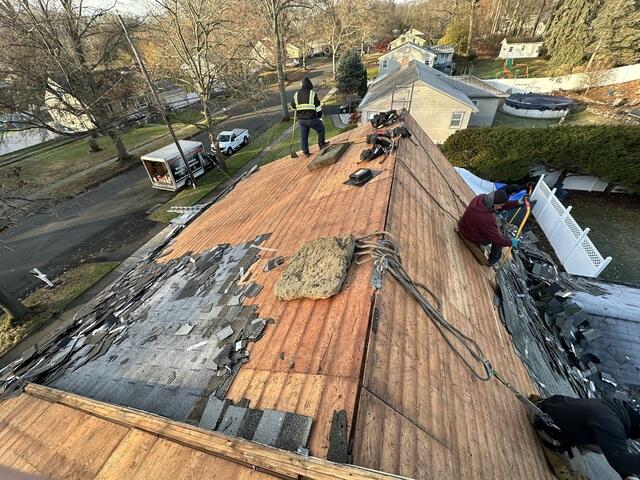
Old Shingles Taken Off
The crew starts by stripping away all the old shingles, exposing the plywood layer beneath, known as the roof decking.
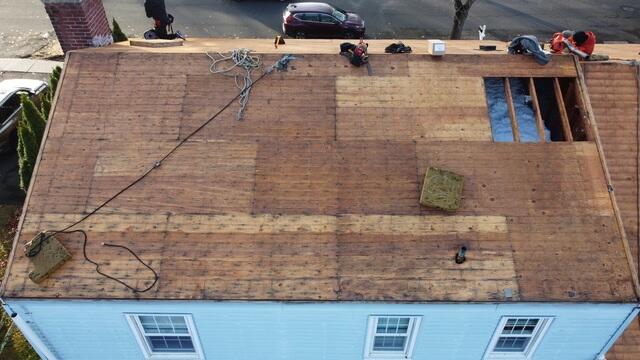
Bad Plywood Removed
The roof decking is the structural framework of the roof, and its health is essential to the longevity of the new roof. The crew carefully inspects the roof decking for any signs of rot or mold and removes any damaged sections to be replaced with fresh plywood.
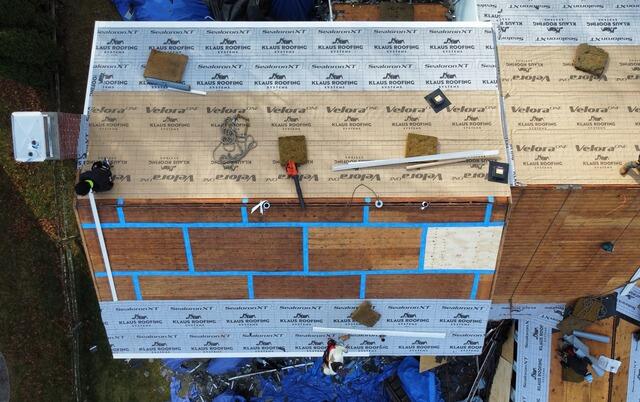
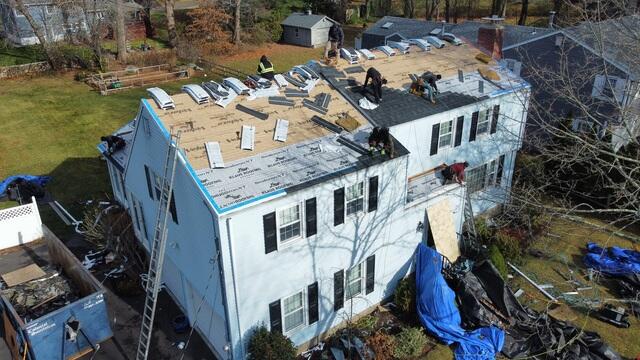
Seams Reinforced & Underlayment Laid
Mary's roof only had one sheet of decking that needed replacing. Can you guess where it was? Anyway, the next step is to tape the seams of each plywood sheet with heavy-duty deck tape for extra reinforcement. Then, a layer of underlayment is applied over the entire decking. This thin, waterproof material is designed to protect the decking from rain, snow, and ice.
New Shingles Are Installed
4
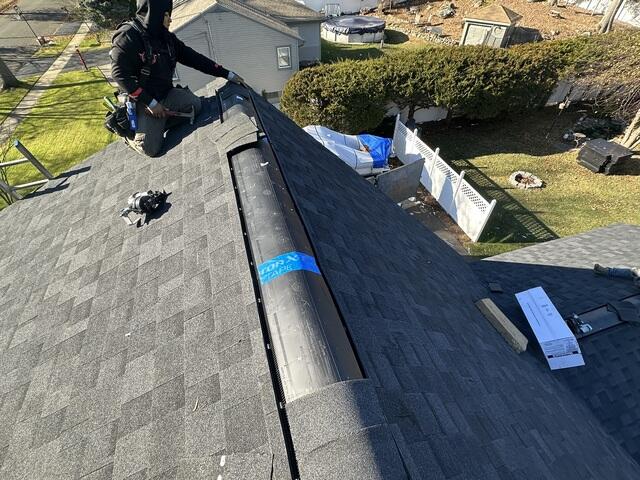
Ridge Vent Installed
Once all the shingles are installed, the crew adds a vent at the ridge of the roof. This vent allows humid air from the attic to escape, helping to prevent moisture buildup.
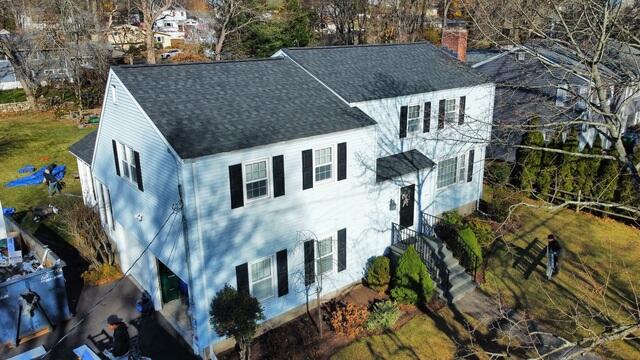
The Finished Roof
The crew finishes the ridge vent with additional Granite Black shingles for a seamless look and adds flashing to vulnerable areas like around the chimney and vent pipes. Once that's done, the roof is complete!