
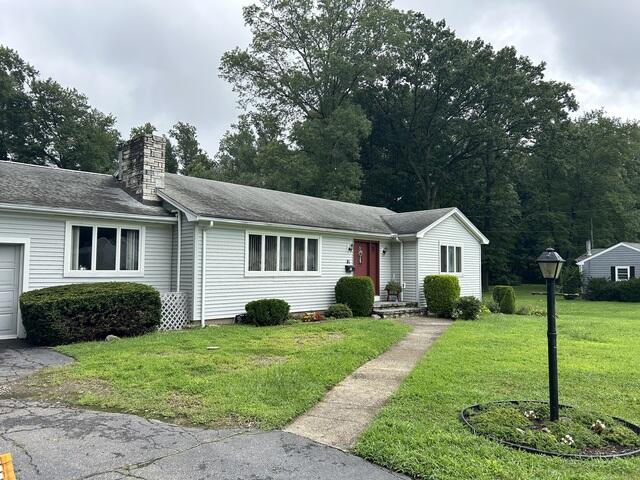
Before: Discolored Shingles
From a distance, the roof's damage was clear, with noticeable discoloration throughout. This discoloration was caused by algae growth, which flourishes in damp conditions.
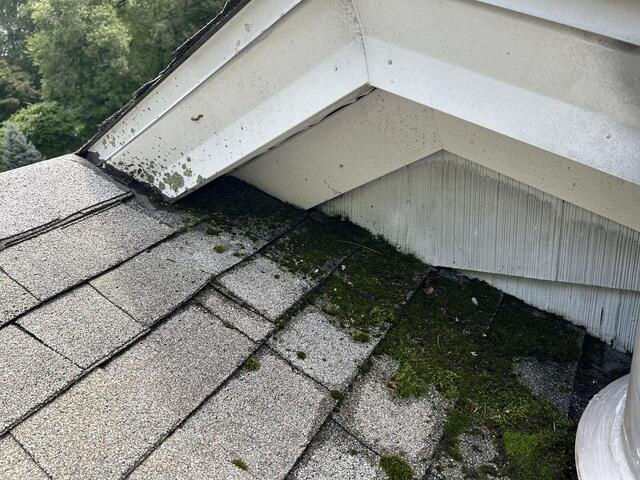
Before: Moss Galore
In addition to the algae, there was a significant overgrowth of moss. A large amount had formed right beneath the eave, suggesting that water was likely pooling there and keeping the area damp, with the shade contributing to the growth as well.
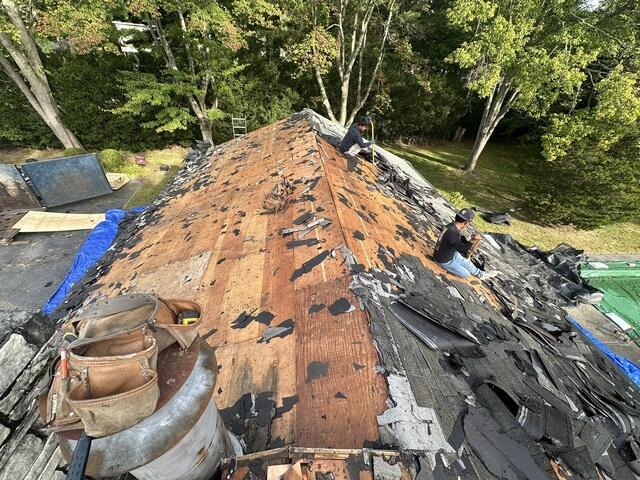
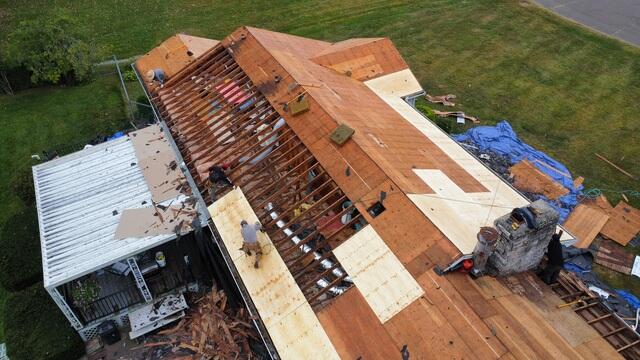
The Teardown Begins
The crew starts the renovation process by tearing off the old shingles. This reveals the plywood underneath, which is called the sheathing.
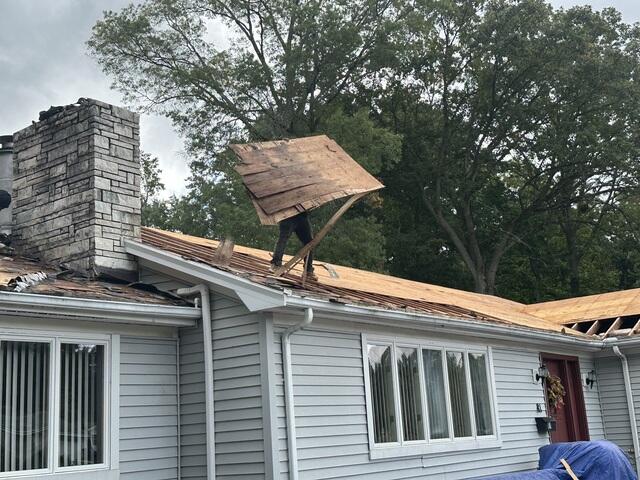
Bad Plywood Is Removed
The sheathing is thoroughly examined for signs of water damage, rot, or mold. Any plywood showing these issues is removed and properly disposed of.
New Plywood Is Installed
The crew quickly replaces any damaged plywood with fresh, new sheets, ensuring each piece is carefully fitted and securely nailed to the rafters.
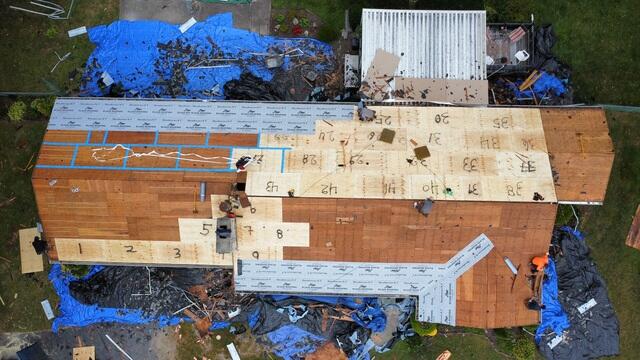
Seams Are Taped & Underlayment Is Put Down
Once the new sheathing is in place, the crew seals the seams of each plywood sheet with durable deck tape to reinforce the sheathing's integrity for the new shingles. A layer of underlayment is then applied over the entire surface. This thin, water-resistant barrier shields the sheathing from rain, snow, and ice, making it highly resistant to moisture.
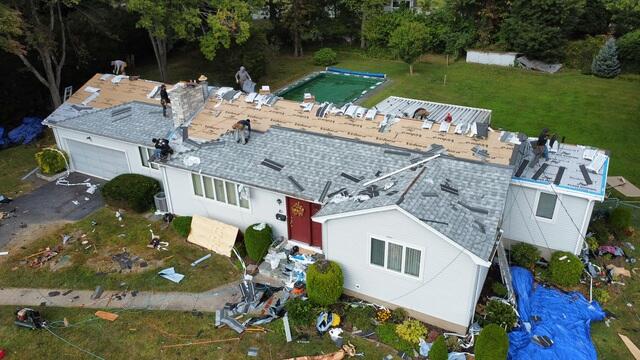
New Shingles Are Installed
With the underlayment fully installed, the crew begins placing the IKO Dynasty premium laminate shingles. Inge selected the Frostone Gray color for her roof, providing both durability and a sleek look.
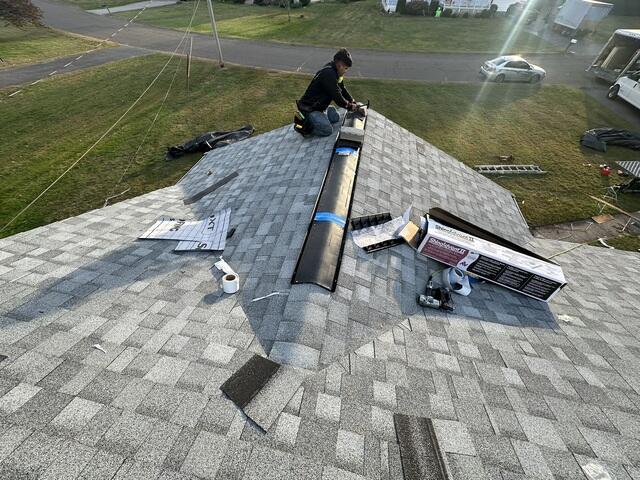
Ridge Vent Is Installed
Next, the crew installs a ridge vent to promote proper airflow, allowing hot air from the house to escape and preventing moisture buildup.
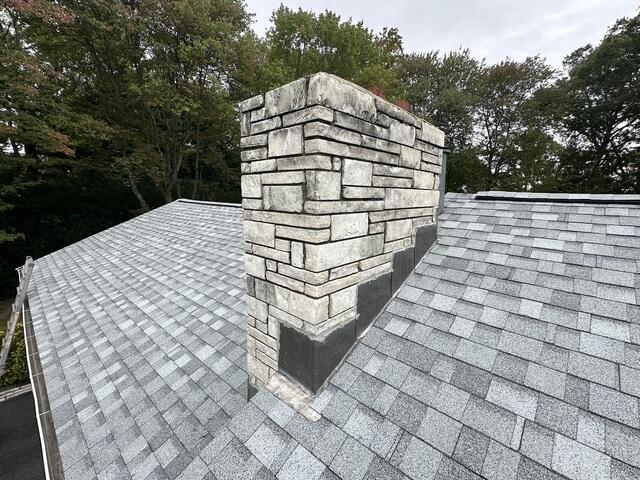
New Flashing for the Chimney
New, durable flashing is installed around the chimney, creating a watertight seal to prevent leaks through crevices and joints.
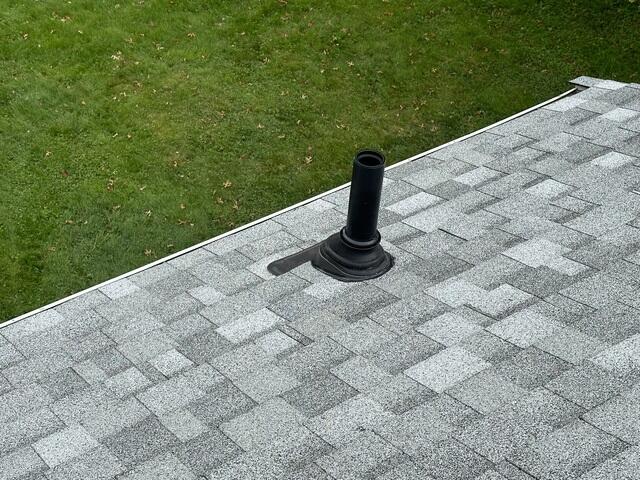
New Flashing for the Pipes
Flashing is also installed on the pipe vents using the Ultimate Pipe Flashing from Lifetime Tool, crafted from durable, heavy-duty plastic for long-lasting protection.
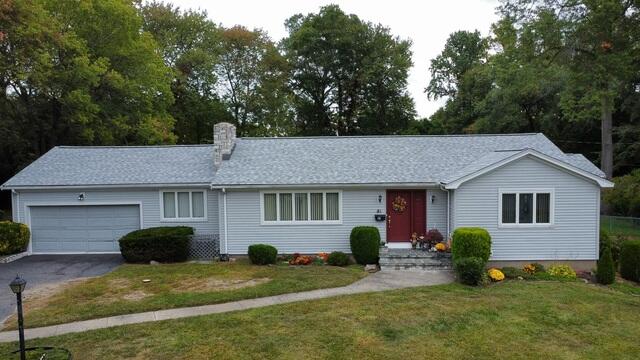
The Roof Is Complete
With that, the roof installation is complete! Inge's new roof not only enhances the home's appearance but is also built to provide lasting strength and protection for years to come.