

Before: Front View
Joe's old roof seemed in decent condition from the front, with only a bit of discoloration here and there...
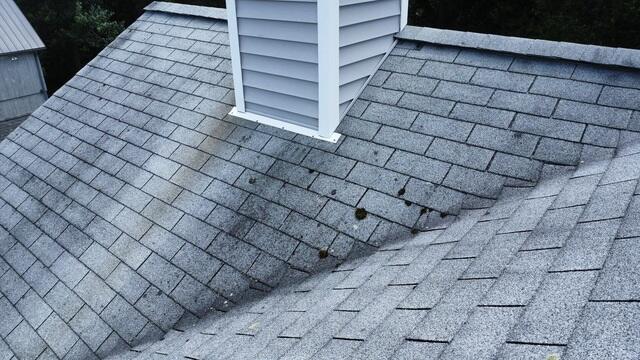
Before: Algae Growth
...however, upon closer inspection, it becomes clear that there's a considerable amount of black and green algae growing in certain areas, particularly near the roof's valleys, where moisture is the most likely to accumulate.
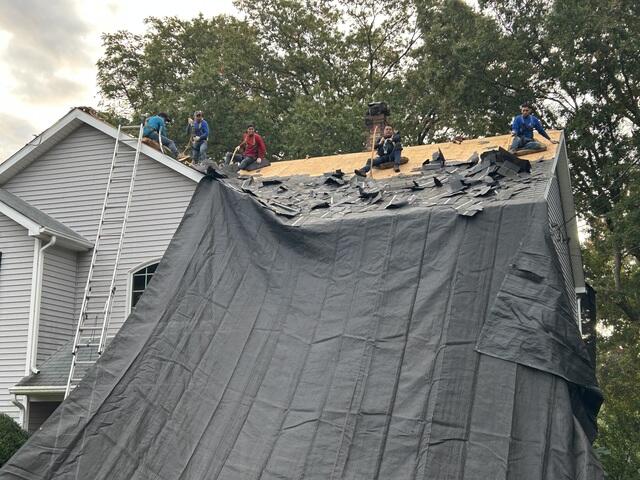
The Teardown Begins
The crew begins the roof renovation by removing the old shingles, revealing a layer of plywood underneath. This plywood, known as the roof decking, serves as the structural foundation of the roof. Once the shingles are removed, the decking is carefully inspected for any signs of water damage, rot, or mold.
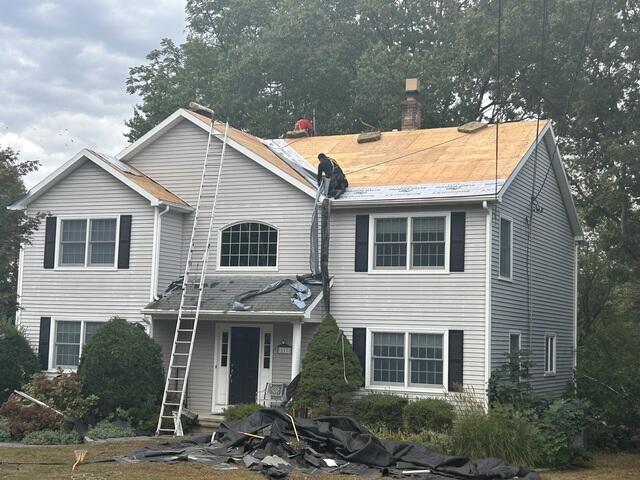
The Underlayment Is Applied
After thoroughly inspecting the decking, the crew confirmed that all of the plywood was in good condition and did not need replacement. Next, the underlayment is applied. This is a thin, waterproof barrier that covers the entire decking to protect it from rain, snow, and ice. In addition to the general underlayment, a special, heavy-duty version is applied to the roof edges and valleys, as shown here, to ensure optimal moisture protection in these high-risk areas.
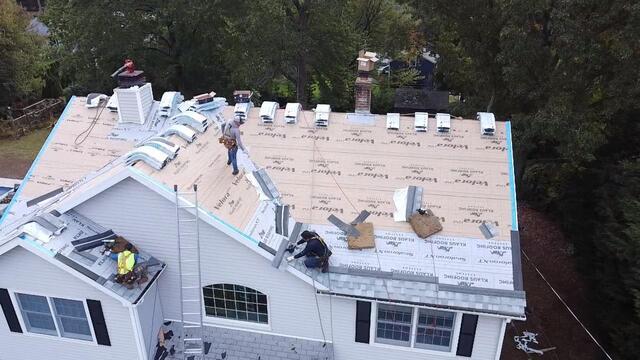
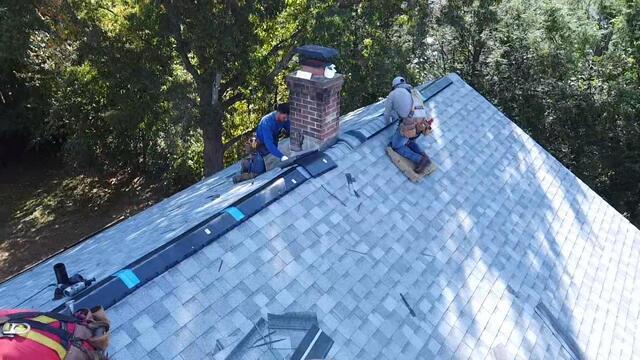
New Shingles Are Installed
After the underlayment is in place, it's time to start installing the shingles. These IKO Dynasty premium laminate shingles are in sleek Frostone Gray - Joe's chosen color.
Ridge Vent Is Installed
Once all the shingles are installed, a ridge vent is placed at the peak of the roof. This vent allows humid air from the attic to escape, preventing moisture buildup and potential damage. After the vent is in place, Frostone Gray shingles are applied over it to ensure a seamless look.
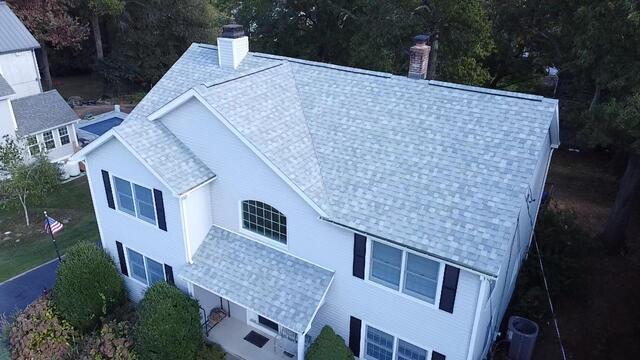
The Finished Look
With that, this beautiful new roof is complete. Joe's home is now fully protected, and his roof is algae-free. Thanks to the premium materials and expert craftsmanship, he can rest easy, knowing his roof is built to last without any concerns about future issues.