
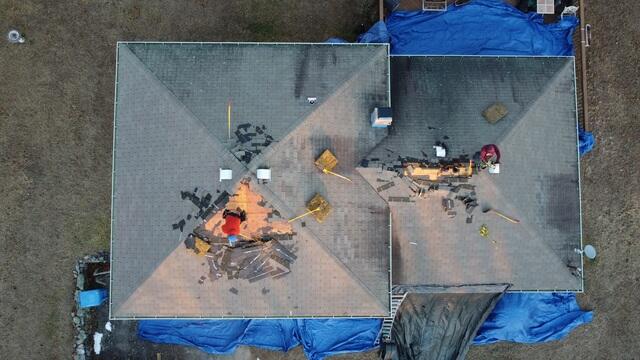
Shingle Removal Begins
The crew begins the process by stripping off the old shingles. You can see dark discoloration near the sides of this roof and many tiny white spots of lichen. These are both signs of water damage.

Plywood Is Exposed
After the old shingles are completely removed, the plywood underneath is exposed. This plywood is the structural foundation of the roof. Each sheet is examined for rot and damage.
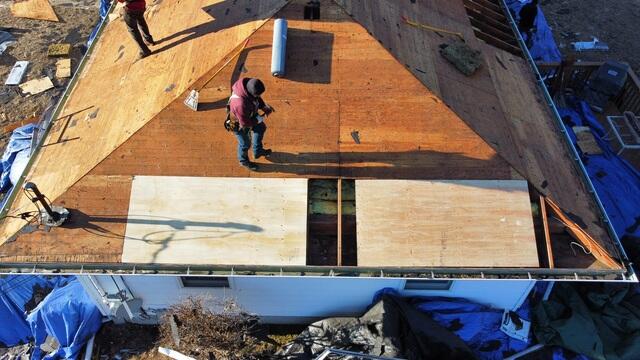
Plywood Is Replaced
Bad plywood that displays damage, rot, or mold is removed and replaced with brand-new plywood. These sheets are sized, fitted, and clipped into place with expert precision.
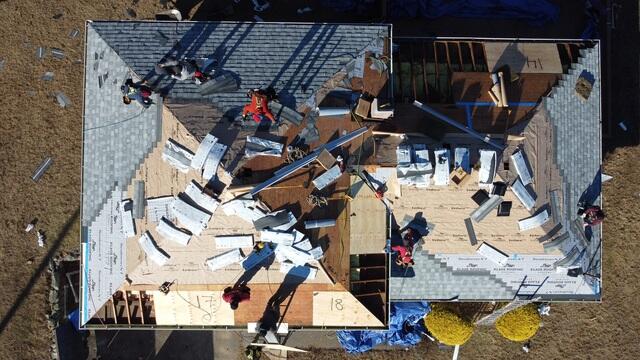
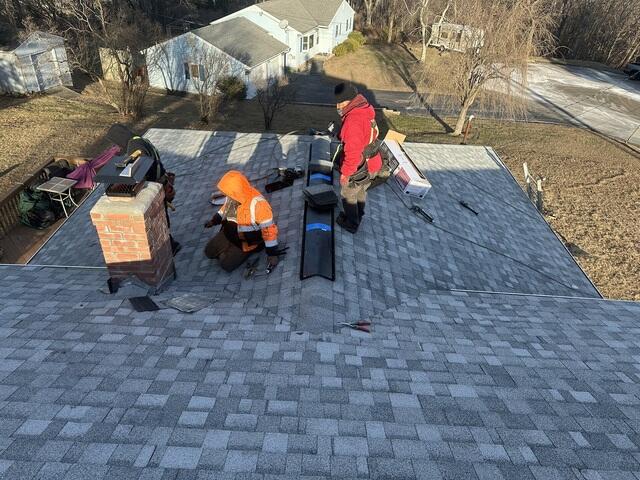
The Process in Many Stages
This image perfectly encapsulates our team's expert ability to work with synchronicity and efficiency. While some of the installers work on placing and adhering new sheets of plywood, others work on applying the Ice & Water Shield underlayment, while others are hard at work installing the new shingles.
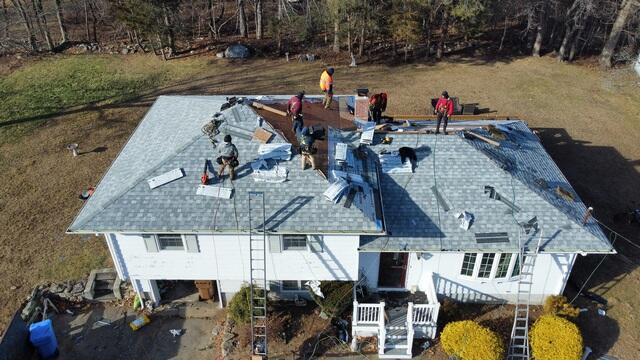
Completing the Shingle Installation
The crew is nearly finished installing these high-quality IKO Dynasty shingles in the phenomenal shade of Frostone Gray. Hip and ridge shingles are installed over each ridge to ensure a beautiful and harmonious look.
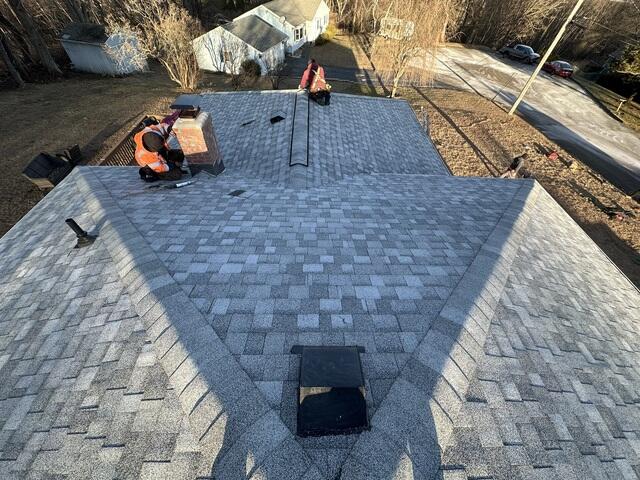
Ridge Vent Installation
One of the final steps is to install a ridge vent. This will ensure proper ventilation inside of the roof by giving warm, humid air a way to escape, helping to prevent damaging moisture buildup.
The Final Touches
Hip and ridge shingles are fastened atop the ridge vent. Flashing - a thin material that helps prevent water from entering crevices or cracks- is adhered to the chimney, pipes, and all other objects.
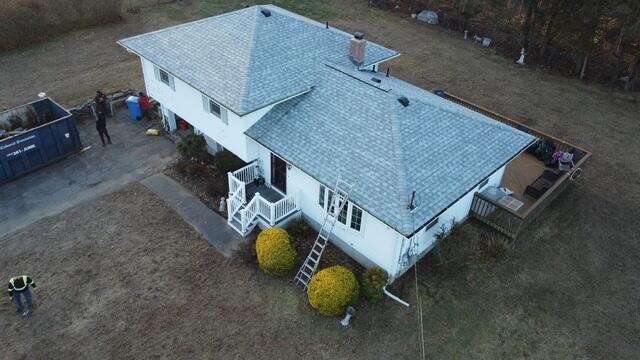
The Roof Is Finished
The transformation is complete, leaving this satisfied homeowner with a roof as beautiful as it is functional - guaranteed to stay strong and leakproof for years to come!