
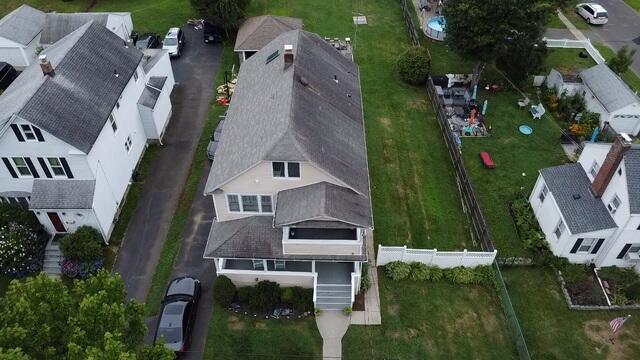
Roof Before Replacement
This aerial view shows us the extent of the roof's damage on each level. The north-facing side of the top level shows an extensive growth of lichen. They act like sponges, keeping the roof damp and causing even more growth.
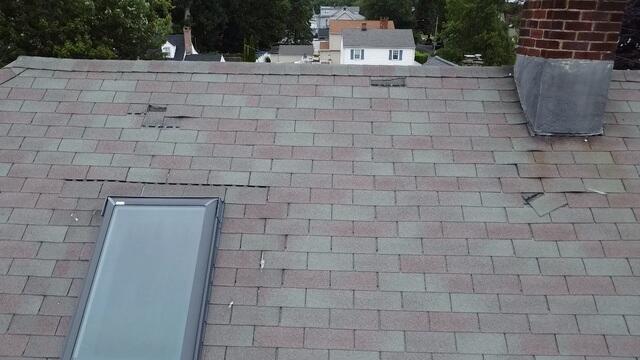
Roof Before Replacement: South Side
This close-up of the south-facing side shows in detail broken shingles and cracking around the skylight.
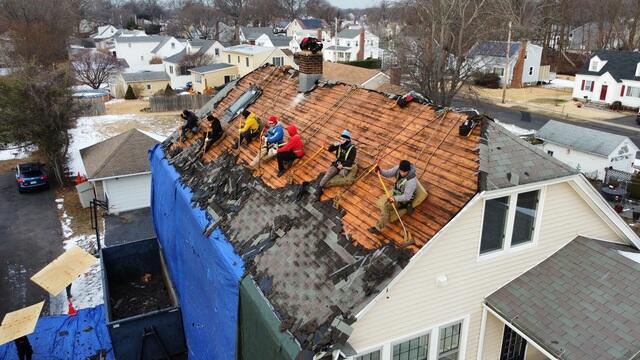
The Roof Teardown Begins
The crew begins the teardown process by removing the old shingles.
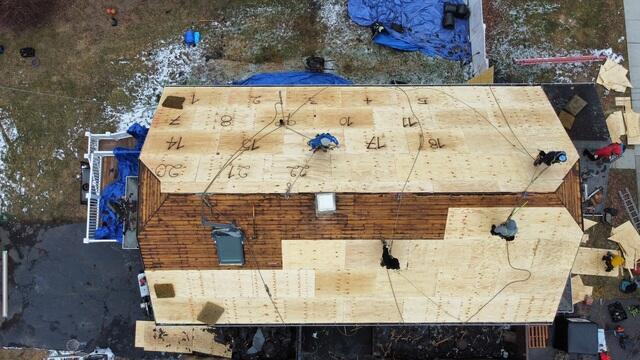
Plywood Replacement
Extensive decay of the roof's decking led to the majority of it needing to be replaced by fresh new sheets of plywood. Each sheet is sized, sometimes cut, and then nailed and clipped into place.
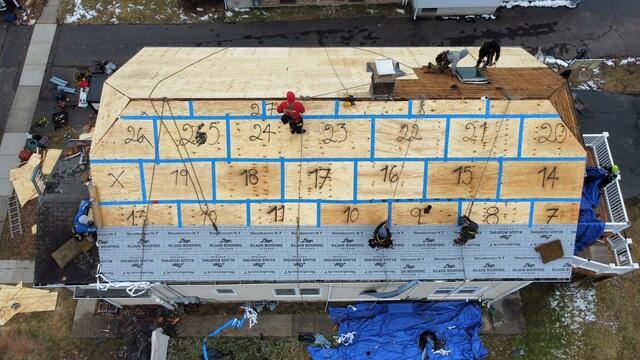
Deck Tape & Underlayment Is Applied
Each sheet of plywood is taped at the seams with SealoronXT Deck Tape, and then covered with a layer of Ice & Water Shield. These steps protect the decking from any chance of moisture damage in the future.
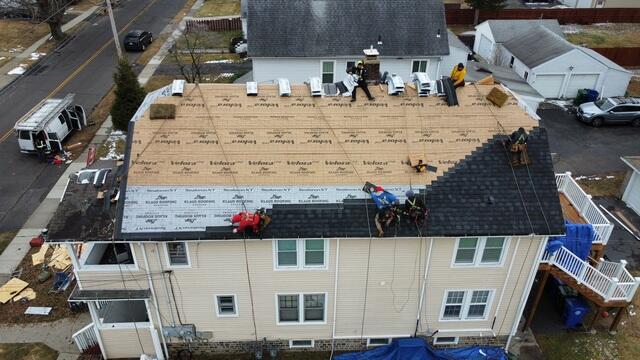
Shingles Are Installed
After the underlayment is set, the crew starts installing high-quality IKO Dynasty shingles in one of our most popular colors, Granite Black.

Shingles on Eaves and Ridge Vent Installed
The crew goes through the same process on the eaves and the lower sections of the roof. Finally, the team installs a ridge vent at the very top, which helps ensure proper air ventilation by allowing humid air to escape the attic and prevent moisture buildup.
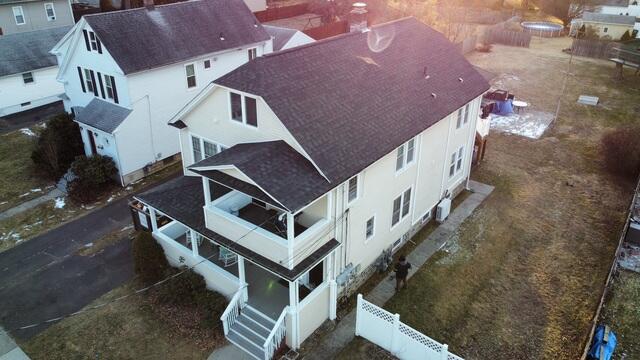
Completed Roof Installation: Front View
The installation is complete. The homeowner is left with a beautiful new roof with superior structural integrity, completely protected from rot and moisture damage for years to come!