
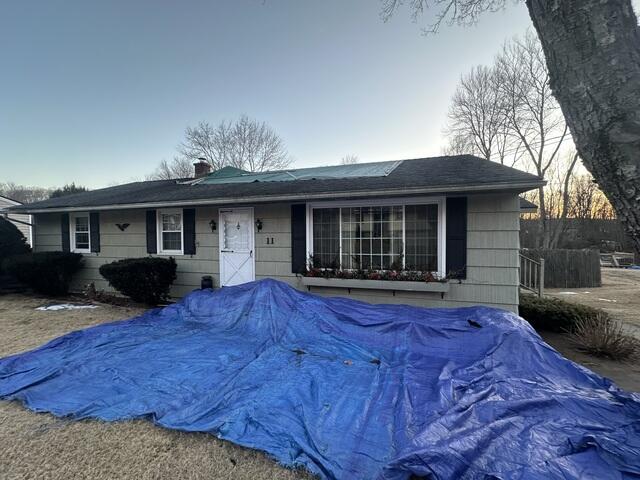
Old Roof Before Teardown
Our crew is dedicated to protecting our homeowners' yards and landscape before we begin the roof installation process. The green tarp on top of the house was placed there by the homeowner herself to combat leakage. As you can imagine, this house was in desperate need of a new roof!
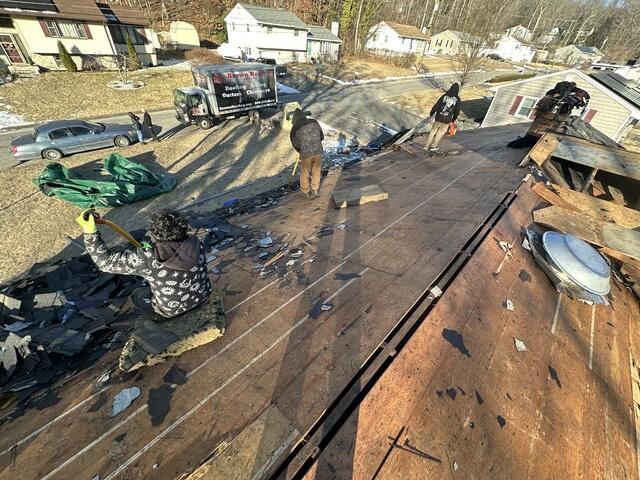
Shingle Removal
The crew begins the roof removal by tearing off the old shingles. This reveals the plywood underneath. The crew will determine whether or not any plywood needs to be replaced before the new roof is installed.
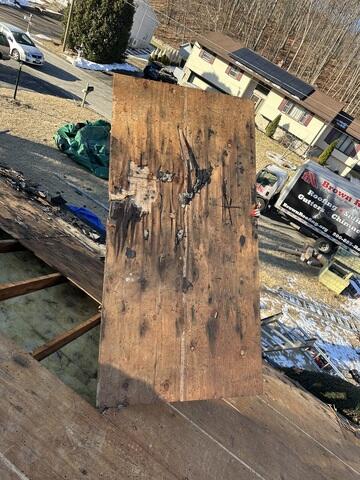
Bad Plywood Is Removed
Plywood that shows damage - such as this one pictured - is removed and replaced. One of the primary reasons plywood becomes damaged is due to exposure to moisture over a long period of time.
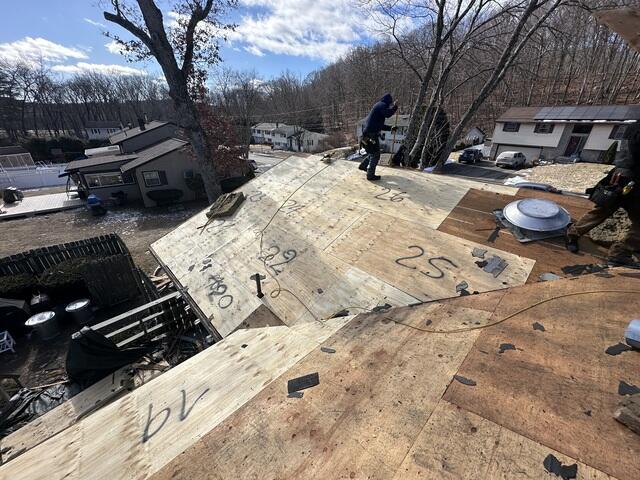
Plywood Is Replaced
Project Manager Connor found that almost all of the plywood showed significant decay and needed to be replaced. The crew worked with fantastic efficiency and expert ability to replace each sheet.
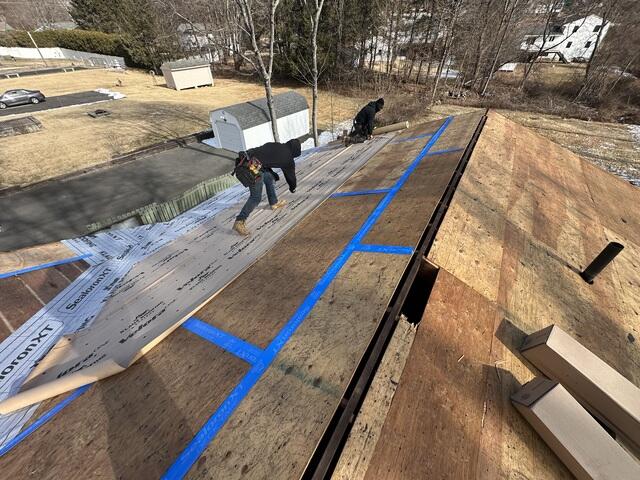
Seams Taped & Underlayment Applied
After all the necessary plywood was replaced, the crew proceeded to tape up the seams with our high-quality SealoronXT Deck Tape and apply an underlayment of Ice & Water Shield. This ensures a water-resistant surface to prevent plywood decay in the future.
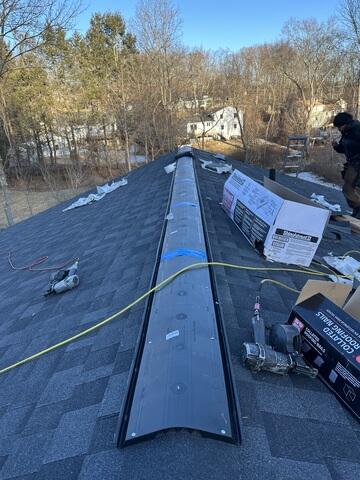
Ridge Vent Installation
After installing our premium-quality IKO Dynasty shingles, a ridge vent is installed to the highest point of the roof. A ridge vent makes sure your roof and attic stay properly ventilated and that no hot, humid air builds up inside. In the next step, hip and ridge shingles are fastened over the vent to tie everything together.
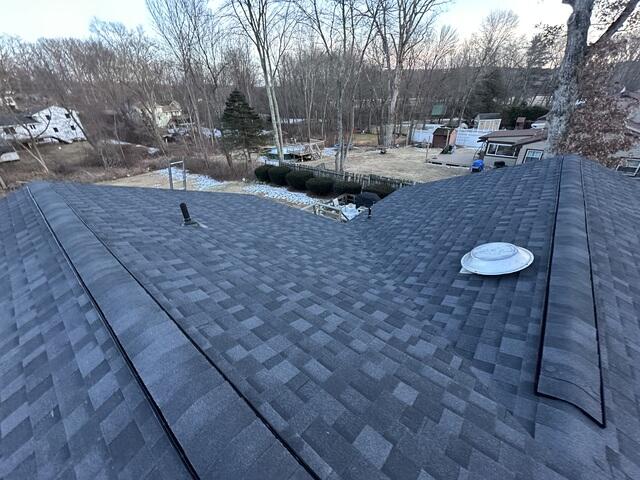
Complete Roof Installation
This finished roof features our IKO Dynasty shingles in one of our most popular colors, Granite Black. This homeowner is left satisfied knowing her roof will stay strong and leakproof for a lifetime - no tarps needed!