
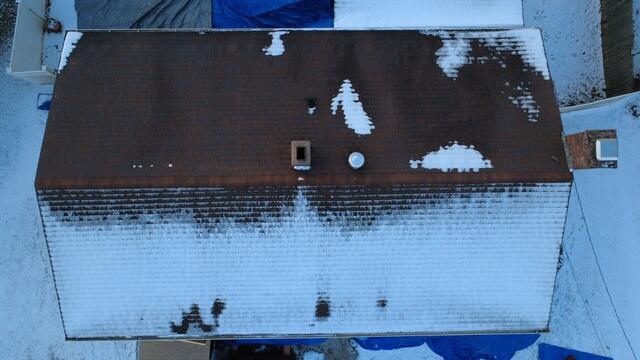
Aerial View of Roof Before
In this before photo, you can see there is a "wavy" appearance to the shingles. This is called buckling and can be due to many factors, including poor installation, cheap materials, age, extreme weather damage, et cetera.

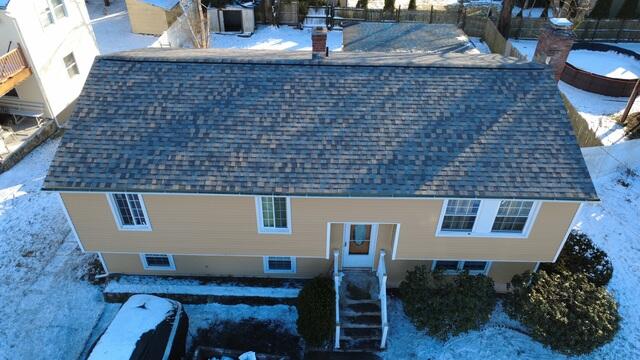
Front of House Before Roof Removal
Our crew is dedicated to keeping our homeowners' yards and assets safe and protected during our roof installation process.
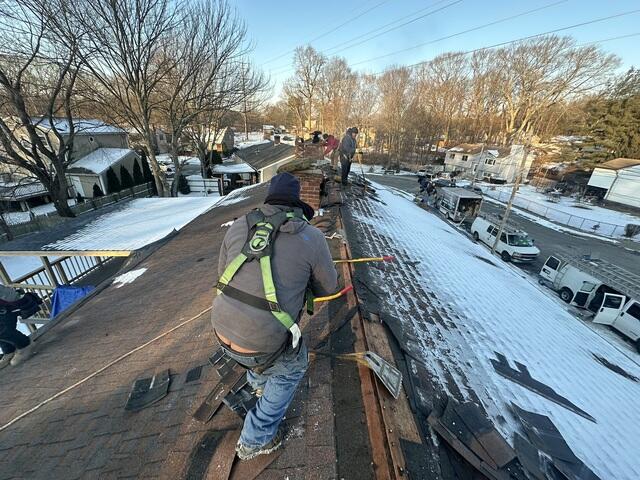
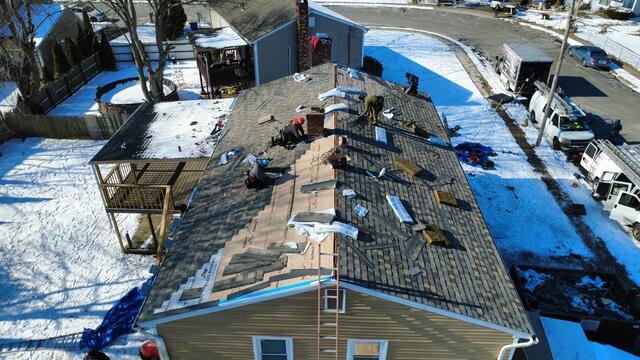
Roof Teardown Begins
The crew starts at the ridge removing old shingles.
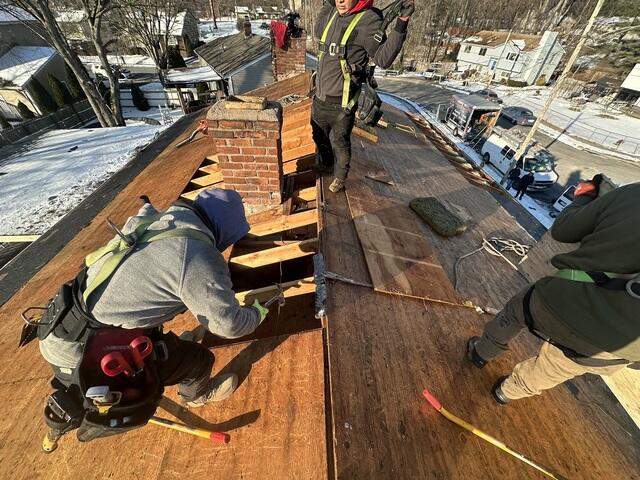
Plywood and Rafters Examined
After the shingles are removed, our experts determine whether or not the plywood underneath has to be replaced. In this photo, the crew has removed multiple sheets that indicated signs of rot or mold due to moisture.
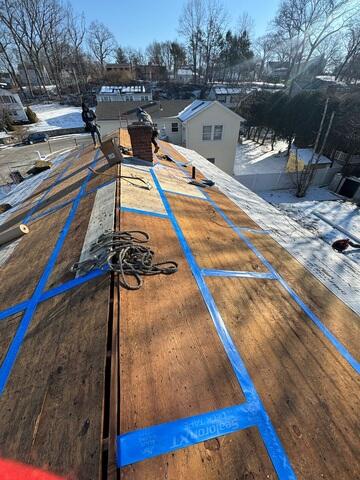
Plywood Seams Are Taped Up
After replacing the old plywood, the seams of the sheets are taped up using our SealoronXT Deck Tape to ensure no leakage is possible.
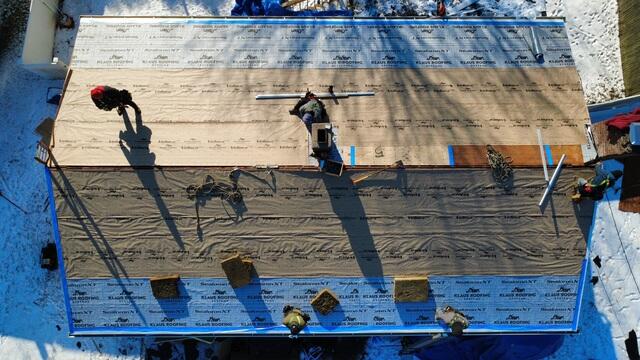
Water & Ice Shield and Paper Applied
The crew applies an underlayment to further protect the new roof from ice and water before they install the new shingles.
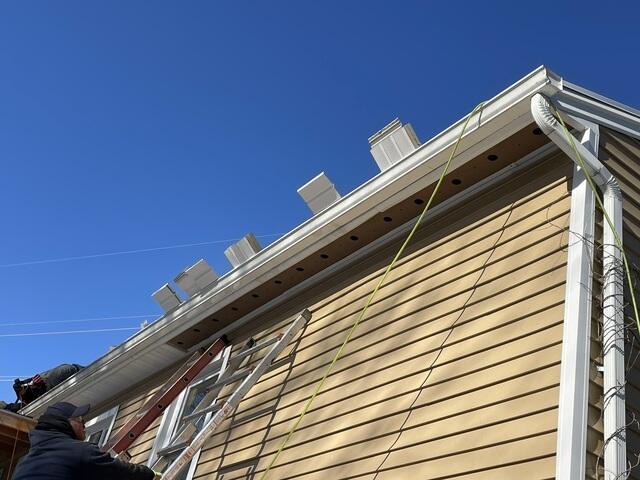
Ventilation Is Added to the Roof
Our experts found that the soffit was improperly installed and there was no proper ventilation happening within the roof, which had led to excess moisture buildup which was evident in the buckling shingles, mold on plywood, and leaks in the attic. The crew was able to amend this problem by removing the soffit and drilling holes into the rafters so that air could move through the roof and prevent further moisture buildup.
Shingle Installation
Our crew installs premium-quality IKO Dynasty shingles, shown here in our beautiful shade Cornerstone.
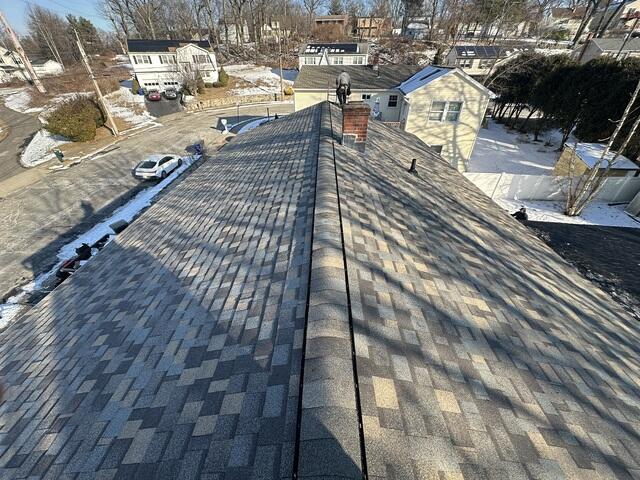
Completed Roof
The shingles are installed along with the new ridge vent topped with hip and ridge shingles, and the flashing on the edge of the chimney has been updated. Flashing is a thin, metal material that provides yet another way to prevent water damage.
The Finished Look
With that, our homeowner no longer has to worry about a leaky roof or mold growth in her house. The beautiful new shingles give the home a fresh, clean look without buckling, and with the new ventilation system and quality materials, it will be impervious to water damage in the future!