
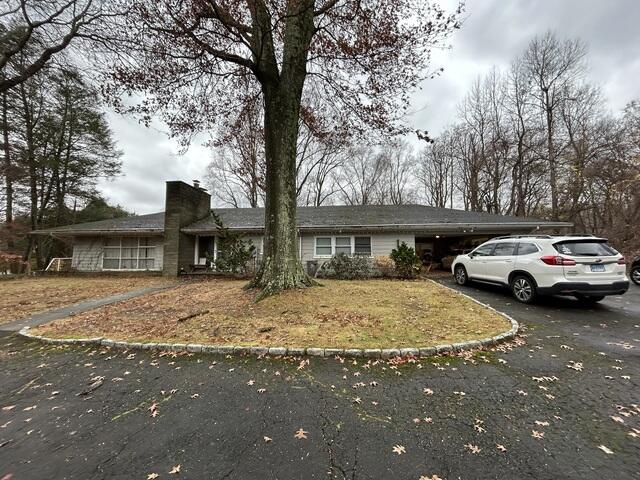
Roof Front View Before
A view of the old roof before the replacement.
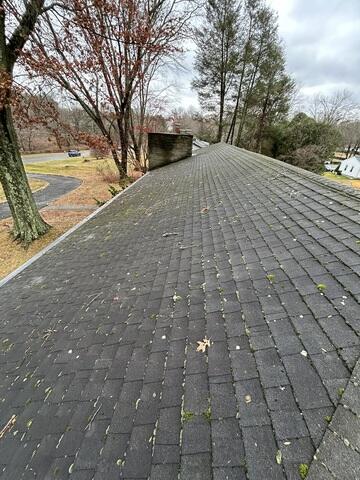
Weathered Roof With Lichen and Moss
This old roof is ready to be replaced - it shows its age with lichen and moss growing between shingles.
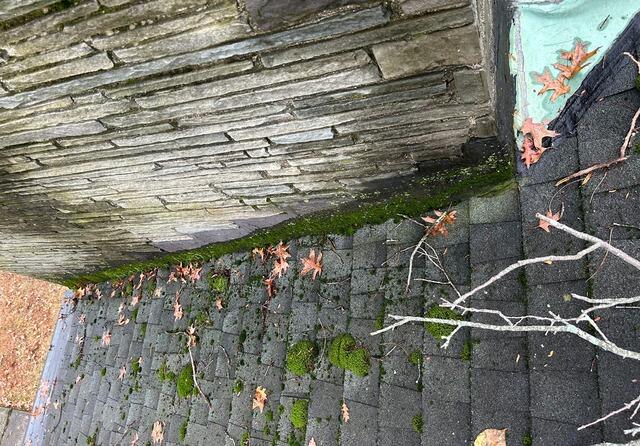
Moss Growth on Chimney
The moss has grown very thick around the old flashing of the chimney. Flashing is a thin, waterproof material that prevents water from entering a building through joints and openings, and this moss indicates that leakage is occurring and has allowed spores to enter and grow.
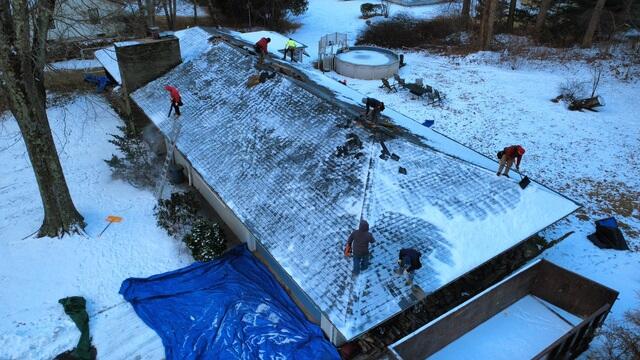
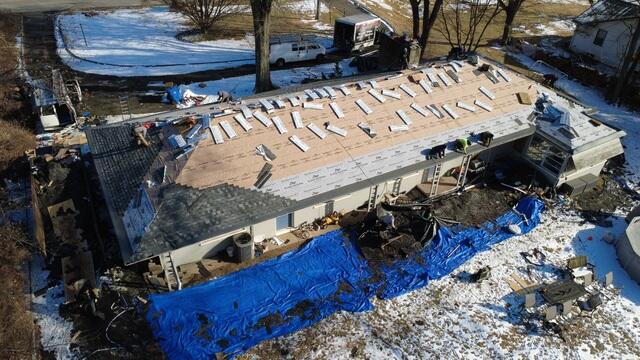
Old Shingle Removal Begins
The removal of the old roof begins. As you can see, our crew has no problem starting a project in the snow!
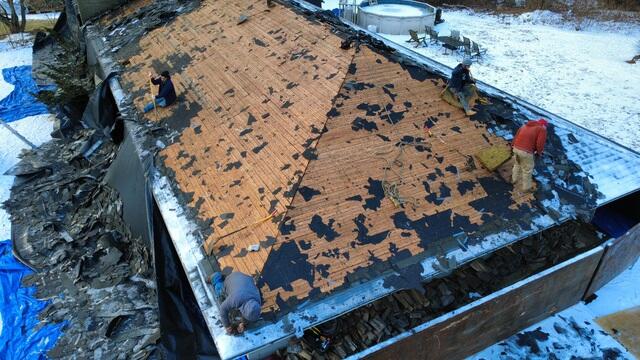
Shingle Teardown
This roof had two layers of shingles, requiring an intensive removal process.
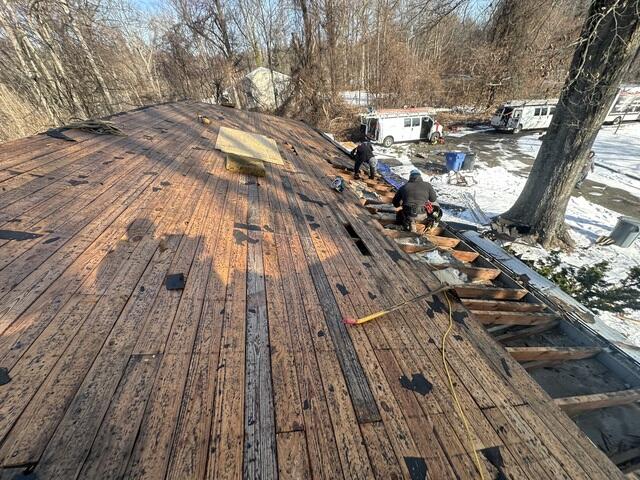
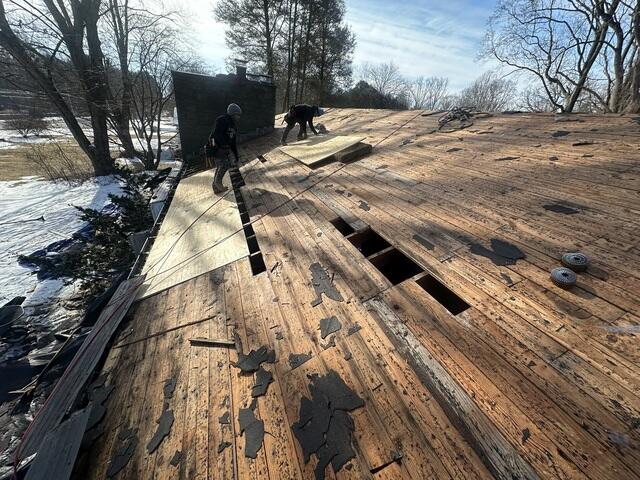
Old Plywood Removed
The crew removes any plywood with signs of rot or mold and prepares to replace them with brand-new sheets of plywood.
Plywood is Replaced
The plywood is laid down and cut to fit.
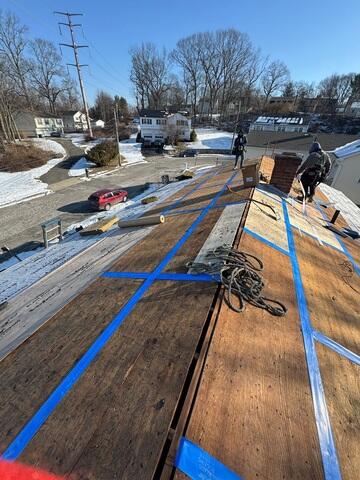
Seams Are Taped
The seams of the plywood are taped up to further protect against damage or leaks.

Ice & Water Shield and Paper Applied
After the plywood and tape, Ice & Water Shield and Paper are laid down to ensure water resistance.
Shingle Installation Begins
After the Ice and Water shield and Paper are fully applied, it is time for the crew to start installing our IKO Dynasty shingles. Pictured here are the shingles in the lovely color of Summit Gray.
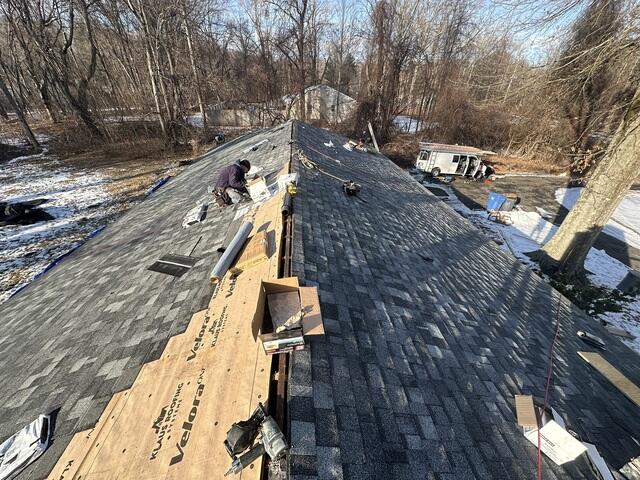
Shingle Installation Continues
The crew nears the end of the shingle installation.
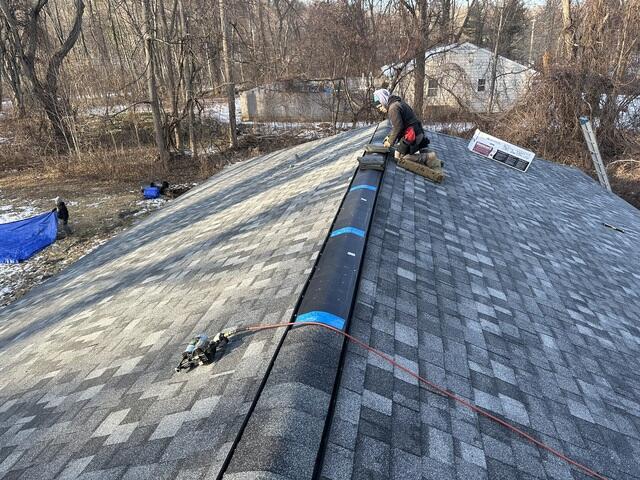
Roof Ridge Installation
Finally, the new roof ridge vent and hip and ridge shingles are installed.
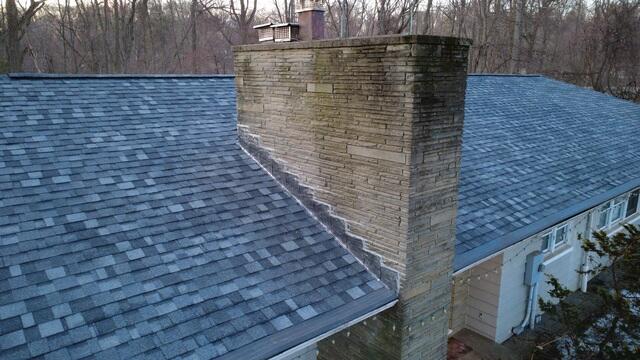
Finished Shingles and Chimney Flashing
The roof installation is complete, and clean new flashing has been installed at the edges of the chimney.

The Roof Is Complete
Our work is done! With high-quality IKO Dynasty shingles and expert service backed by our lifetime warranty, this homeowner will have a strong, beautiful roof for many decades to come!