
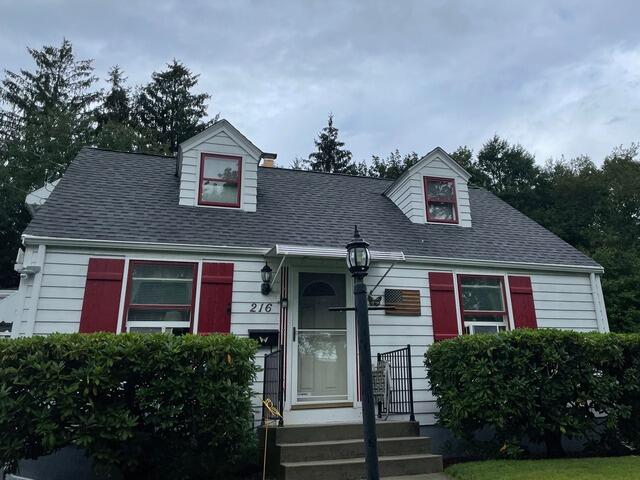
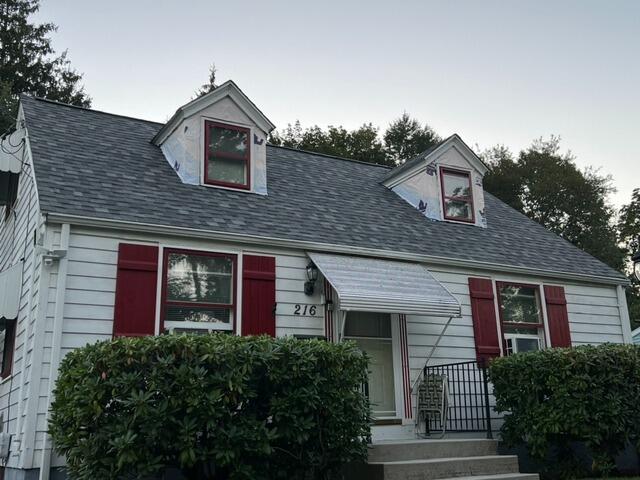
The Roof Before
Here's what William and Karen's roof looked like before the renovation. Click through to see the expert way we transformed it!
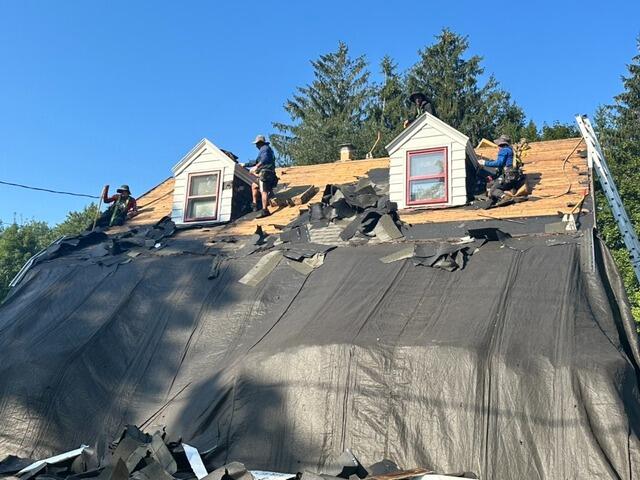
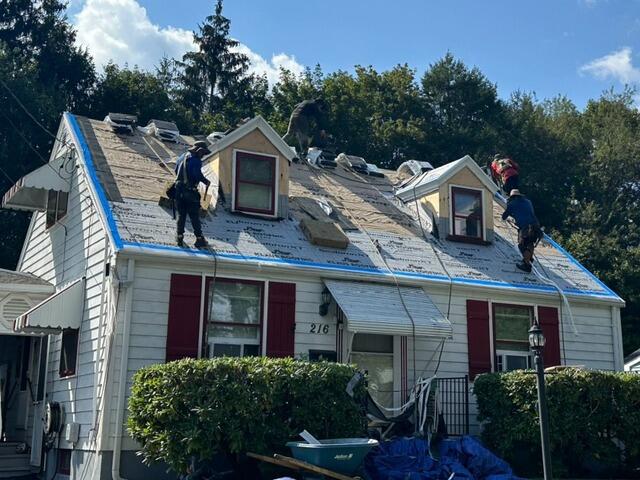
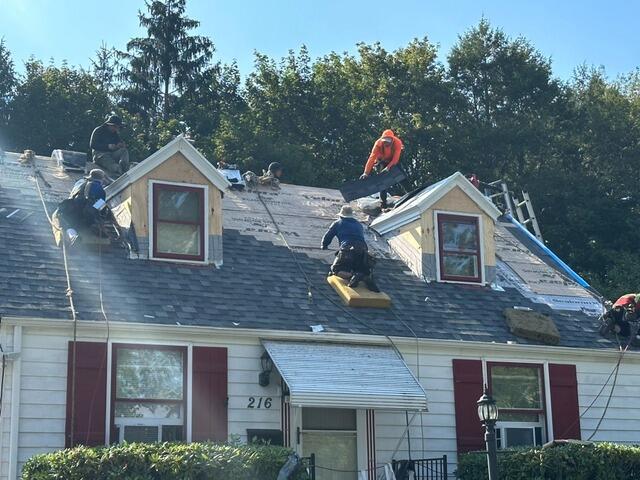
The Teardown
The crew kicks things off by carefully removing all of the old shingles. Before they start the teardown, they take care to hang up large tarps all around the edges of the roof to completely protect the property from falling debris, as well as make the cleanup process more efficient.
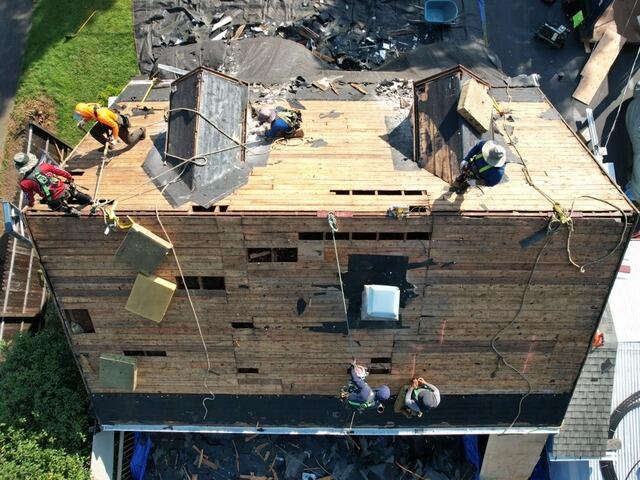
The Sheathing Is Exposed
Underneath the old shingles is a layer of plywood called the roof sheathing. This is the structural foundation of the roof, and, as such, must be in tip-top condition before the new shingles get installed. Any areas that are affected by damage, like rot or mold, are removed.
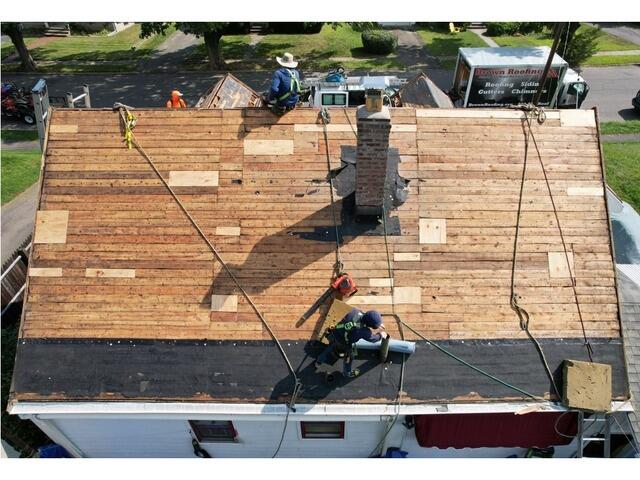
New Plywood Is Installed
Sturdy new 1/2" CDX plywood is installed in place of the removed areas, fitted precisely and nailed securely to ensure a solid, strong base for the new roof.

Underlayment Is Installed
To help protect the sheathing from the elements, the crew installs a full layer of underlayment across the entire roof. This thin, water-resistant barrier helps guard against moisture from rain, snow, wind, and ice-whatever the weather may bring.
Drip Edge Is Installed
Once the underlayment is in place, the crew installs drip edge flashing along all the roof's edges. This sleek metal strip helps channel water into the gutters and away from the fascia, protecting the roof from potential water damage and reducing the risk of ice dams during winter.
New Shingles Are Installed
Now it's time for the new shingles! William and Karen have selected the sleek shade of Summit Gray from our premium-laminated IKO Dynasty collection to complement their home. These top-tier shingles are backed by our 50-year warranty.
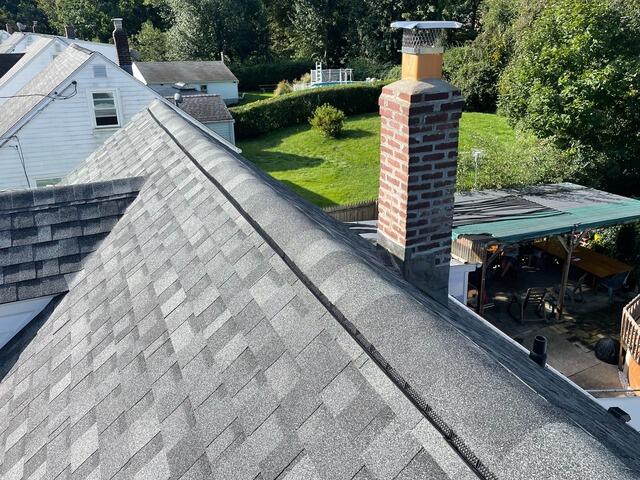
Ridge Vent & Cap Are Installed
With the new shingles fully installed, the crew adds a ridge vent along the roof's peak. This vent promotes healthy airflow by letting hot, humid air escape from the attic, helping to prevent moisture buildup and condensation-related damage. To top it all off, a ridge cap is secured over the vent, giving the roof a clean, finished look.
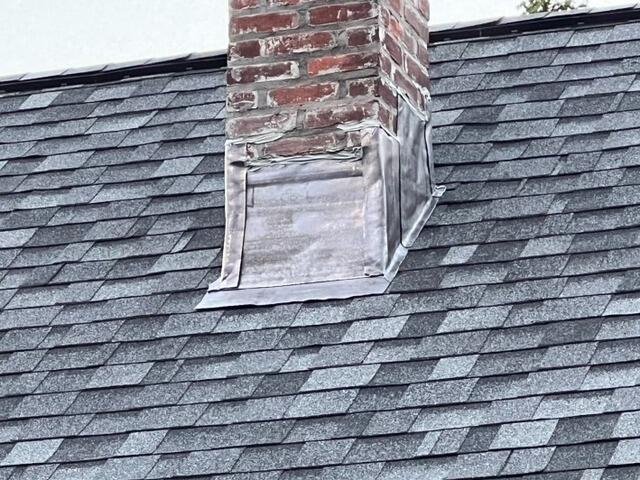
New Flashing on the Chimney
The chimney flashing is replaced with new, high-quality lead flashing. This durable material creates a secure barrier, preventing water from seeping through vulnerable joints and ensuring the roof stays leak-free.
The Roof After
With a couple of finishing touches and a thorough double-check over everything, William and Karen's roof transformation is officially complete, looking beautiful and built to last!