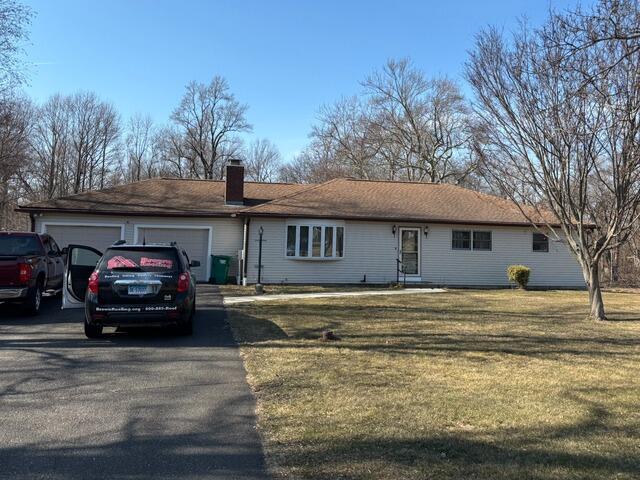
Before: Front View
Here's a look at Mary's roof from the front before the makeover. Click through to see the awesome transformation!
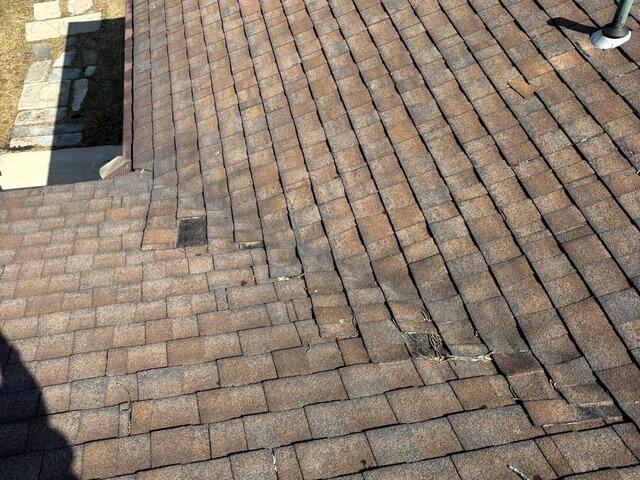
Before: Worn Valley
A closer look at the valley on Mary's roof reveals some clear signs of wear and tear. The valley, which handles the most water runoff, shows discoloration from moisture damage and even has some missing shingles. It's definitely time for a roof upgrade - let's get started!
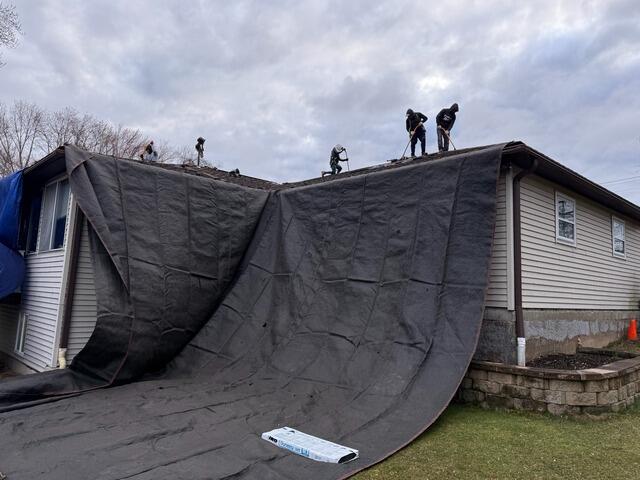
The Old Shingles Come Off
The crew kicks things off by stripping off the old shingles. Prior to the teardown, large tarps are laid out across the homeowner's property to ensure that it is protected from falling debris as well as pave the way for a more efficient cleanup process.
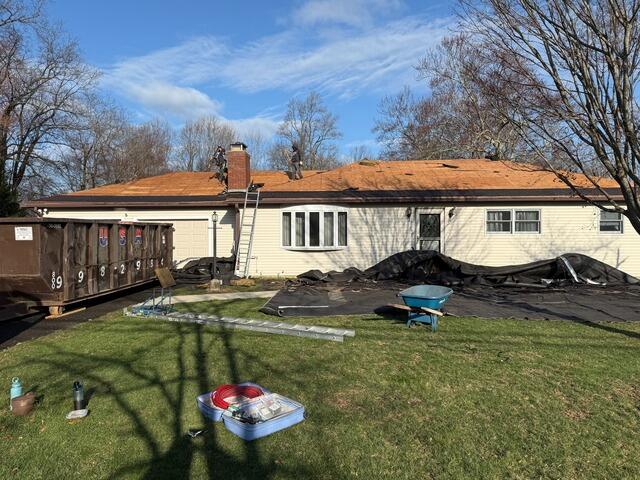
The Sheathing Is Examined
"Once all the old shingles are removed, we're left with the roof's sheathing, which is the plywood layer that forms the foundation. It's crucial to ensure this structural base is in good condition, so the crew carefully inspects the entire surface for any signs of damage like rot, decay, or mold.
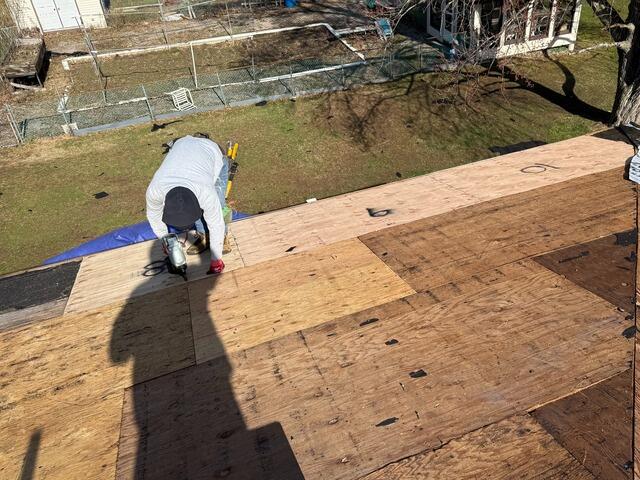
New Plywood Is Installed
Any areas showing signs of damage are carefully removed and replaced with strong, durable CDX plywood to ensure a solid foundation for the new roof.
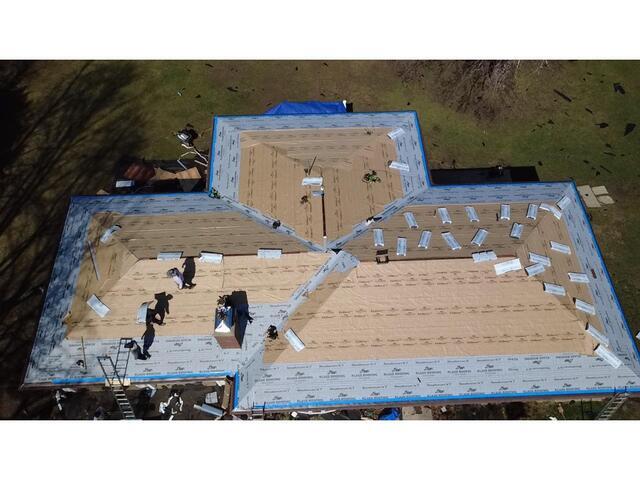
Underlayment Is Installed
With the sheathing securely in place, a layer of underlayment is applied across the entire surface. This thin, waterproof membrane acts as a barrier, protecting the sheathing from the elements like rain, wind, snow, or ice, helping to extend the roof's lifespan.
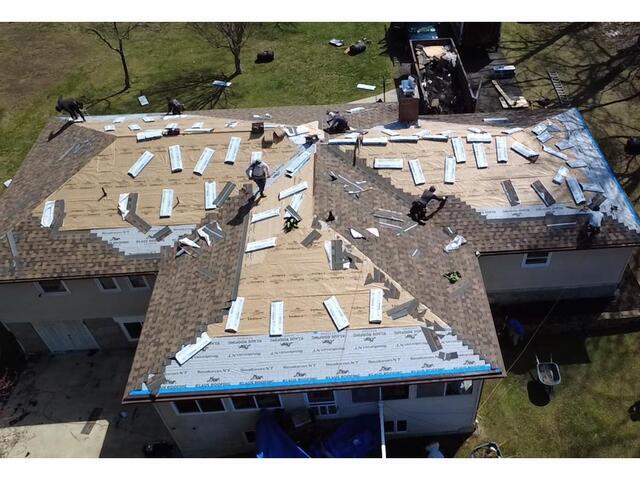
The New Shingles Go On
Now it's time to install the new shingles! Mary has selected the gorgeous shade of Brownstone from the IKO Dynasty collection. These premium-laminated, architectural shingles are backed by Brown Roofing's 50-year warranty, and are highly regarded for their durability and style.
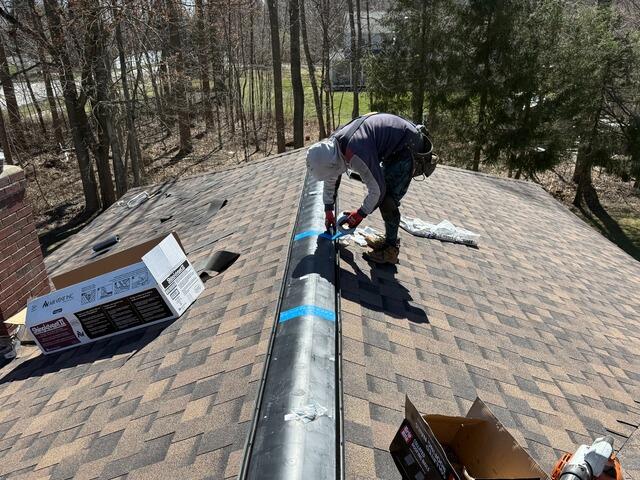
Ridge Vent Is Installed
To keep air flowing properly, a shingle vent is installed along the ridges of the roof, allowing hot, moist air to exit and helping to avoid damaging condensation.
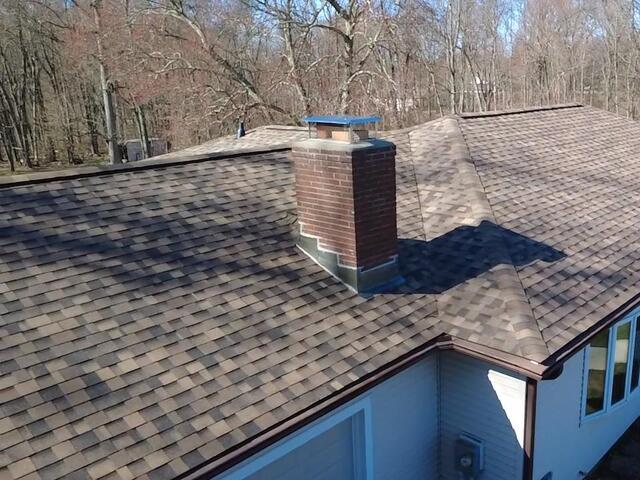
The Chimney Is Flashed
Thin metal flashing is installed around the chimney where it meets the roof. This acts as a protective barrier, ensuring water can't seep into the junction and cause damage.
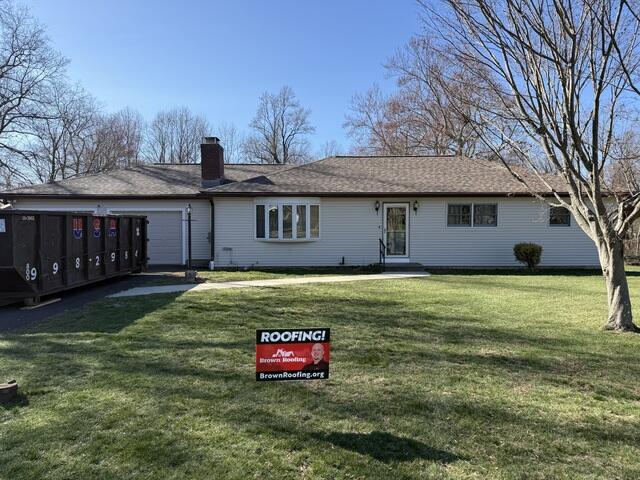
After: Front View
With a few final details in place, Mary's brand-new roof is finished and looking fantastic!

