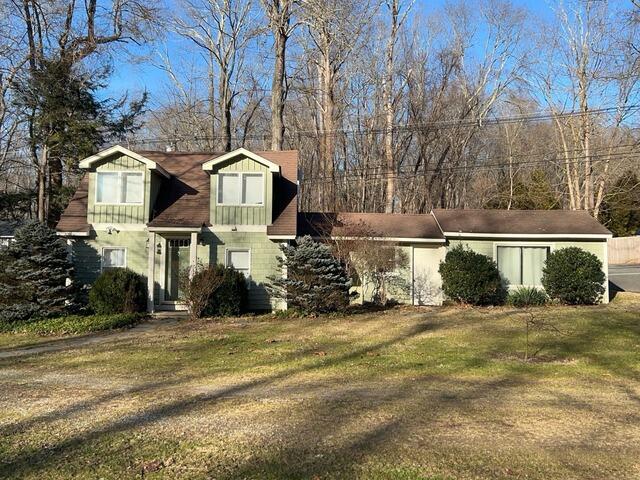
The Roof Before
Here's what John's roof looked like before the renovation. Click through to see how we expertly transformed it!
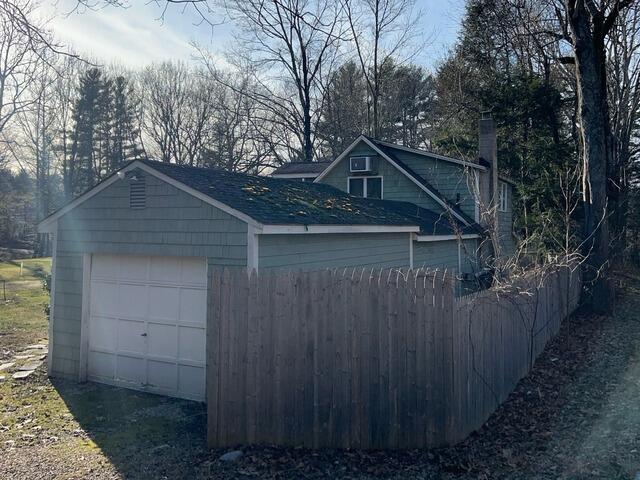
Before: Mossy Shed
Moisture buildup and a shaded environment has led to an unsightly amount of moss growth on the roof of John's shed. Let's get that fixed!
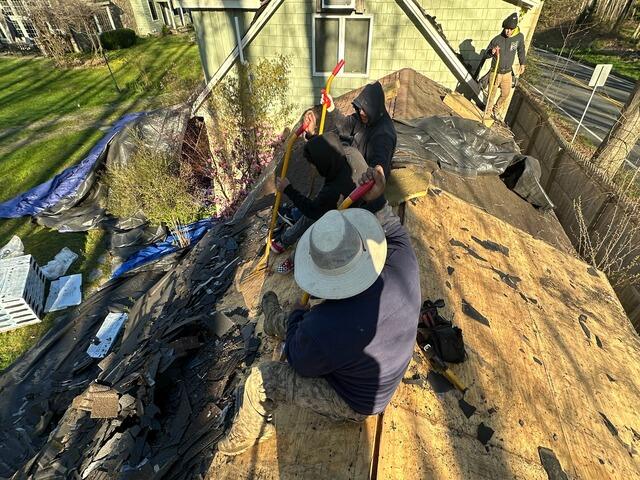
Old Shingles Are Removed
The crew carefully strips the old shingles off. This reveals the plywood layer underneath, which is called the roof sheathing. The roof sheathing is the structural foundation of the roof, and it needs to be in tip-top condition.
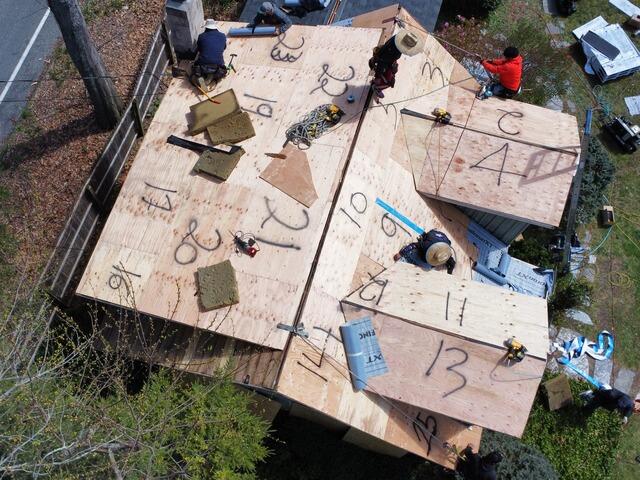
All New Sheathing Is Installed
The crew quickly discovered that the entire sheathing was severely damaged and needed a full replacement. After getting the go-ahead from John, they installed brand-new 1/2" CDX plywood, ensuring a solid foundation for the roof. Each sheet was carefully numbered, allowing the crew to provide John with an exact count of materials used.
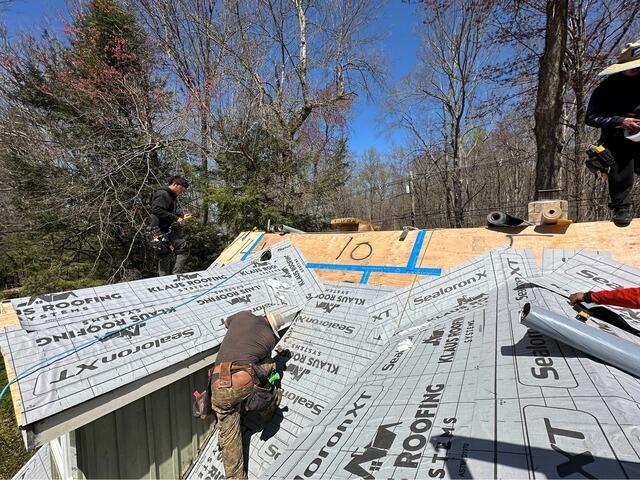
Underlayment Is Installed
Underlayment is installed over the entire surface. This thin, water-resistant membrane shields the sheathing from harsh elements like rain, wind, snow, or ice.
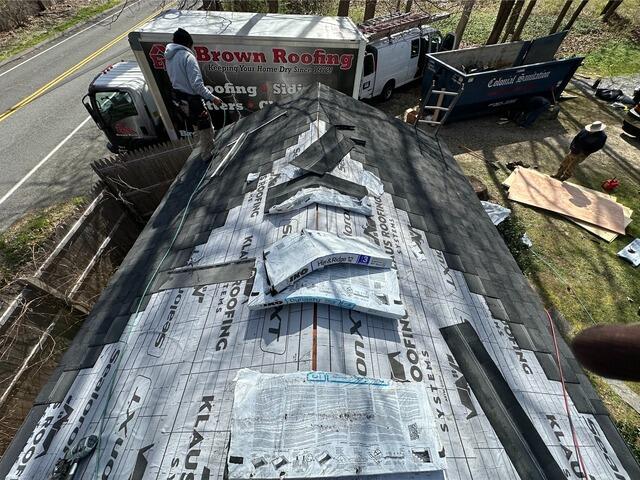
New Shingles Go On
Now it's finally time to install the new IKO Dynasty shingles! These premium-laminated, architectural shingles come in a variety of beautiful colors, and John has selected the cool Graphite Black for his new roof.
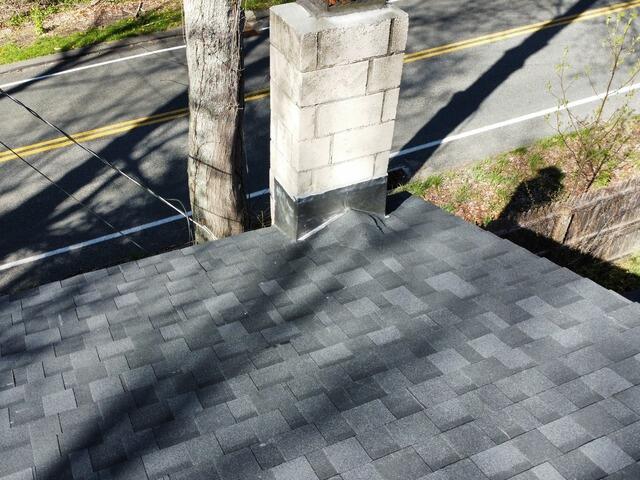
New Flashing for the Chimney
The chimney is carefully flashed with thin, durable metal to create a watertight seal at this vulnerable junction, keeping moisture out and protecting the roof for the long haul.
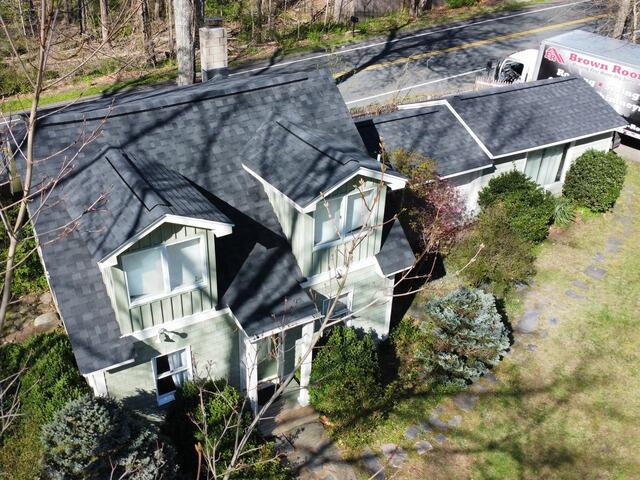
The Roof After
All ridges of the roof are equipped with shingle vents to ensure proper airflow and prevent condensation buildup. With that, John's new roof is complete and looks better than ever!

