
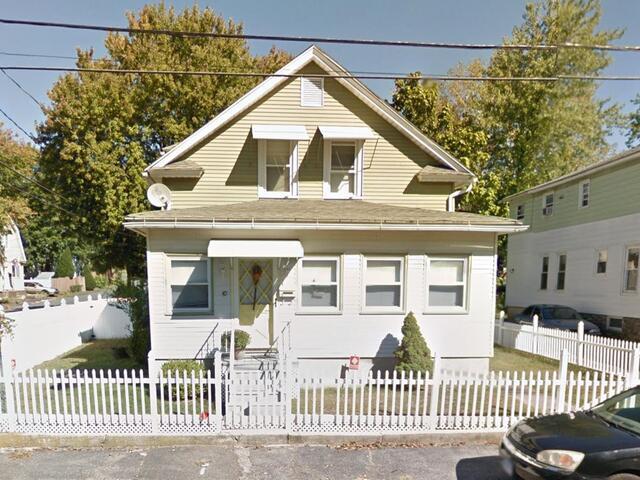
The Old Roof
Here's what Myrna's roof looked like before the renovation. Click through to see how we transformed it!
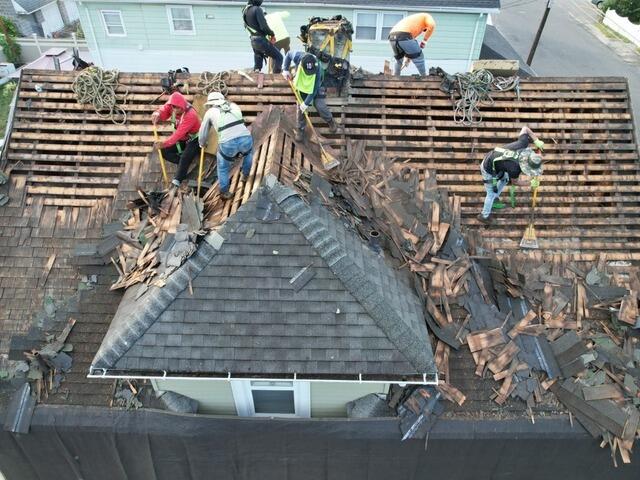
The Teardown
The crew begins by removing the old shingles. Myrna's roof had wood shakes over skip sheathing - a popular choice back in the day but now outdated. It doesn't provide the necessary support for the new architectural shingles we're installing.
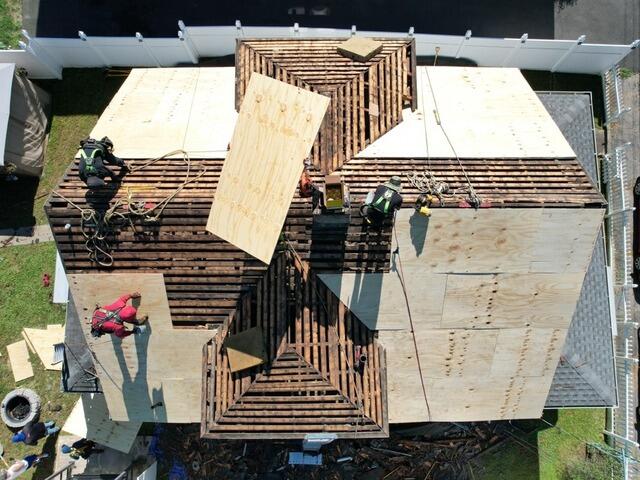
New Sheathing
In order to remedy that, the crew installs sturdy 1/2" CDX plywood over the entire surface to create a new, solid sheathing for the roof.
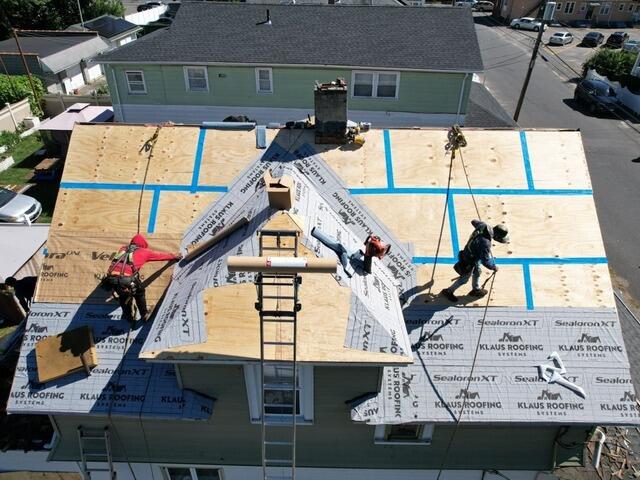
Underlayment
The seams of each new plywood sheet are taped up with all-weather deck tape. Then, a layer of underlayment is installed over the entire surface. This thin, waterproof membrane protects the sheathing from harsh elements like rain, wind, snow, and ice.
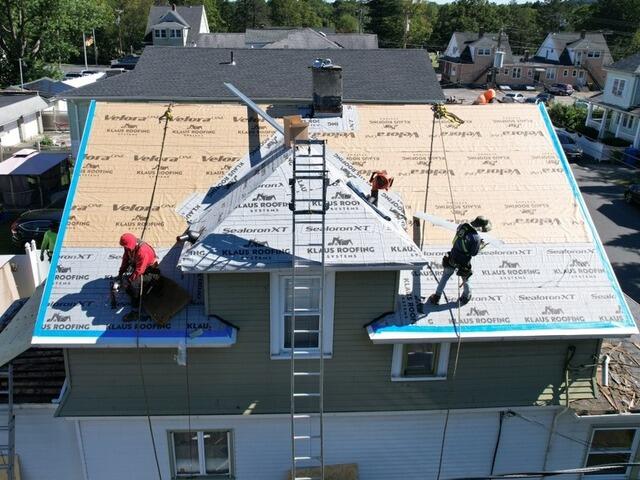
Drip Edge Flashing
Drip edge flashing is installed along the roof's edges to direct water away from the fascia and into the gutters. This thin metal material is nailed in place and reinforced with all-weather deck tape for added protection.
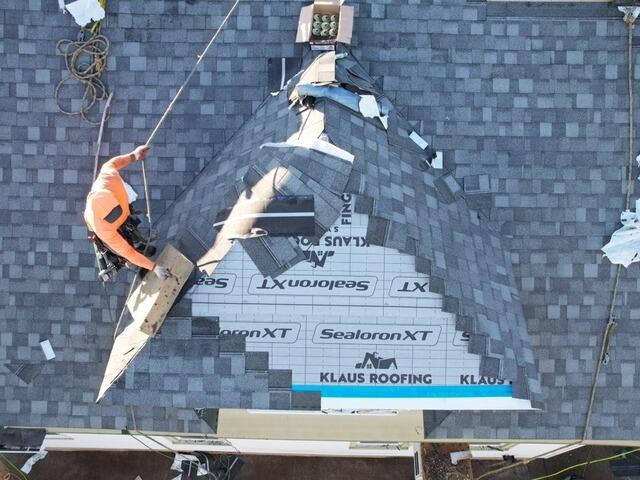
New Shingles
Now it's time to install the new IKO Dynasty shingles! These premium laminated architectural shingles offer superior durability and long-lasting beauty. For her new roof, Myrna has chosen the sleek and sophisticated shade of Castle Gray.
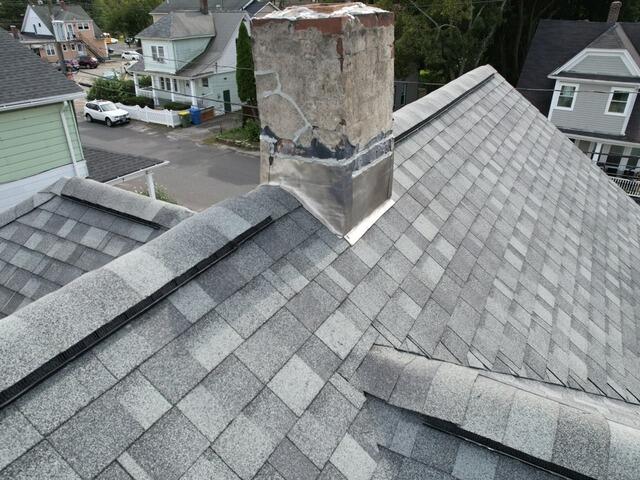
Chimney Flashing
The chimney is flashed with thin lead and sealed with caulk to ensure a watertight barrier.

The New Roof
A ridge vent and ridge cap are installed to ensure proper airflow while also creating a seamless finish. With that, Myrna's new roof is complete, and built to last!