
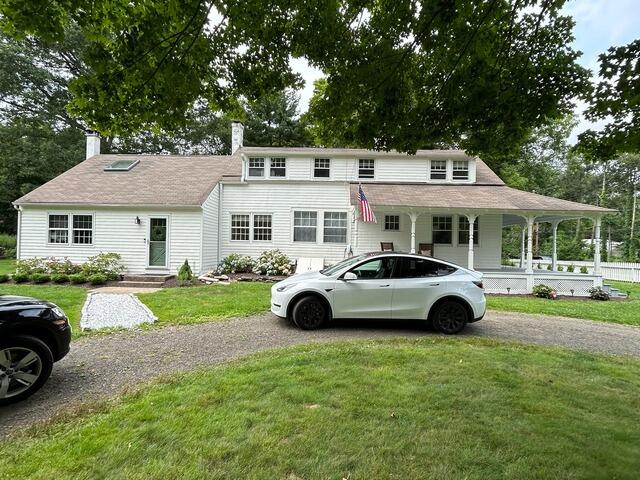
The Old Roof
Here's what Michael and Sarah's roof looked like before the makeover. Click through to see the beautiful transformation!
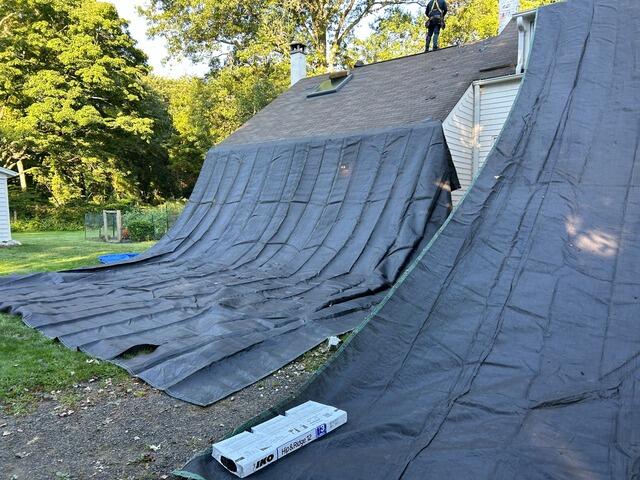
Ready for a Teardown
The crew starts by carefully stripping off the old shingles from the top down. Large, heavy-duty tarps are set up around the house and yard to ensure total protection of the homeowner's property, as well as making cleanup process a bit more efficient.
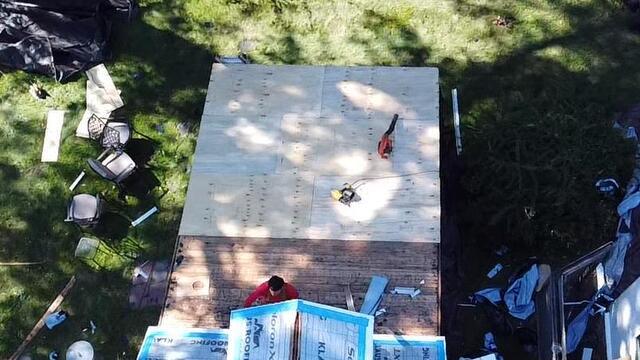
Decking Is Examined
Underneath the old shingles is a layer of plywood called the roof decking. This is the structural foundation of the roof. The crew carefully inspects the entire decking for any signs of damage, such as rot or mold.
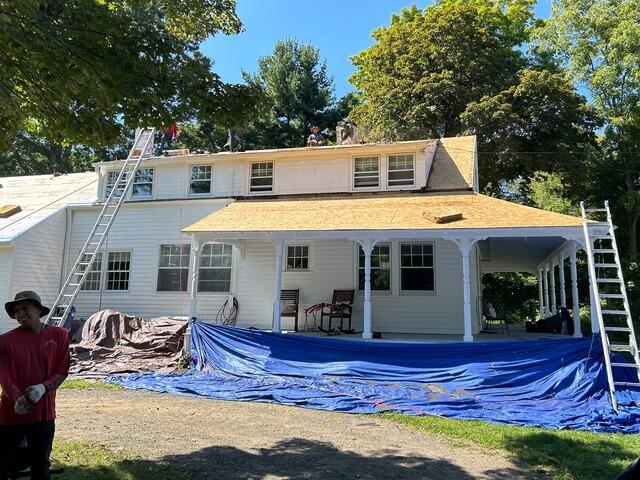
New Plywood Is Installed
Any damaged areas are removed and replaced with brand-new sturdy CDX plywood, ensuring a solid base for the new roof.
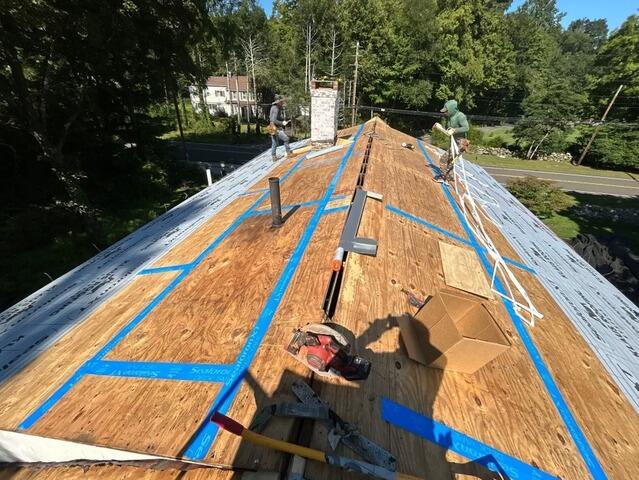
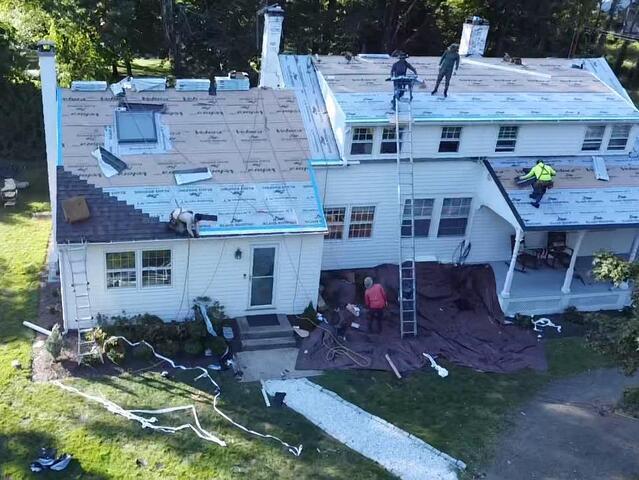
Seams Are Taped & Underlayment Is Installed
The seams of each plywood sheet are taped up with heavy-duty all-weather deck tape. After that, a layer of underlayment is installed over the entire surface. This thin, waterproof membrane protects the decking from harsh elements like wind, rain, snow, or ice.
New Shingles Are Installed
With the underlayment fully in place, it's time to start installing the new shingles! For their new roof, Michael and Sarah has selected the spectacular shade of Brownstone from the premium-laminated IKO Dynasty collection.

The New Roof
After a few finishing touches and a thorough cleanup of the property - the new roof is complete, built to last, and beautiful!