
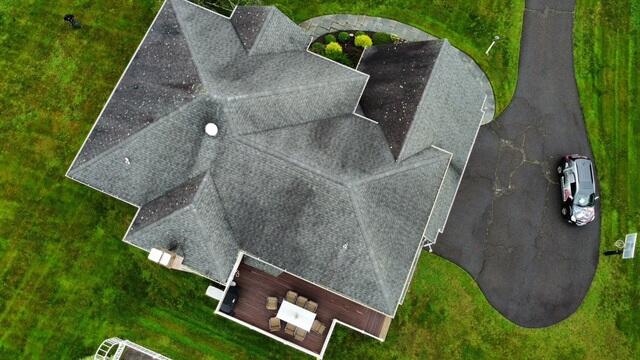
The Roof Before
Here's a look at Mary's roof before the transformation. That lichen is rampant! Click through to see how we transformed it.
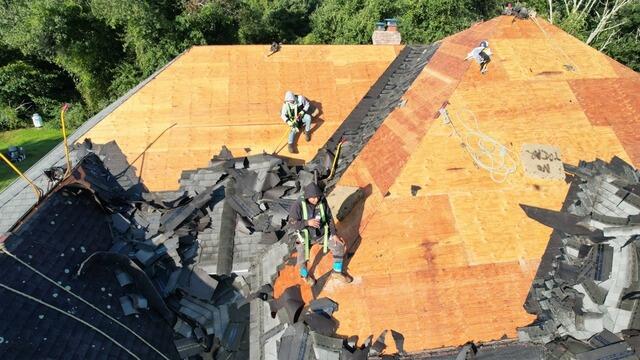
Old Shingles Are Removed
The crew kicks things off by stripped the old shingles. This reveals the layer of plywood underneath, which is called the roof sheathing.
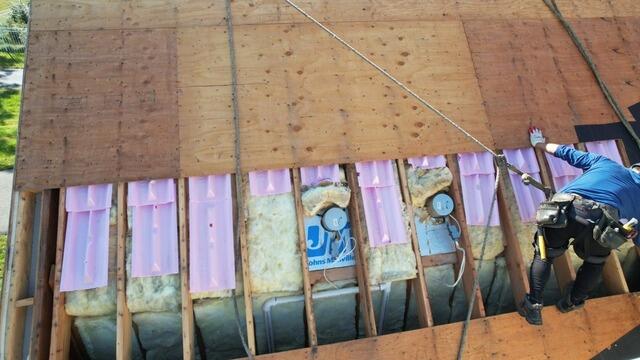
Bad Plywood Is Removed & Replaced
As the structural foundation of the roof, the health of the sheathing is crucial. The crew inspects it for any signs of damage, such as rot or mold, and replaces any affected areas with strong new plywood to ensure a solid base for the new roof.
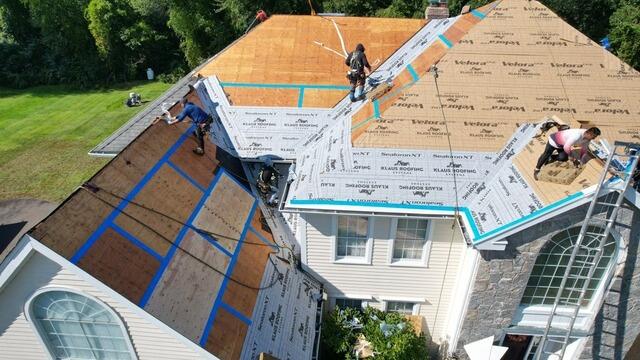
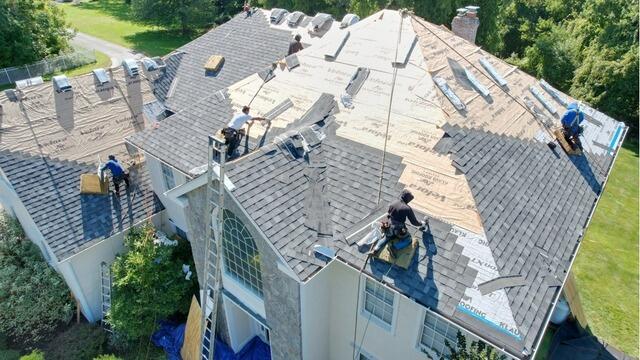
Seams Are Taped & Underlayment Is Installed
As an added measure of reinforcement, the crew tapes up the seams of each plywood sheet with all-weather Sealoron XT deck tape. Next, a layer of underlayment is installed over the entire surface. This thin, waterproof membrane protects the roof from damaging elements like rain, wind, snow, or ice.
New Shingles Are Installed
After the underlayment is fully in place, it's time to start installing the new shingles! For her new roof, Mary selected the sleek shade of Summit Gray from the IKO Dynasty premium-laminated collection.
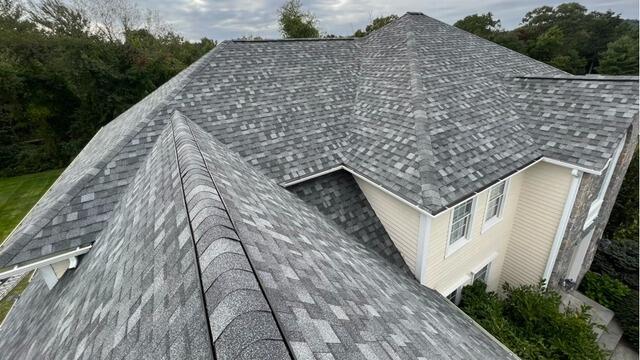
The Roof After
After a few finishing touches - like installing ridge vents and ridge caps, as well as securing all flashing - Mary's new roof is complete!