
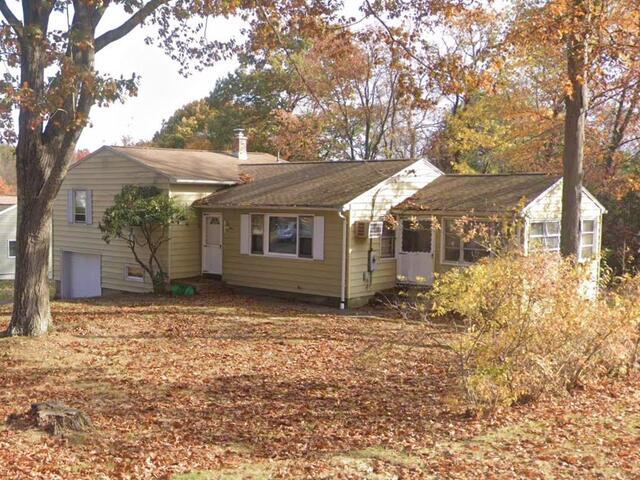
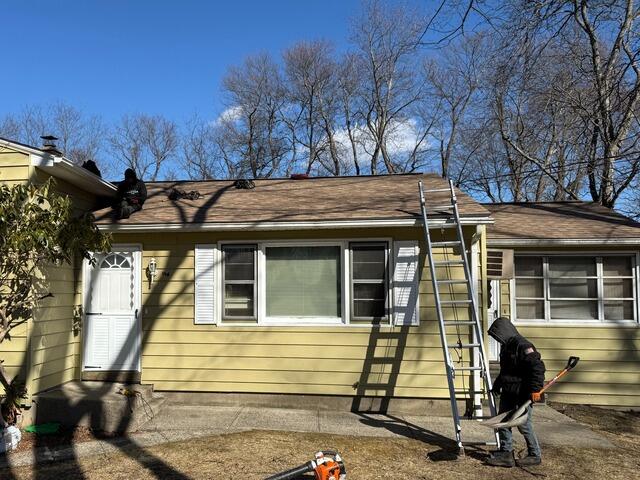
The Roof Before
Here's what John's roof looked like before the renovation. Click through to see the awesome transformation!
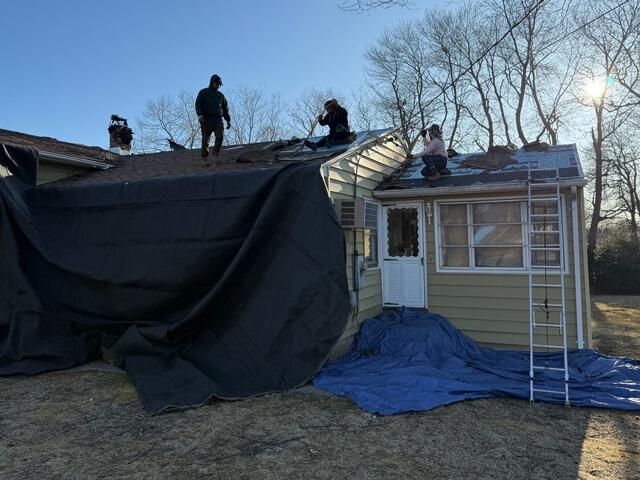
Old Shingles Are Removed
The crew starts things by stripping the old shingles off. Large tarps are laid across the property in order to protect it from falling debris as well as making the cleanup process more efficient.
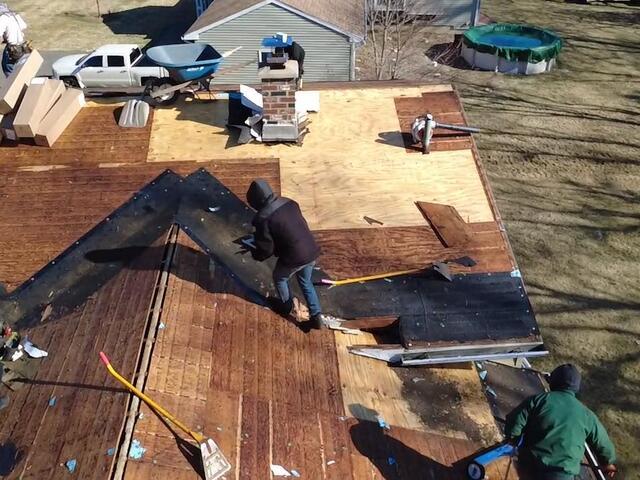
New Plywood Is Installed
Underneath the old shingles is a layer of plywood called the roof sheathing. As the structural foundation of the roof, it's important that there are no damaged areas like rot, moisture, or mold. Any affected areas are removed and replaced with sturdy new CDX plywood.
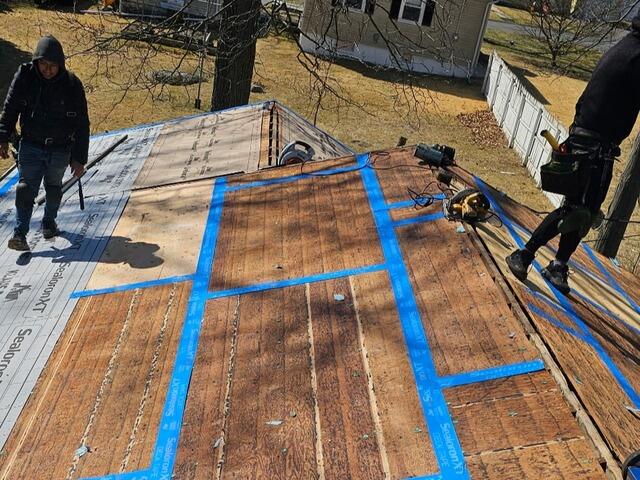
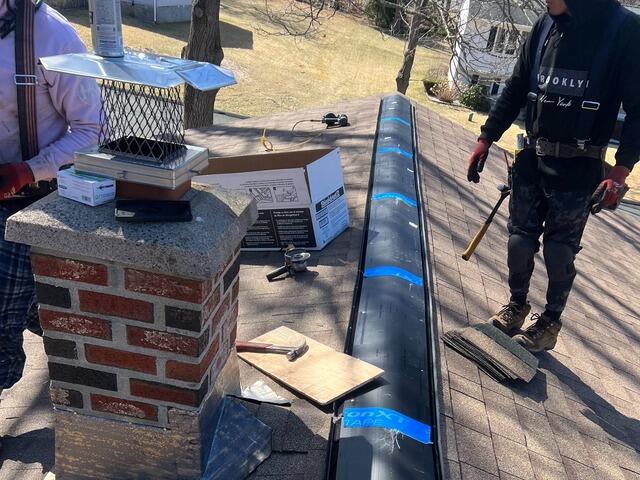
Seams Are Taped & Underlayment Is Installed
The seams of each plywood sheet are taped up with all-weather Sealoron XT deck tape. Next, underlayment is installed over the entire surface. This is a thin, waterproof material that shields the sheathing from brutal elements like rain, wind, snow, or ice.
New Shingles Are Installed
Now it's time to install the new shingles! For his new roof, John has selected the beautiful Earthtone Cedar shade from the IKO Cambridge collection.
Ridge Vent Is Installed
Next, a shingle vent is installed along the ridge of the roof to keep airflow in check. This smart addition lets hot, humid air escape, preventing condensation buildup that could lead to damage over time.

The Roof After
After a few finishing touches like installing a ridge cap and securing flashing around the chimney and all of the pipes, the new roof is complete!