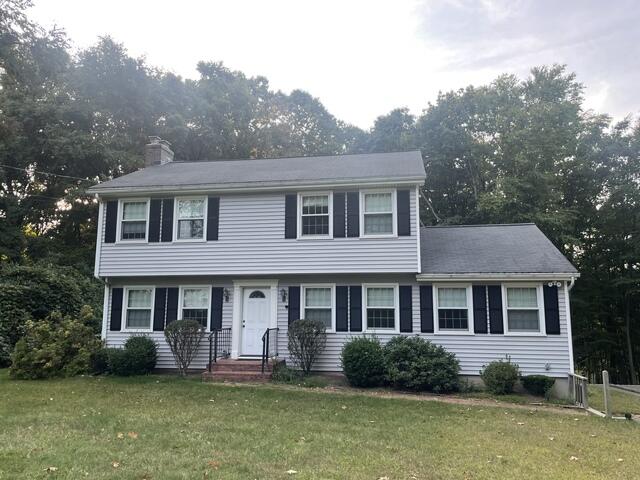
Before: Front View
Here's a front view of Lou's old roof. Click through to see the stunning transformation!
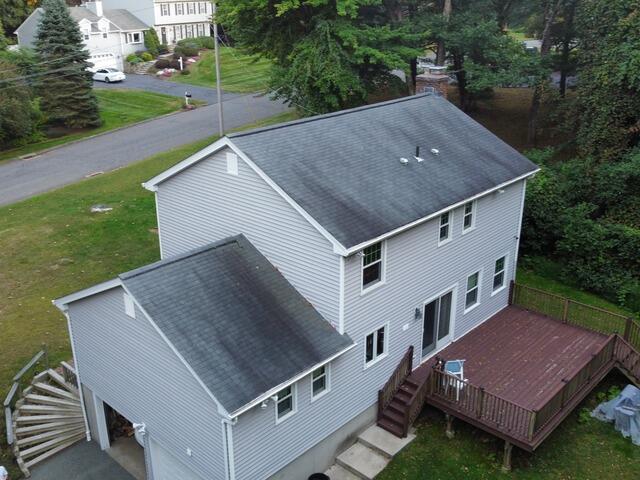
Before: Back View
This aerial view of the back shows a bit more of the damage. Those long, dark streaks are roof algae - caused by moisture, and leads to quicker shingle deterioration. Let's get started on that new roof!
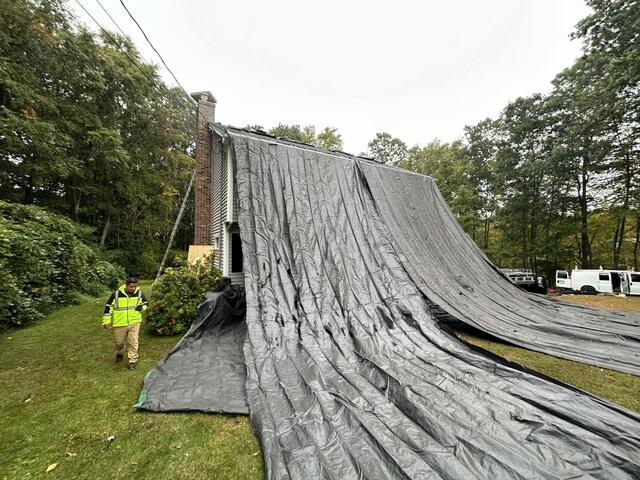
Protecting the Property
Before the teardown begins, the crew sets up large tarps all over the house's exterior and lawn in order to ensure that the property is fully protected during the renovation.
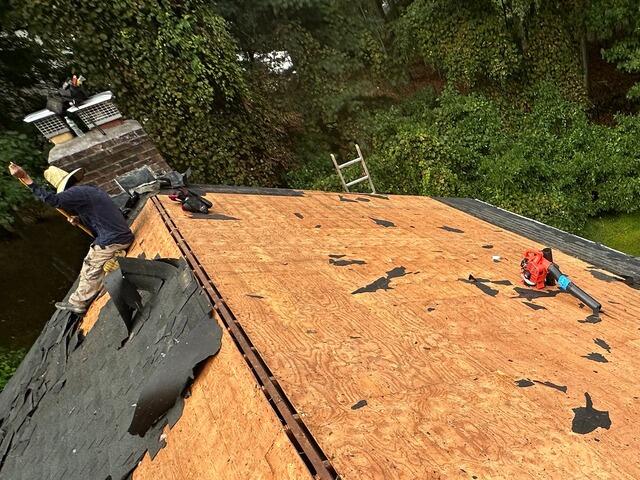
Old Shingles Are Removed
The crew carefully strips the old shingles off, revealing the plywood foundation underneath. This is called the roof sheathing.
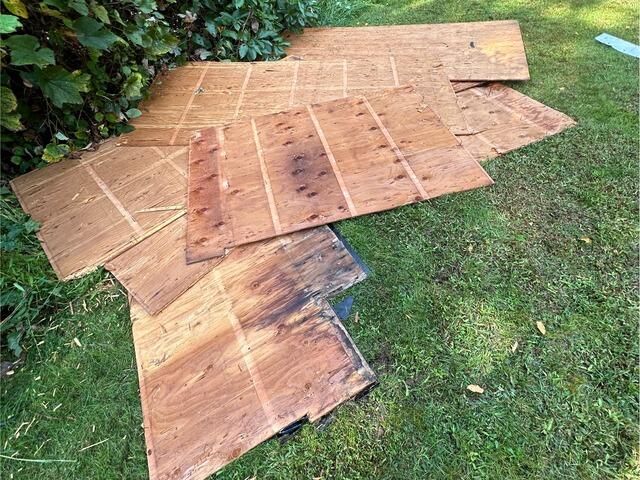
Bad Plywood Is Removed
As the structural foundation of the roof, the sheathing needs to be in tip-top shape. Any areas found with damage like rot or mold are removed.
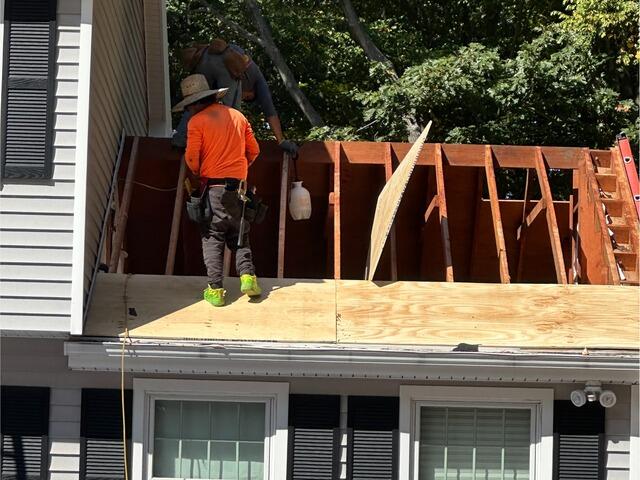
Rafters Are Sprayed
In order to further protect the new sheathing that is to be installed, the rafters are treated with mold prevention spray.
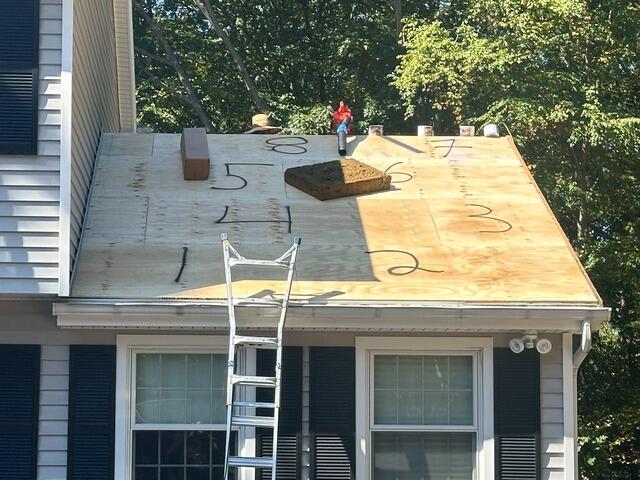
New Plywood Is Installed
Brand-new 1/2" CDX plywood is installed to make up the new sheathing. Each sheet used is numbered so that the crew can accurately report back to the homeowner on exactly how many sheets were used.
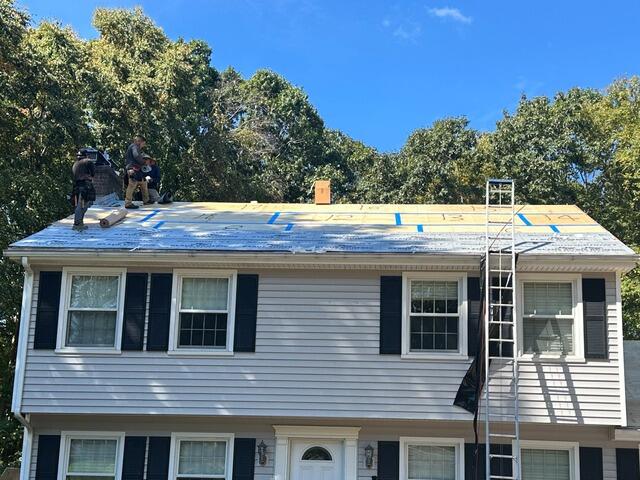
Seams Are Taped & Underlayment Is Installed
The seams of each plywood sheet are further reinforced by all-weather deck tape. Next, underlayment is installed over the entire sheathing. This thin, water-resistant material acts as a barrier, preventing the sheathing from being damaged by harsh elements like rain, wind, snow, or ice.
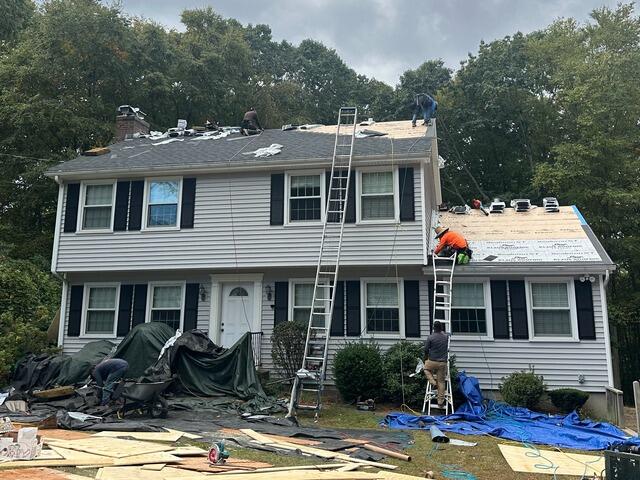
New Shingles Are Installed
Now it's time to install the brand-new IKO Dynasty shingles! These premium-laminated, architectural shingles are a Brown Roofing staple. For his new roof, Lou has selected the beautiful shade of Granite Black.
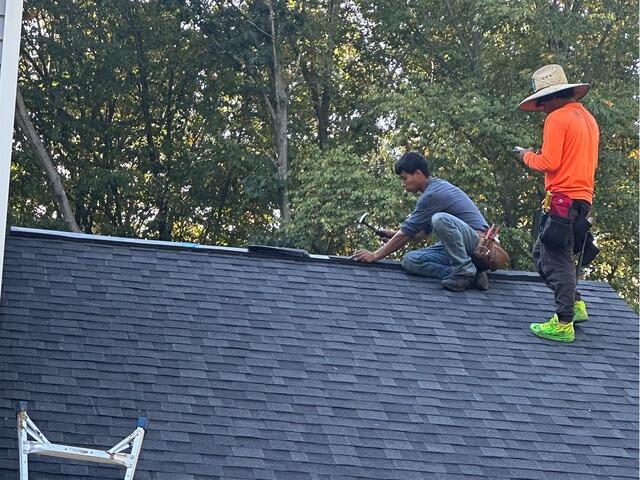
Ridge Vent Is Installed
A shingle vent is installed along the ridges of the roof. This vent ensures proper airflow by allowing hot, humid air rising from the house a way to escape, preventing damaging moisture buildup in the attic.
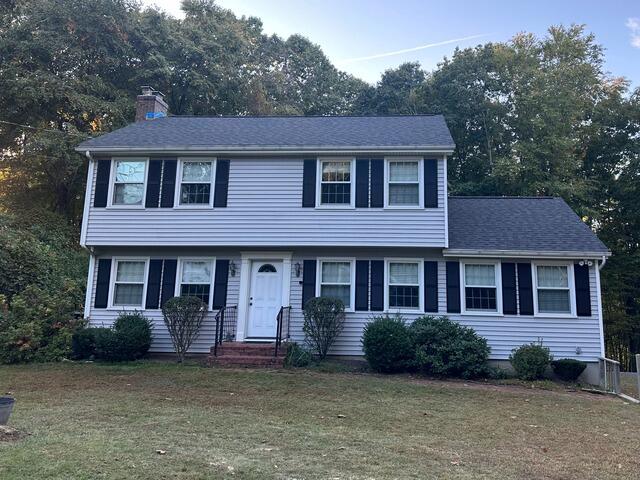
The Finished Product
With a few final touches and a thorough cleanup of the property, Lou's new roof is complete!

