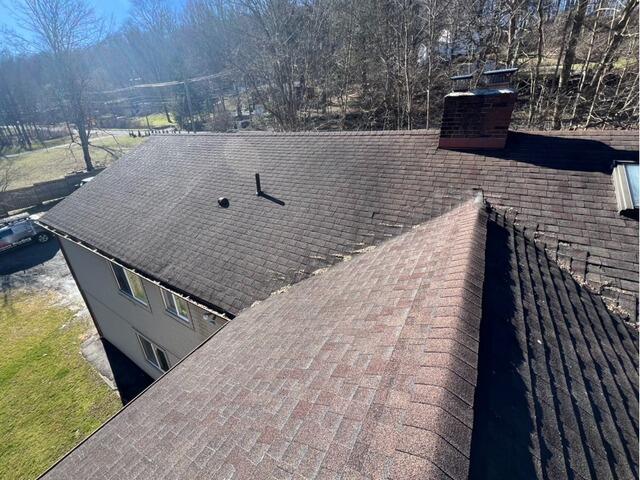
The Roof Before
Here's a look at the top of Polly's roof before. The shingles are definitely looking worn, especially around the valleys, where debris is beginning to pile up. Not good! Click through to see how we completely transformed this roof.
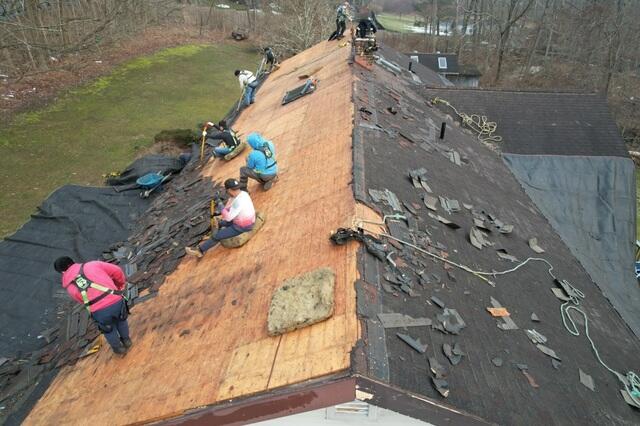
The Old Shingles Are Removed
The crew gets to work tearing off the old shingles. This exposes the layer of plywood underneath, which is called the roof sheathing.
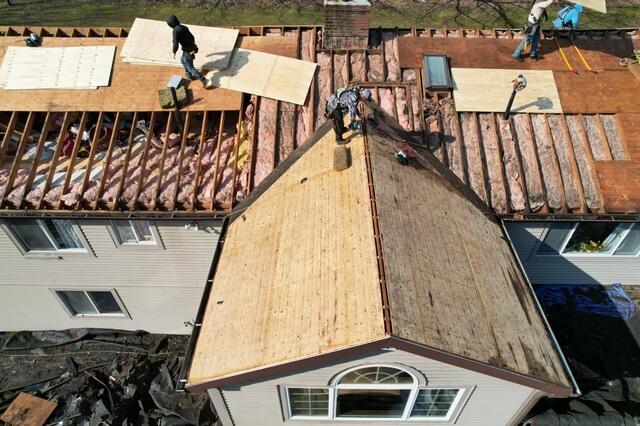
New Plywood Is Installed
As the structural foundation of the roof, it's essential that the sheathing is in top-quality shape. Any sections found with damage, like rot or mold, are removed and replaced with brand-new sturdy CDX plywood.
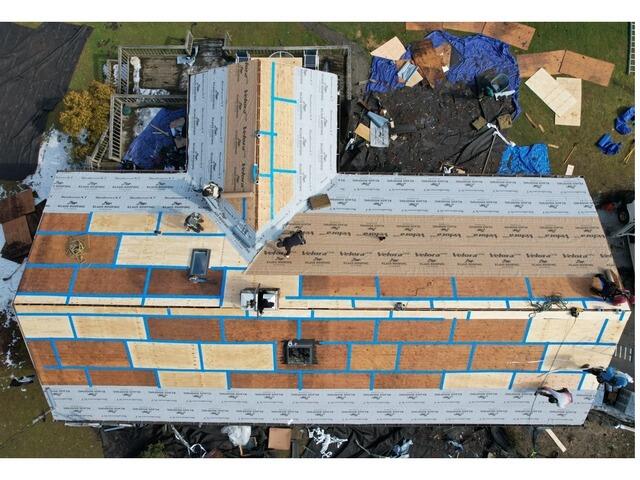
Seams Are Taped & Underlayment Is Installed
Once all of the sheathing is in place, the seams of each sheet of plywood is taped up with heavy-duty, all-weather deck tape. Next, underlayment is rolled out and installed over the entire surface. This thin, water-resistant membrane protects the sheathing from damaging elements like wind, rain, snow, or ice.
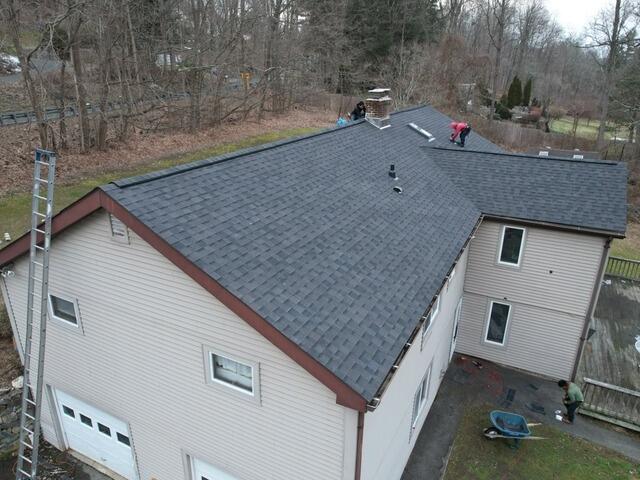
New Shingles Go On
After that, it's time for the crew to install the new IKO Dynasty shingles! Known for their durability and style, these premium-laminated shingles are a Brown Roofing staple. The shingles come in a variety of shades, and Polly has selected the beautiful color of Glacier for her new roof.
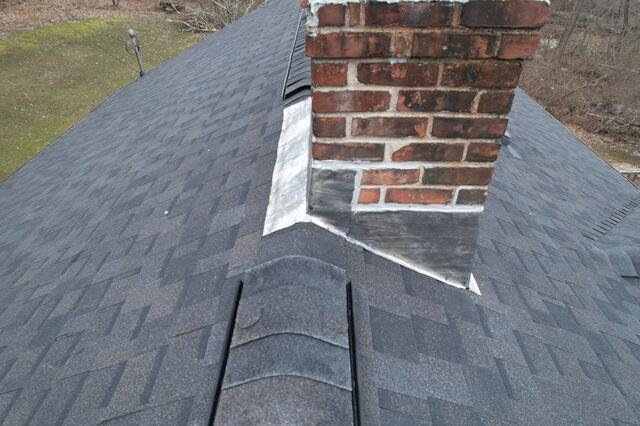
Chimney Gets New Flashing
New flashing is installed around the chimney where it meets the roof. This thin metal acts a barrier, effectively preventing water from seeping through the junction.
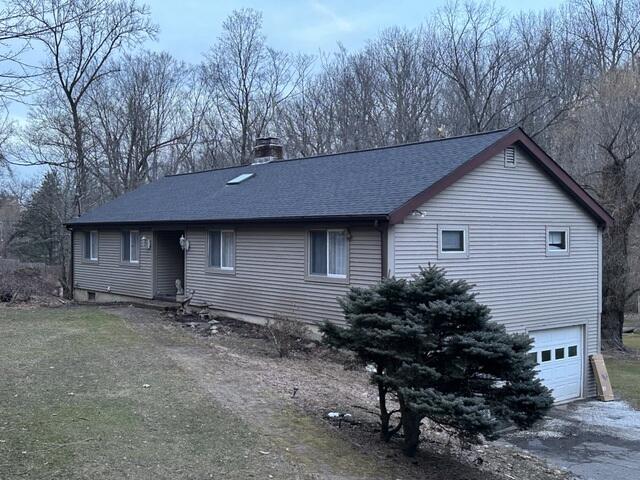
The Finished Look
After a few final touches like installing a ridge vent and cap as well as a new skylight - Polly's new roof is complete!

