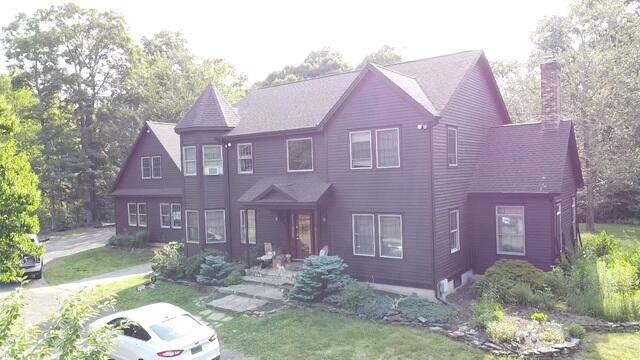
Before: Front View
Here's a look at Rebecca's roof before the renovation. Click through to see the beautiful transformation!
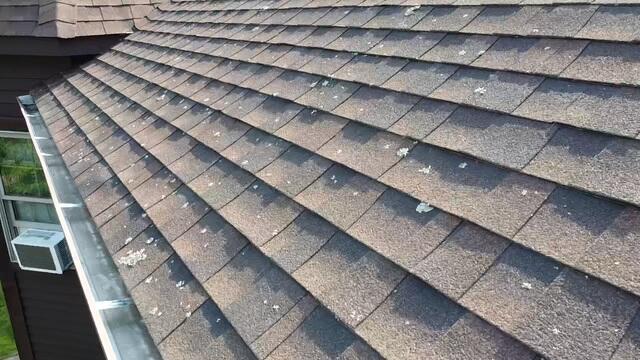
Before: Lichen
A closer look at the roof shows significant lichen growth on the shingles. This invasive, algae-like plant thrives in shingle-deteriorating moisture. Let's get started on that new roof!
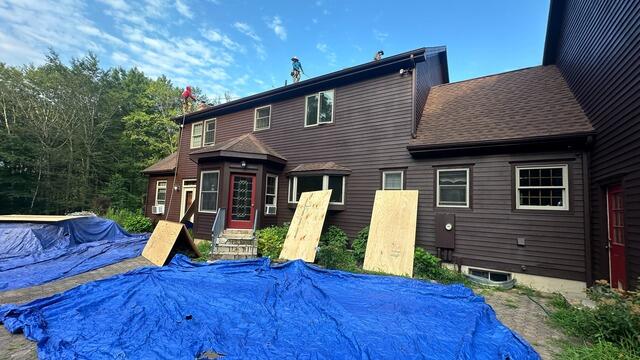
Protecting the Property
Before the teardown begins, the crew lays down large tarps and plywood boards to protect the property from falling debris. In addition, it makes the cleanup process more efficient.
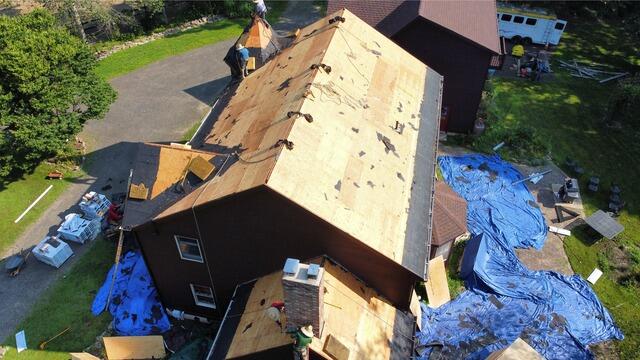
Old Shingles Come Off & Decking Is Exposed
The crew strips the old shingles off, revealing the plywood foundation underneath, which is called the roof decking. The decking is thoroughly inspected for any signs of damage, rot, or mold.
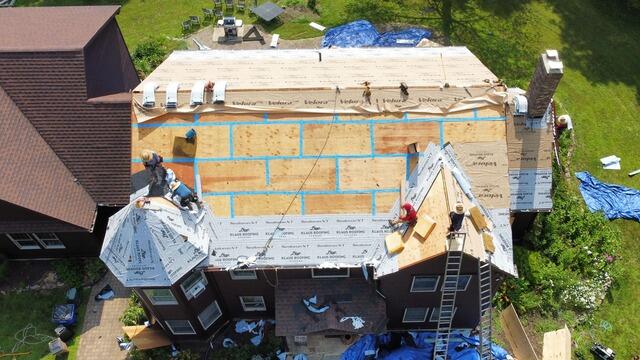
Seams Taped & Underlayment Installed
The crew found that the decking was in tip-top shape, and no plywood needed to be replaced. As an added measure of reinforcement, the crew tapes the seams of each sheet with strong all-weather deck tape. Next, a layer of underlayment is installed over the entire surface. This thin, waterproof membrane further protects the decking from damaging elements like wind, rain, snow, or ice.
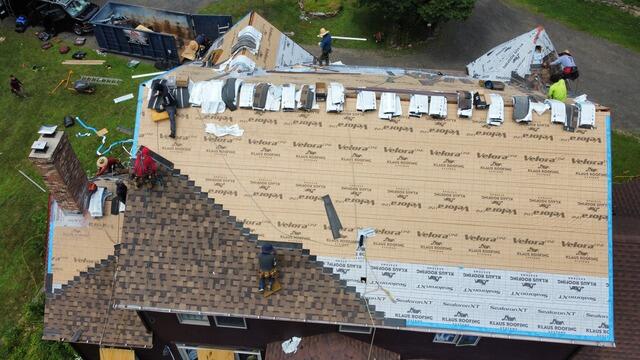
New Shingles Go On
Now it's time for the crew to install the new shingles! Brown Roofing proudly uses IKO Dynasty premium-laminated architectural shingles for all roof backed by their 50-year warranty. These shingles come in a variety of colors, and Rebecca has selected the sleek shade of Brownstone for her new roof.
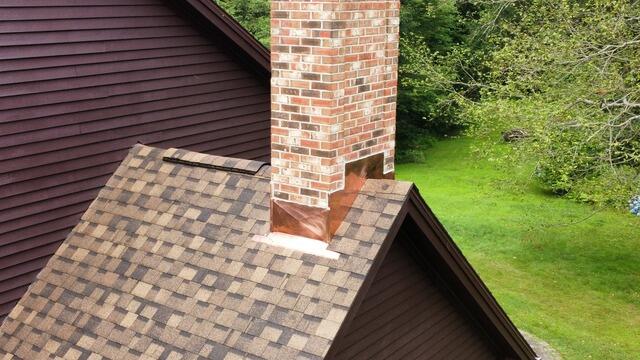
New Flashing on Chimney
The chimney is expertly flashed with elegant copper, ensuring a durable and watertight seal at the junction.
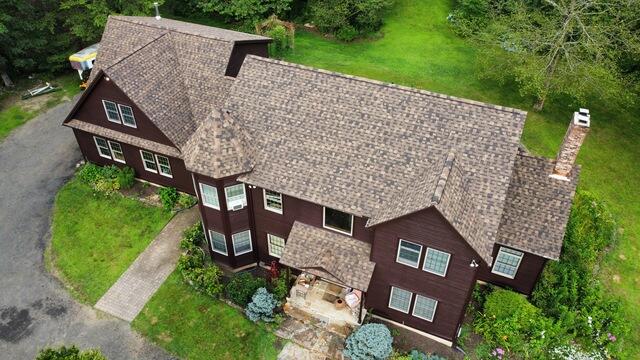
After: Front View
After a few finishing touches - like installing flashing around all pipes and a ridge vent and cap at the peaks - Rebecca's new roof is complete!

