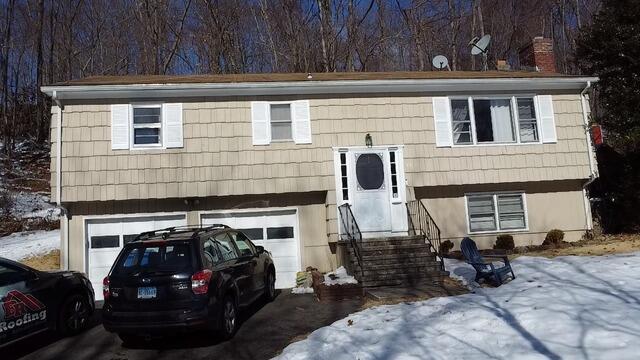
Before: Front View
Here's a look at Amy's roof before the renovation. Click through to see the awesome transformation!
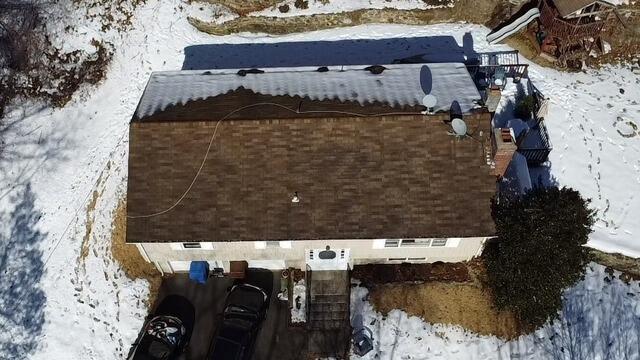
Before: Aerial View
In this bird's-eye view of the roof before, you can see that Amy had three-tab shingles. An economical choice popular in the 20th century, three-tab shingles have a shorter lifespan and less strength overall when it comes to protecting a home from harsh elements.
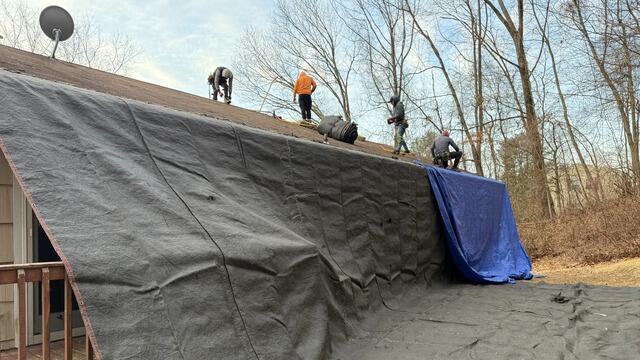
Property Is Protected
Before the process begins, the crew makes sure to set up large tarps to protect the homeowner's house and yard from falling debris. This step also assists in making cleanup more efficient.
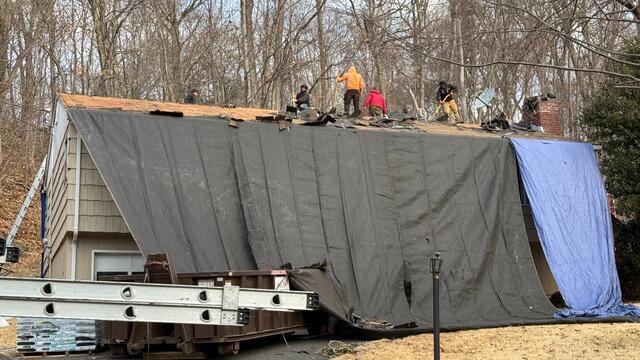
Stripping Off the Shingles
With everything in place, the crew starts carefully tearing off the old shingles. This reveals the layer of plywood underneath, which is called the roof decking.
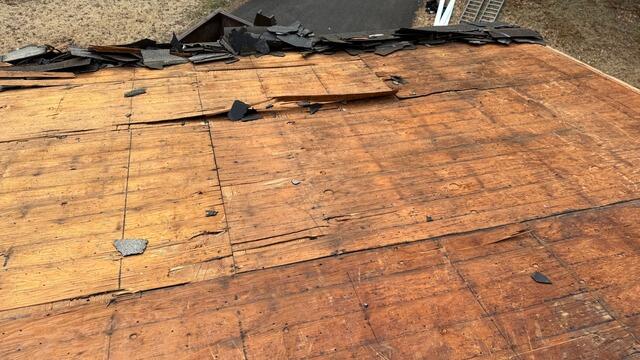
Decking Is Inspected
As the structural foundation of the roof, it's important that the decking is in tip-top shape. Any parts of the decking that show damage, rot, or decay - like this section here - have to be removed and replaced.
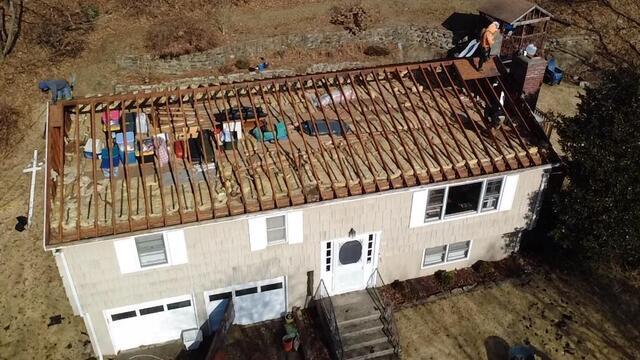
A Clean Slate
The experts concluded that the entire decking needed replacement. With Amy's approval, the crew has stripped the roof and is now prepping for fresh plywood installation.
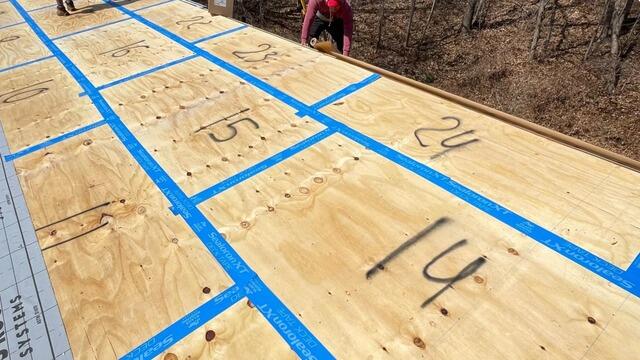
Seams Are Taped & Underlayment Is Installed
Half-inch CDX plywood is securely fitted and nailed into place to form the new decking. For extra reinforcement, all the seams are sealed with all-weather deck tape. Next, a layer of underlayment is applied across the entire surface. This thin waterproof barrier shields the decking from rain, wind, snow, and ice.
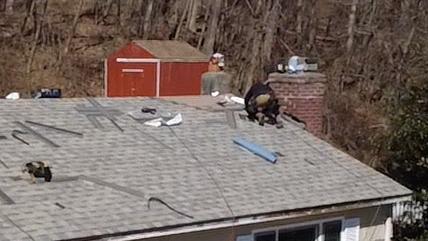
New Shingles Are Installed
Now it's time to install the new shingles! Brown Roofing proudly uses IKO Dynasty shingles, backed by our 50-year warranty. These premium-laminated architectural shingles offer superior strength and durability, far surpassing the three-tab shingles Amy previously had.
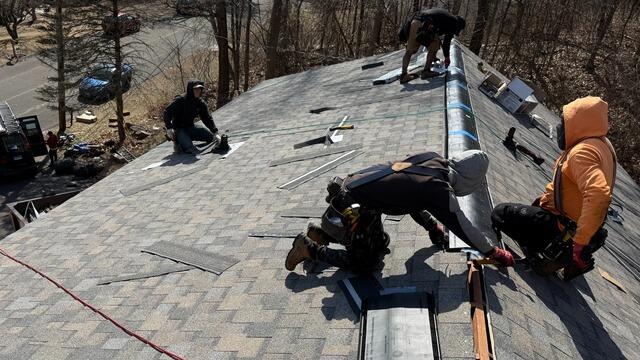
Ridge Vent Is Installed
After all of the shingles are installed, a ridge vent is installed along the peak of the roof. This vent gives hot, moist air rising from inside of the house a way to escape, preventing damaging condensation buildup.
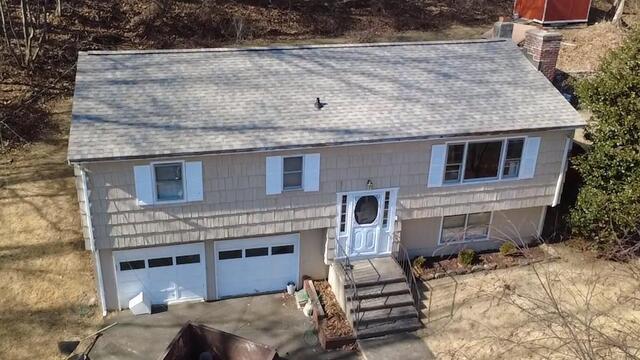
The Finished Product
After a couple of finishing touches like installing flashing around the pipes and chimney, Amy's new roof is complete!

