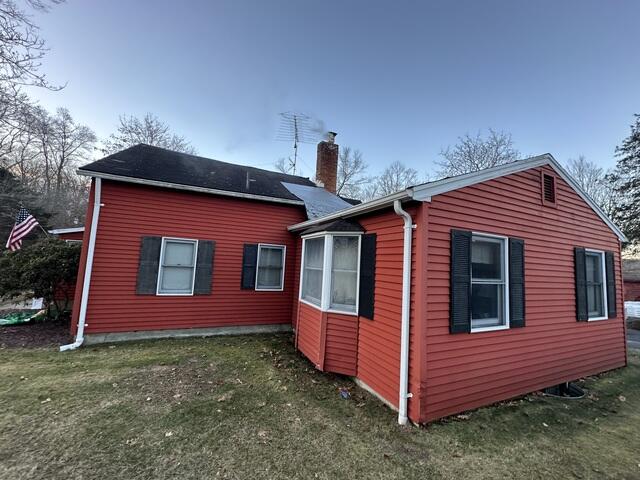
Before: Terrible Tarp
Here's a look at the southeast side of Robert's house before the roof replacement. As you can see, a tarp is covering a hole in the roof. Click through to see the incredible transformation!
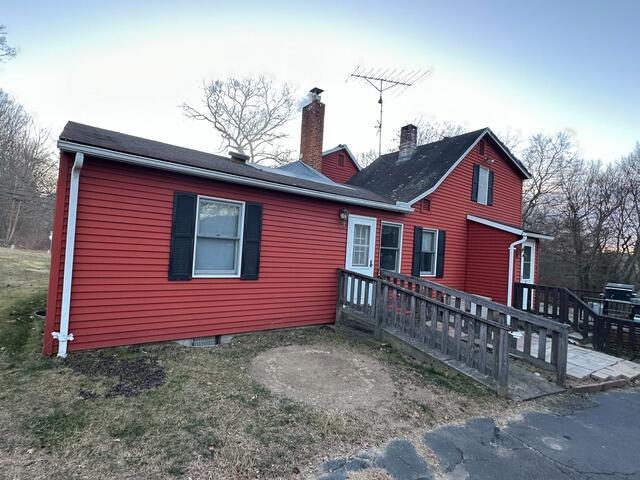
Before: Moss & Lichen
The tarp isn't where the roof's issues end. It's very evident from this northwest angle that moisture buildup has led to damaging moss and lichen growth. Let's get all of this fixed once and for all!
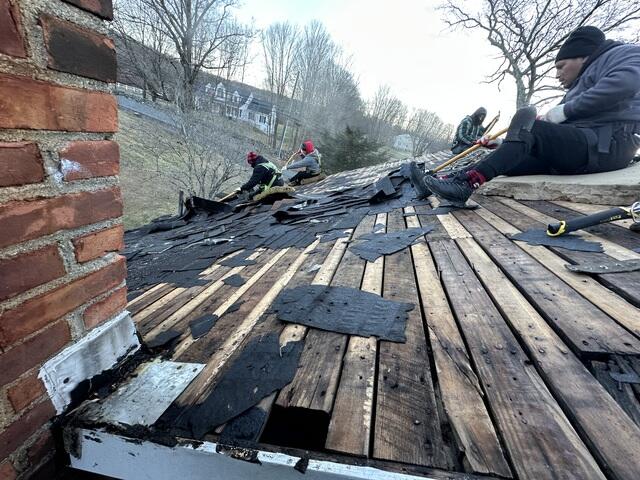
Old Shingles Are Removed
The crew starts off by removing the old shingles. This reveals the layer of plywood underneath, which is called the roof sheathing. As you can see, this sheathing is in rough shape.
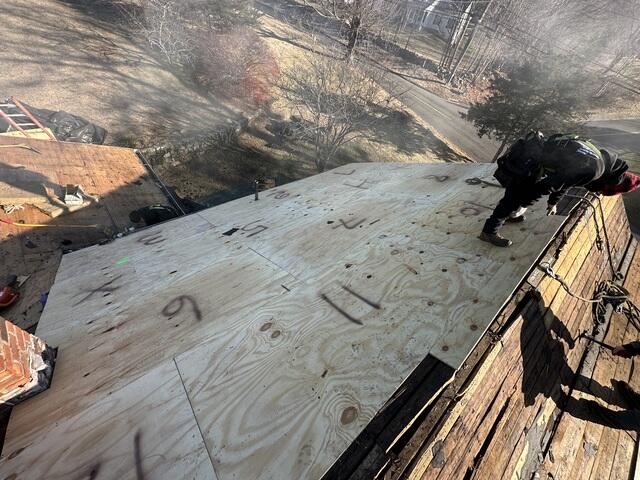
Sheathing Inspected & Replaced
To create a solid foundation for Robert's new roof, the crew removes the old, damaged sheathing and installs brand-new 1/2" CDX plywood. Each sheet is carefully sized, securely nailed into place, and numbered for easy tracking, ensuring transparency with the homeowner about the exact materials used.
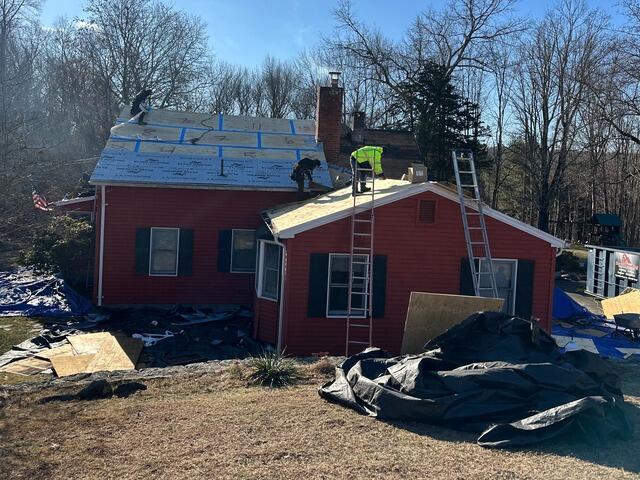
Seams Are Taped & Underlayment Is Installed
As an added measure of reinforcement, the seams of each plywood sheet is taped up with heavy-duty all-weather deck tape. Next, a layer of underlayment is installed over the entire surface. This thin, waterproof material protects the new decking from harsh elements like wind, rain, snow, and ice.
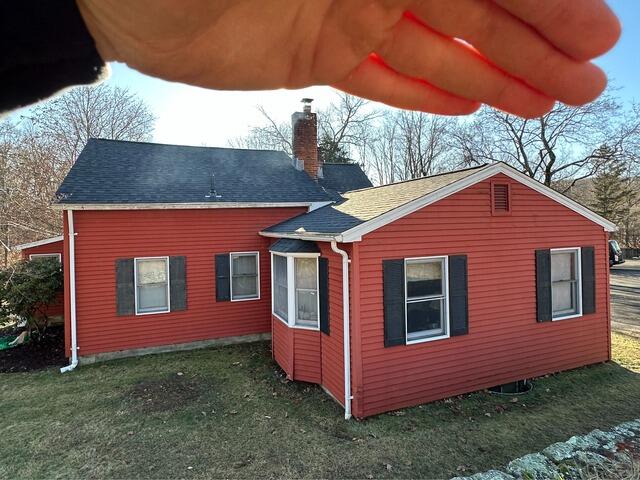
The Finished Look
After the underlayment goes on, the new IKO Dynasty shingles are installed. Robert selected the extremely popular shade of Granite Black for his new roof. Flashing is secured around the roof's pipes, and a ridge vent is installed along the peak to ensure proper airflow. After that, the new roof is complete!
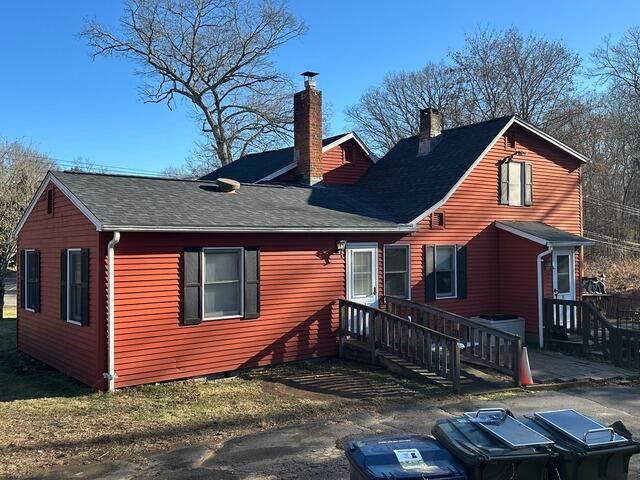
Northwest Side View of the Completed Roof
Gone are the days of tarps and moss. Robert's new roof is strong, beautiful, and built to last!

